Rotor Housing Assembly Note
Rotor Housing Assembly NoteCaution
^ Assemble the seal rubber without any torsion.
^ Do not get oil or grease on the seal rubber.
1. Apply petroleum jelly to a new seal rubber.
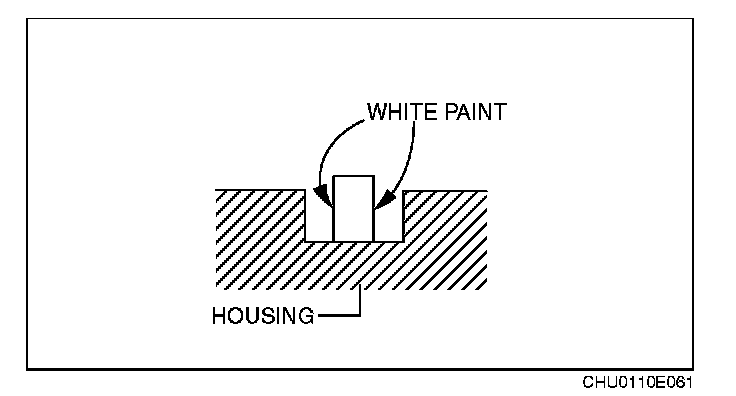
2. Assemble the outer seal rubber to the housing with the white paint in the direction shown in the figure.
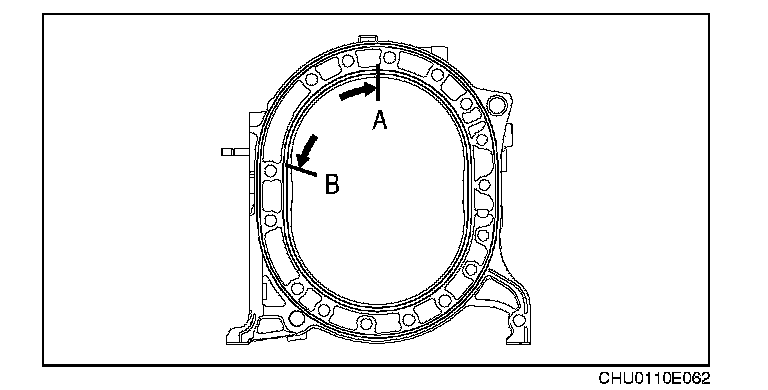
3. Assemble the inner seal rubber to the housing with the seal rubber joint placed between A-B.
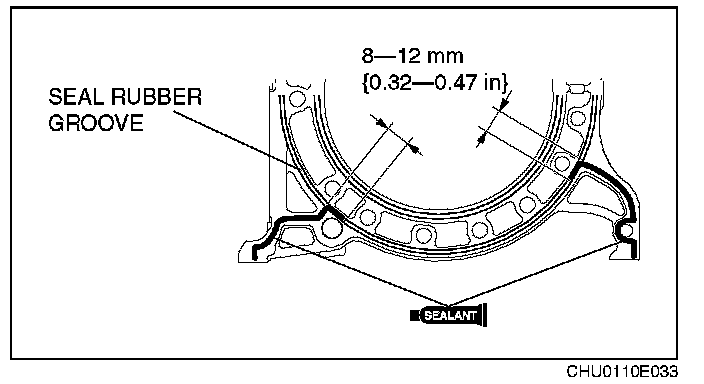
4. Apply the silicone sealant to the position indicated in the figure.
Bead thickness
2.5-6.5 mm (0.099-0.255 in)
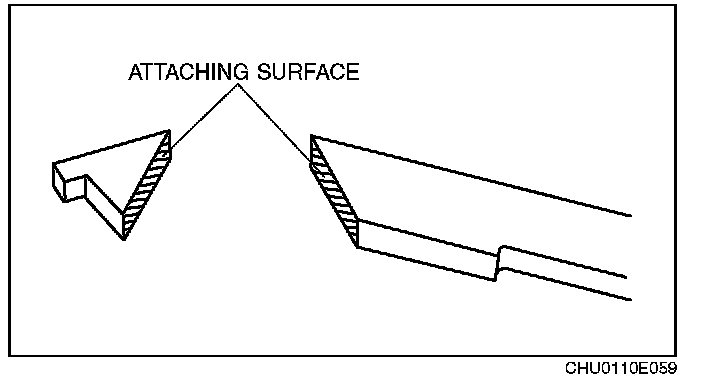
5. Apply thread locking compound to the attaching surface of the apex seal and the side piece and affix them.
Caution
^ After adhesion, make sure that there is no gap between the apex seal and side piece.

^ If adhesive protrudes, remove with a razor.
Note
^ When using a new apex seal, the procedure above is not needed.
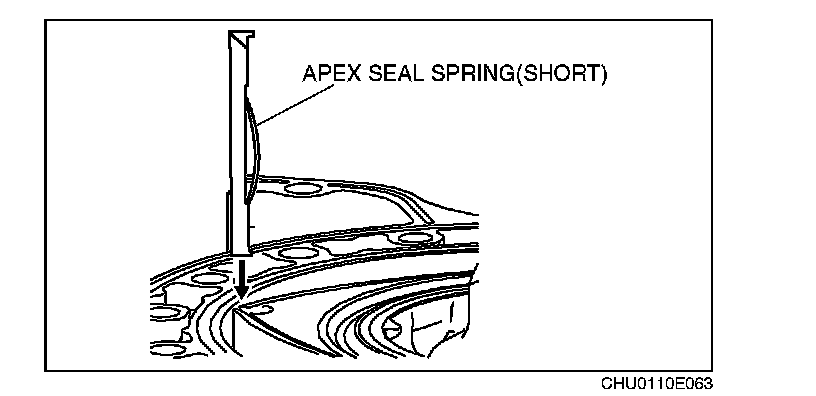
6. Assemble the apex seal and apex seal spring (short) together with the side piece to the engine rear side.
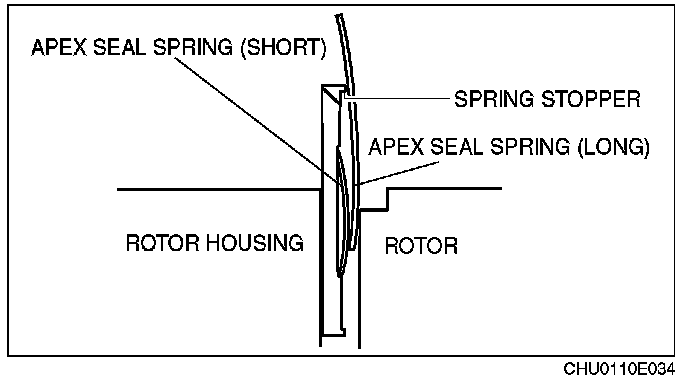
7. Assemble the apex seal spring (long) while pressing the apex seal spring (short).
Caution
^ Assemble the apex seal spring until it catches the spring stopper of the side piece.