Headliner: Service and Repair
HEADLINER REMOVAL/INSTALLATION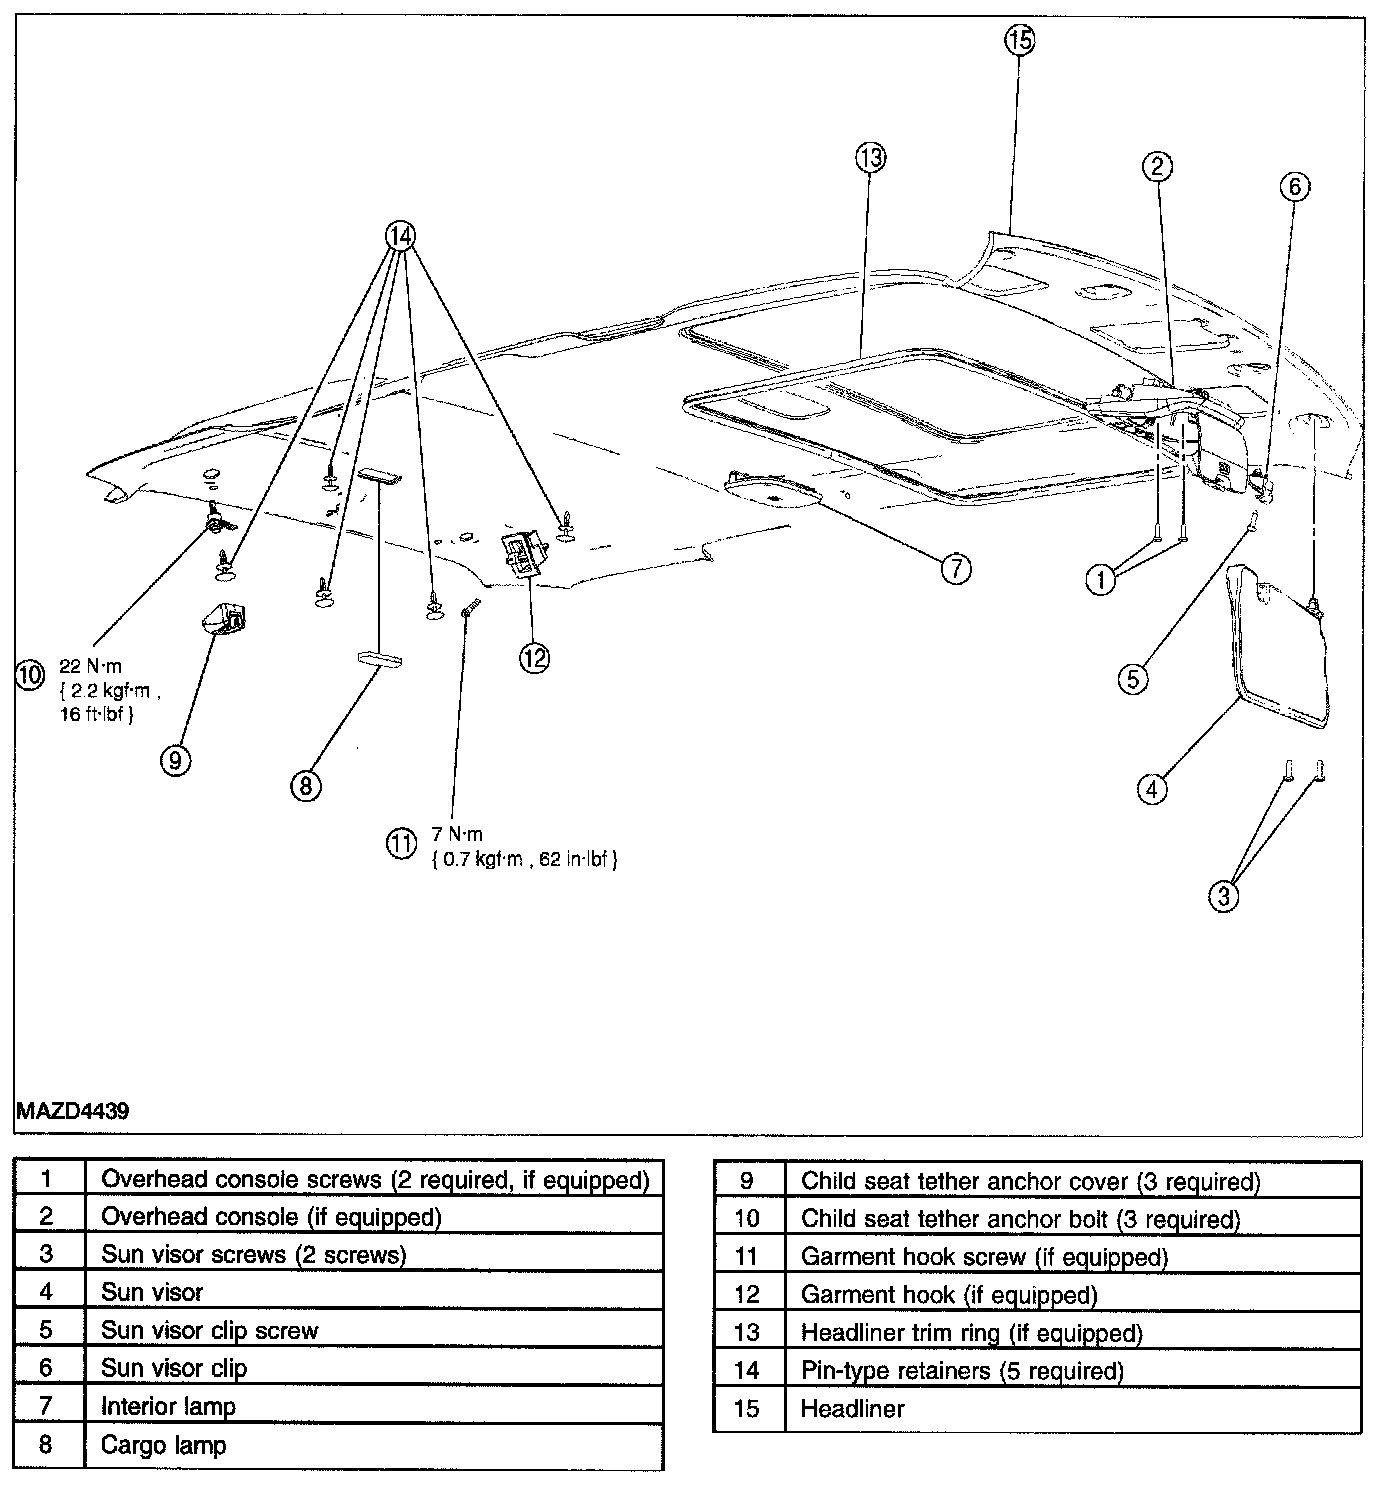
1. Remove the RH and LH A-pillar trim panels.
2. Remove the RH and LH B-pillar trim panels.
3. Remove the RH and LH C-pillar trim panels.
4. Remove the RH and LH D-pillar trim panels.
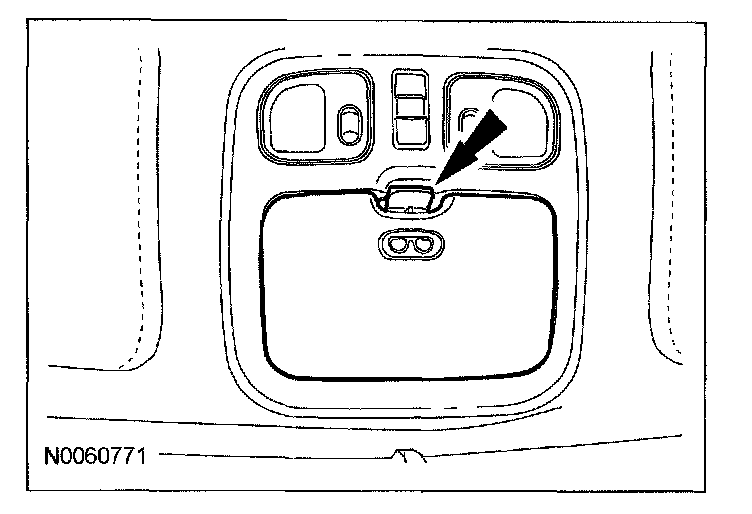
5. Open the overhead console door.
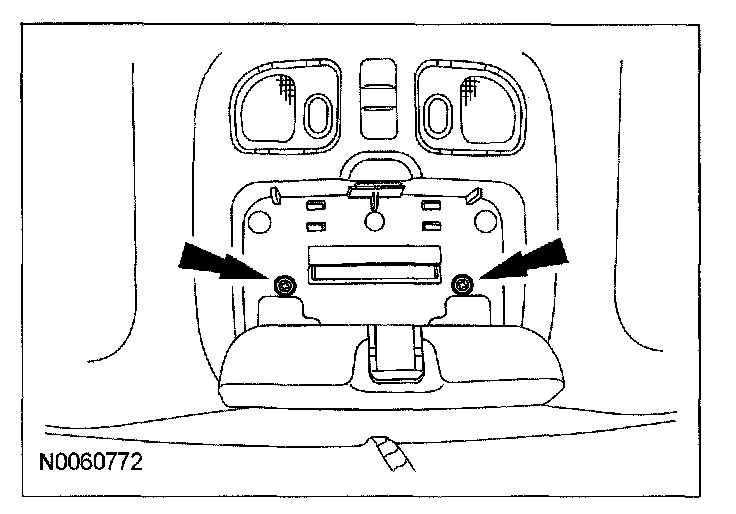
6. Remove the 2 screws and the overhead console.- Disconnect the electrical connector.
7. Remove the LH and RH sun visors.
- If equipped, disconnect the electrical connectors.
8. Remove the LH and RH sun visor clips.
- Partially remove the retaining screws from the sun visor clips.
- Pull downward on the sun visor clips to remove them from the headliner.
NOTE: Do not fully remove the retaining screws from the sun visor clips.
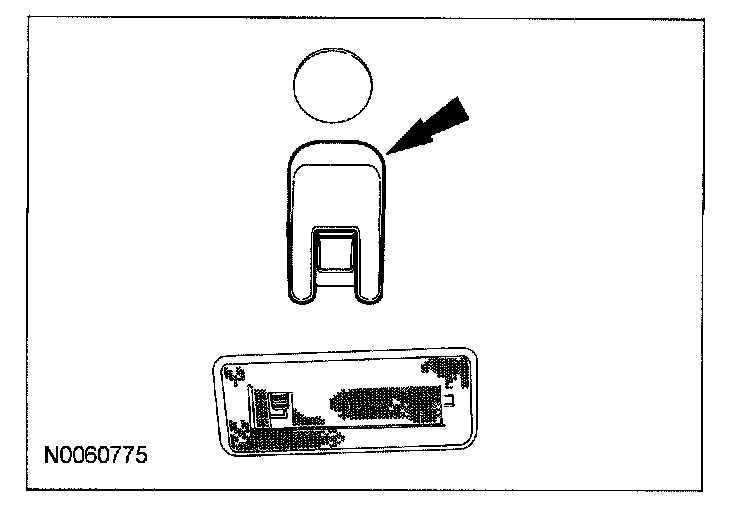
9. Remove the interior lamp.
- Gently pull downwards on the outboard ends of the interior lamp assembly.
- Disconnect the electrical connector.
10. Remove the cargo lamp.
- Disconnect the electrical connector.
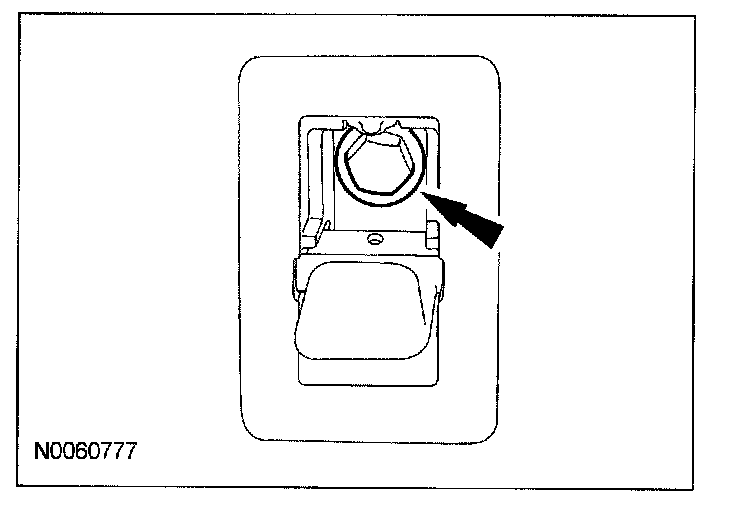
11. Remove the 3 child seat tether anchor covers.
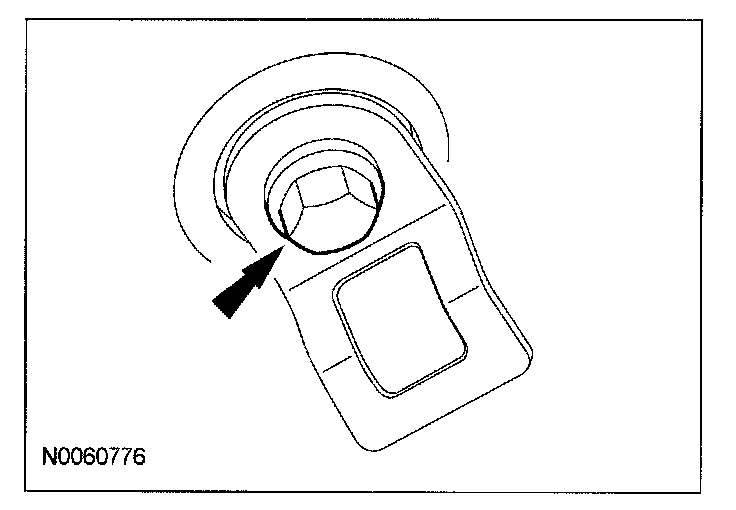
12. Remove the 3 bolts and the child seat tether anchors.
- To install, tighten to 22 N.m {2.2 kgf.m, 16 ft.lbf}.
13. If equipped, remove the screw and the garment hook.
- Open the garment hook screw cover.
- Remove the garment hook screw.
- To install, tighten to 7 N.m {0.7 kgf.m, 62 in.lbf}.
14. If equipped, remove the headliner trim ring.
NOTE: When installing the headliner trim ring, it should meet at the rear of the roof opening and have no gaps or overlaps.
15. Remove the 5 headliner pin-type retainers.
16. Remove the headliner.
17. To install, reverse the removal procedure.
- Transfer parts as necessary.