Compressor to Condenser Line - 2.3L Removal/Installation
COMPRESSOR TO CONDENSER LINE - 2.3L REMOVAL/INSTALLATION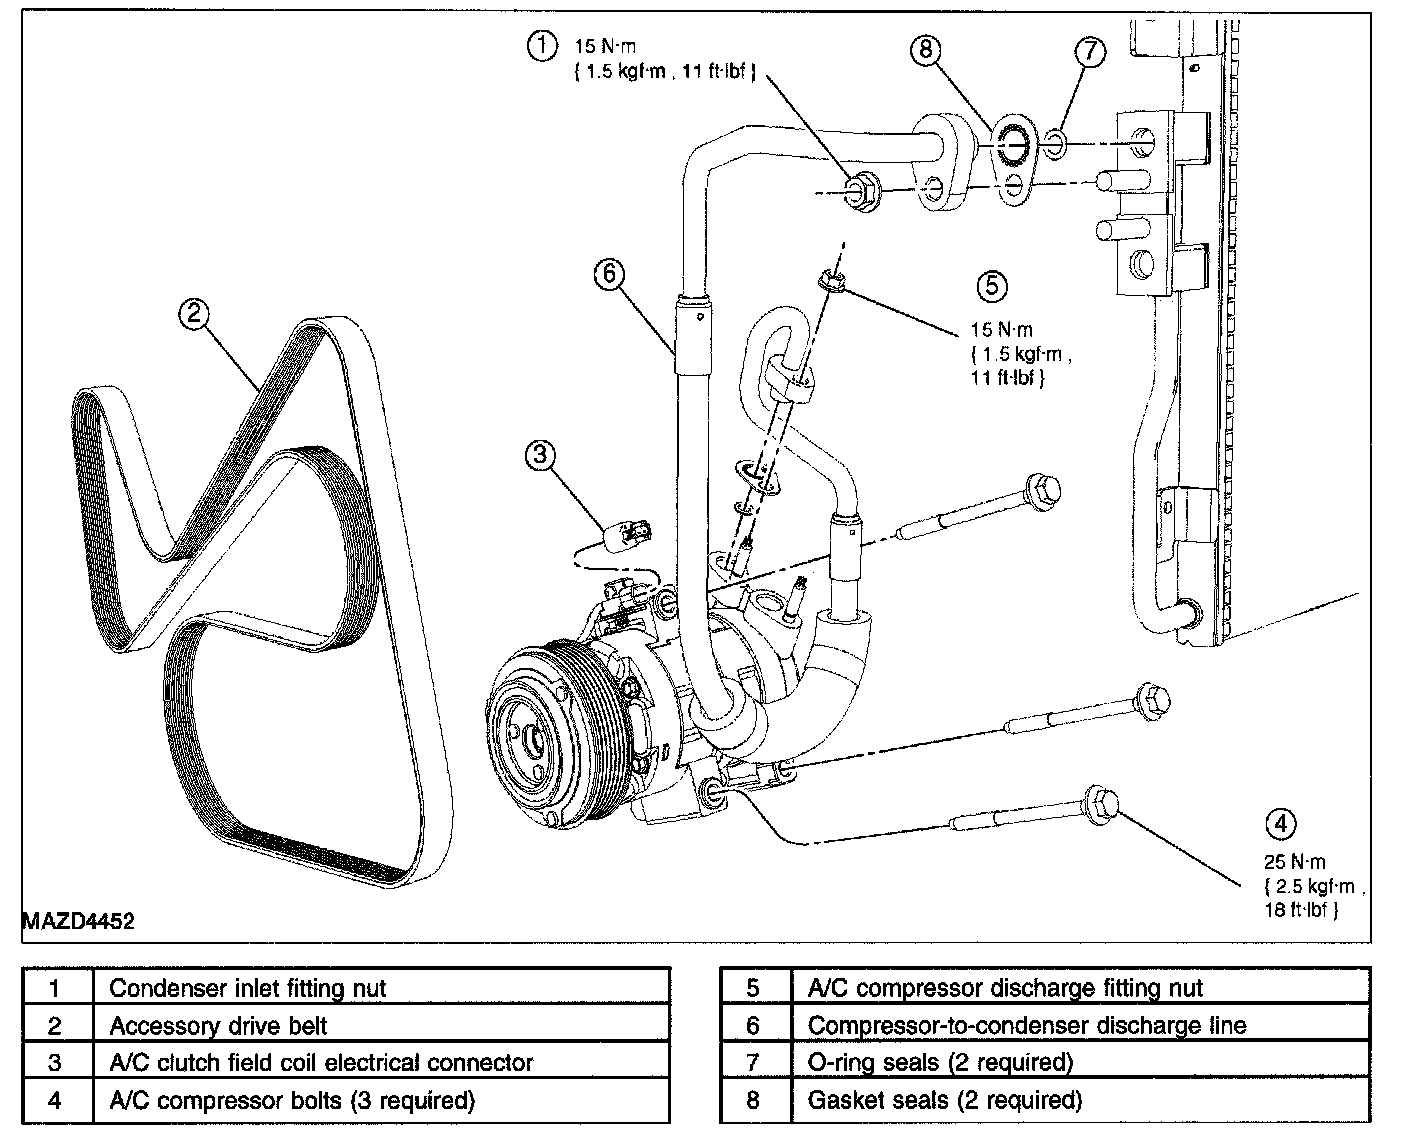
NOTE: Installation of a new suction accumulator is not required when repairing the air conditioning system, except when there is physical evidence of contamination from a failed A/C compressor or damage to the suction accumulator.
1. With the vehicle in NEUTRAL, position it on a hoist. See LIFTING.
2. Recover the refrigerant. See DISCHARGING AND RECOVERY.
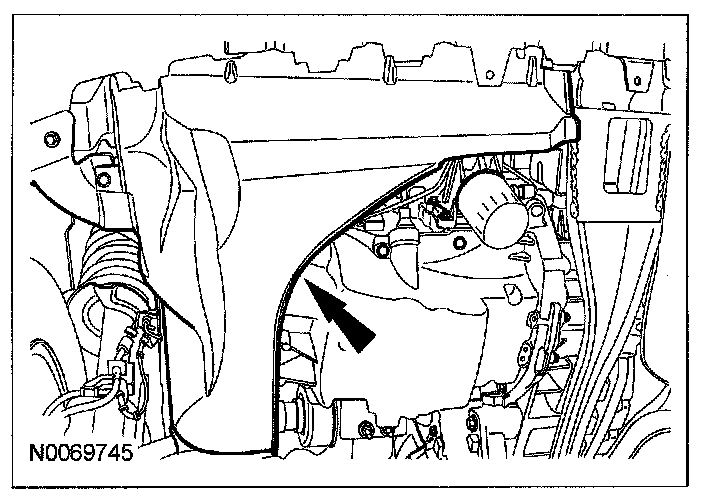
3. Remove the RH lower engine splash shield.
4. Remove the front bumper cover.
5. Remove the condenser inlet fitting nut and disconnect the fitting.
- Discard the O-ring seal and gasket seal.
- To install, tighten to 15 N.m (1.5 kgf.m, 11 ft.lbf).
6. Remove the A/C compressor discharge fitting nut and disconnect the fitting.
- Discard the O-ring seal and gasket seal.
- To install, tighten to 15 N.m (1.5 kgf.m, 11 ft.lbf).
7. Remove the compressor-to-condenser discharge line.
8. To install, reverse the removal procedure.
- Install new gasket seals and O-ring seals.
- Lubricate the refrigerant system with the correct amount of clean PAG oil. See REFRIGERANT OIL ADDING.
9. Evacuate, leak test and charge the refrigerant system. See AIR CONDITIONING (A/C) SYSTEM EVACUATION AND CHARGING.