Pinion Flange: Service and Repair
DRIVE PINION SEAL REMOVAL/INSTALLATIONRemoval
1. With the vehicle in NEUTRAL, position it on a hoist.
2. Index-mark the driveshaft flange and the pinion flange.
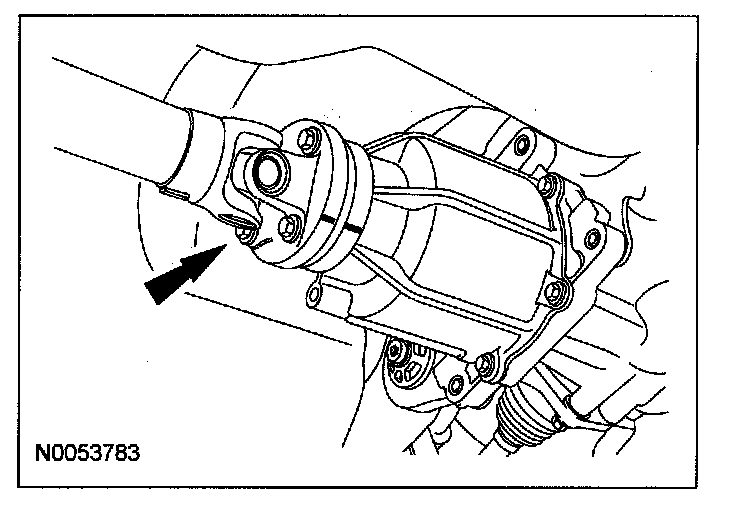
3. Disconnect the rear driveshaft universal joint flange.
^ Remove and discard the 4 bolts.
^ Position aside the driveshaft and flange.
Note
^ Support the driveshaft.
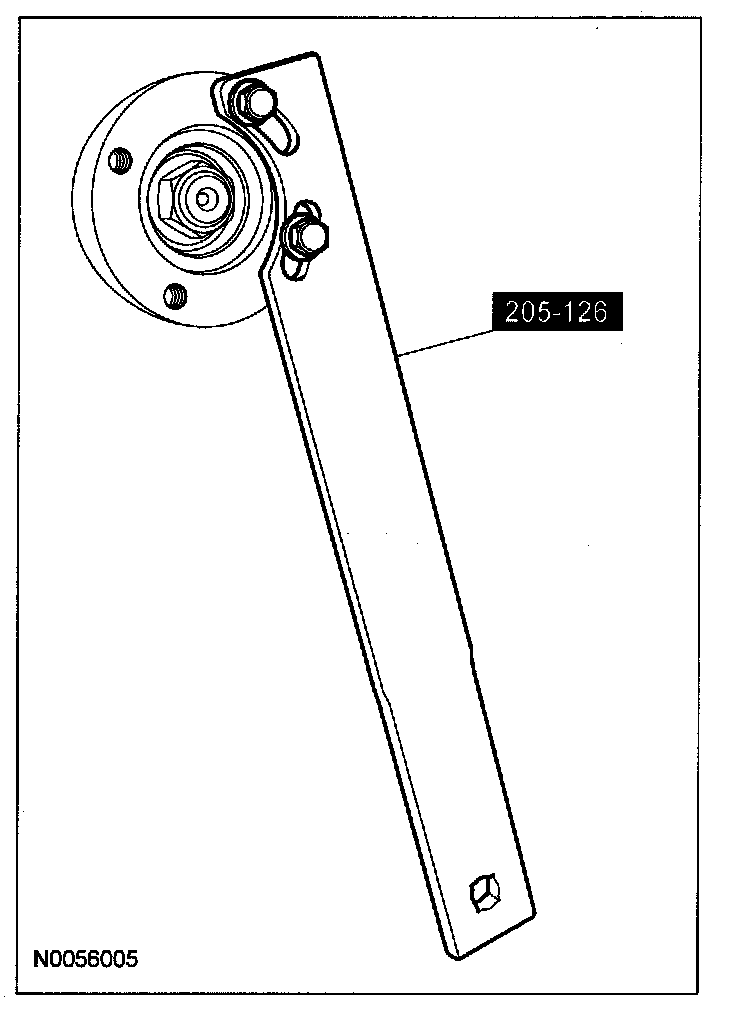
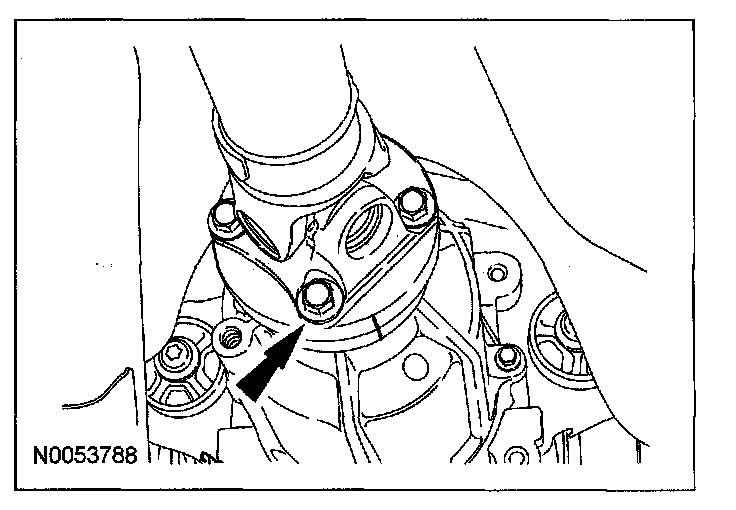
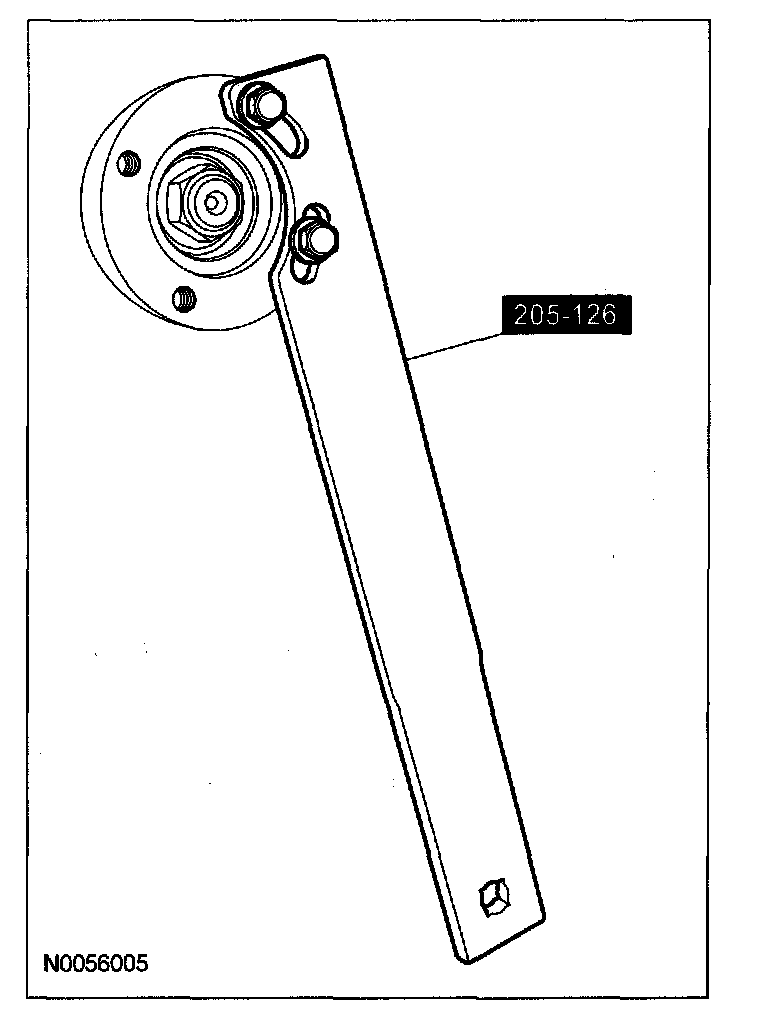
4. Using the special tool, hold the pinion flange while removing the nut.
^ Remove and discard the pinion flange nut.
5. Index-mark the location of the pinion to the yoke.
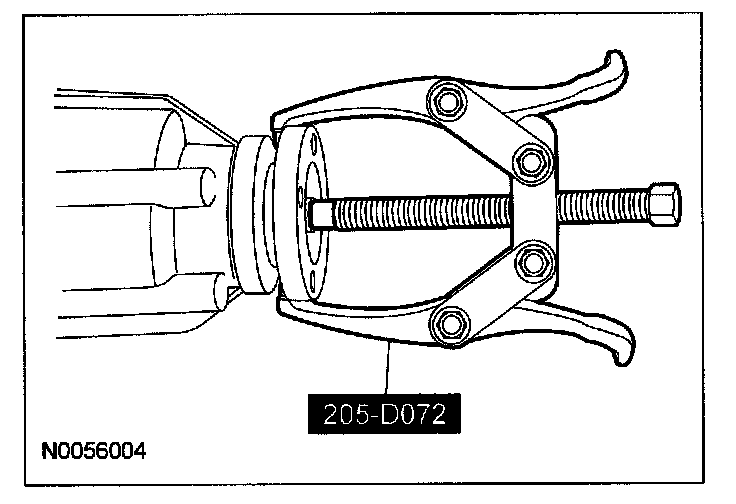
6. Using the special tool, remove the pinion flange.
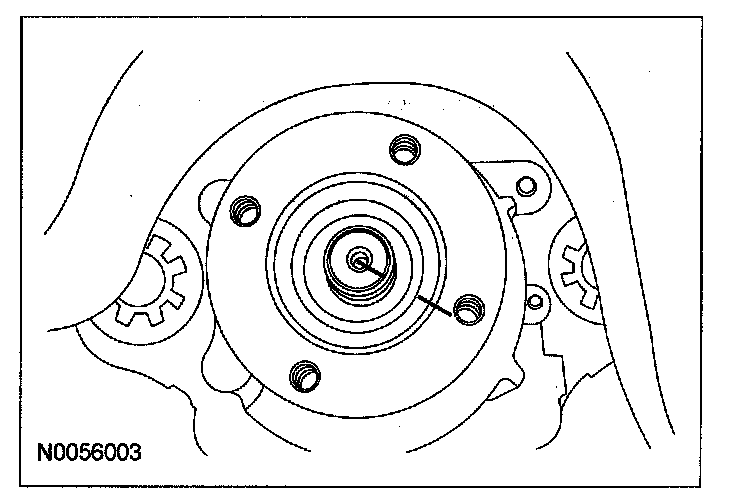
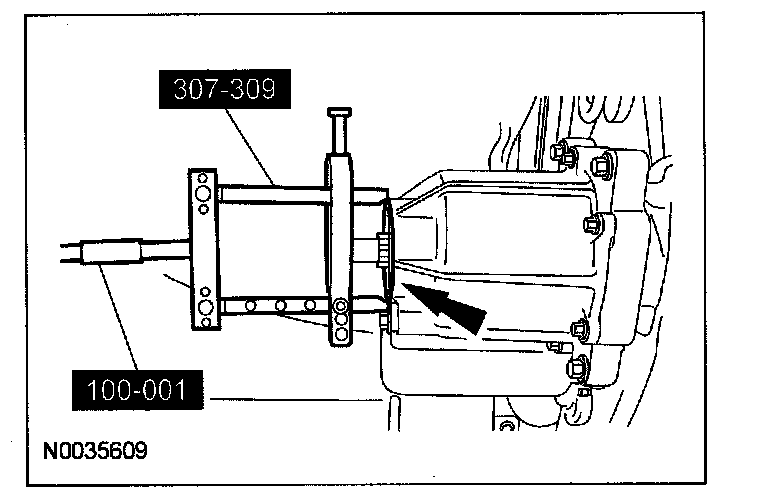
7. Using the special tool, remove the pinion seal.
Installation
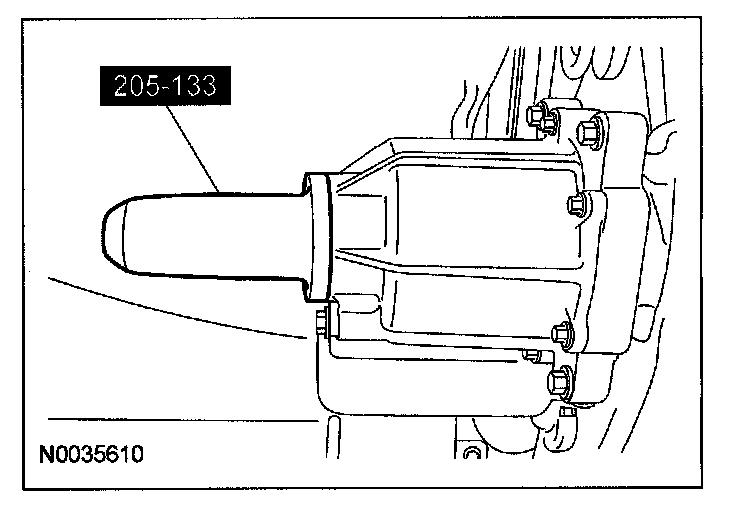
1. Using the special tool, install the pinion seal.
Note
^ Make sure the mating surface is clean before installing the new seal.
2. Line up the index marks and position the pinion flange.
Note
^ Lubricate the pinion flange with premium long-life grease.
3. Using the special tool, install a new pinion nut.
^ Tighten to 244 N-m {24.9 kgf-m, 180 ft-lbf}.
4. Line up the index marks and position the rear driveshaft and universal joint flange.
^ Install the 4 new bolts.
^ Tighten to 70 N-m {7.1 kgf-m, 52 ft-lbf}.