AUDIO UNIT REMOVAL/INSTALLATION


id092000805500

Caution
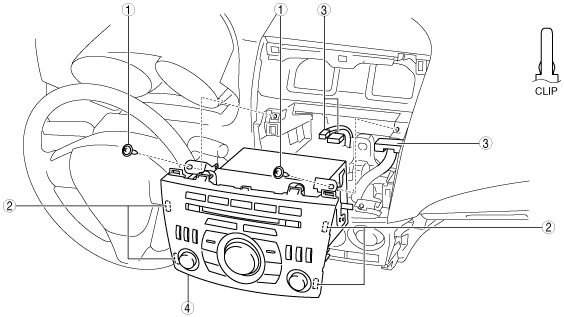
•  When installing the audio unit, make sure that the wiring harness and antenna feeder are not caught between the unit and dashboard. If the wiring harness or the antenna feeder is caught between the unit and dashboard, it may cause malfunctions.
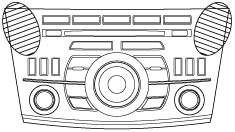
•  Pressing the switch area of the audio unit when installing it could result in a malfunction. Therefore only press the hatched area shown in the figure.
am3uuw00002445

1.  Disconnect the negative battery cable. (See BATTERY REMOVAL/INSTALLATION [MZR 1.5, MZR 1.6].)(See BATTERY REMOVAL/INSTALLATION [MZR 2.0, MZR 2.5].)(See BATTERY REMOVAL/INSTALLATION [MZR 2.0 DISI i-stop].)(See BATTERY REMOVAL/INSTALLATION [MZR 2.3 DISI Turbo].)(See BATTERY REMOVAL/INSTALLATION [MZR-CD 2.2].)(See BATTERY REMOVAL/INSTALLATION [SKYACTIV-G 2.0].)(See BATTERY REMOVAL/INSTALLATION [MZ-CD 1.6].)

2.  Remove the center panel. (See CENTER PANEL REMOVAL/INSTALLATION.)

3.  Remove in the order indicated in the table.

am3uuw00002691

1
Screw
2
Clip
3
Connector
4
Audio unit

4.  Install in the reverse order of removal.