 |
am6zzw00001742
TRUNK SIDE TRIM REMOVAL/INSTALLATION
id091700803100
4SD
1. Remove the trunk mat.
2. Remove the trunk board.
3. Remove the trunk end trim. (See TRUNK END TRIM REMOVAL/INSTALLATION.)
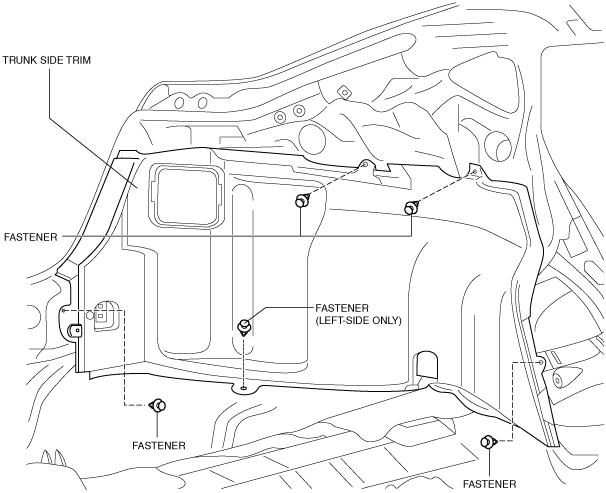
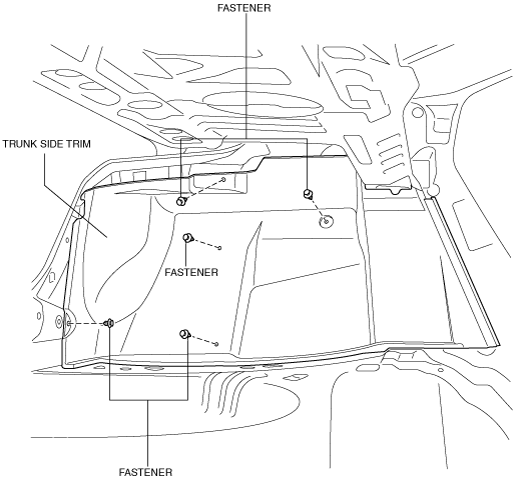
4. Remove the fasteners, then remove the trunk side trim.
am6zzw00001742
|
5. Install in the reverse order of removal.
5HB
1. Remove the following parts:
2. Remove the fasteners then remove the trunk side trim.
am6zzw00001743
|
3. Install in the reverse order of removal.
Wagon
1. Remove the following parts:
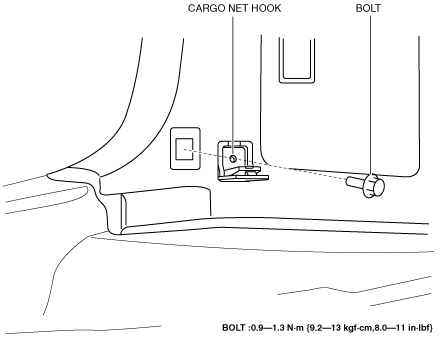
2. Remove the bolt then remove the cargo net hook.
am6zzw00003458
|
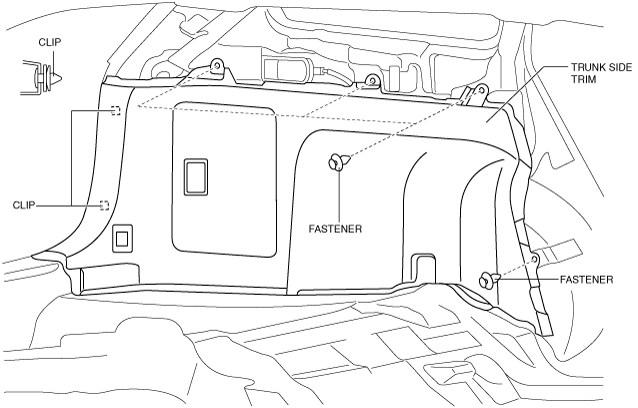
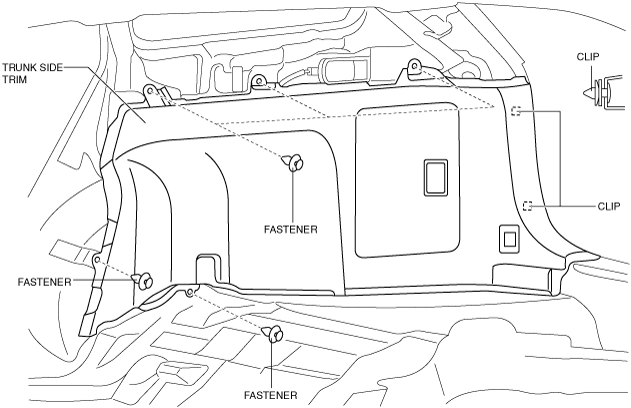
3. Remove the fasteners.
Left-side
am6zzw00003420
|
Right-side
am6zzw00003459
|
4. Pull the trunk side trim while detaching clips.
5. Disconnect the Accessory Sockets connector. (right-side only)
6. Install in the reverse order of removal.