 |
am6zzw00001232
SHROUD PANEL REMOVAL/INSTALLATION
id091000406300
1. Disconnect the negative battery cable.
2. Remove the following parts:
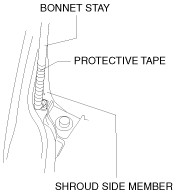
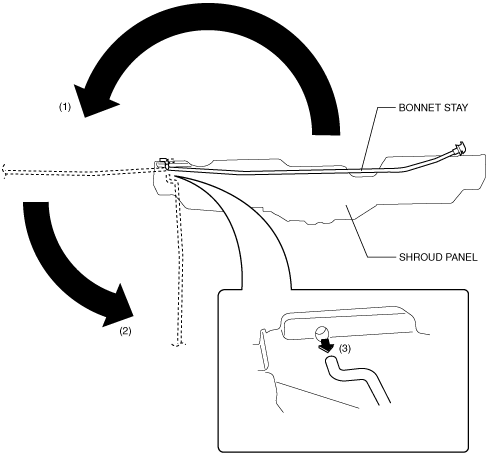
3. Rotate the bonnet stay in the direction of the arrow (1),(2), then remove the bonnet stay in the direction of the arrow (3).
am6zzw00001232
|
4. Remove the bonnet stay from the shroud panel, wrap the bonnet stay with protective tape, and install it to the shroud side member to support the bonnet.
am6zzw00004599
|
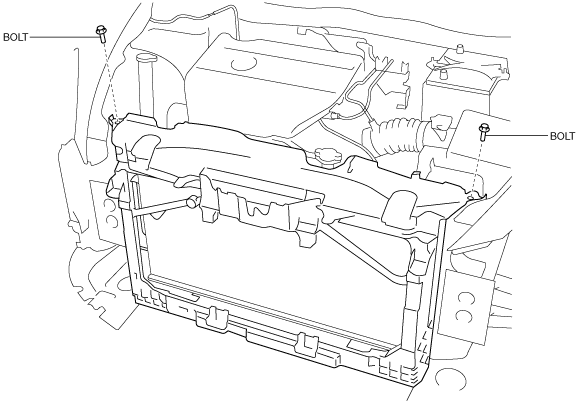
5. Remove the bolts.
am6zzw00001230
|
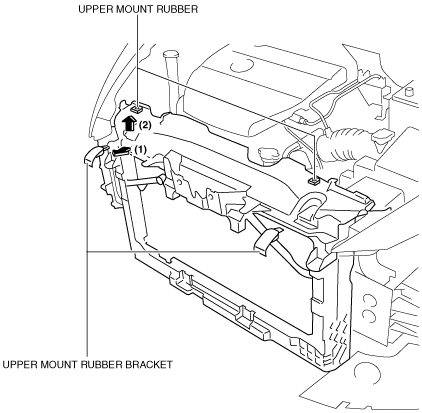
6. Remove the upper mount rubber bracket in the direction of the arrow (1), then remove the upper mount rubber in the direction of the arrow (2) (See Upper Mount Rubber Bracket Removal Note).
am6zzw00004600
|
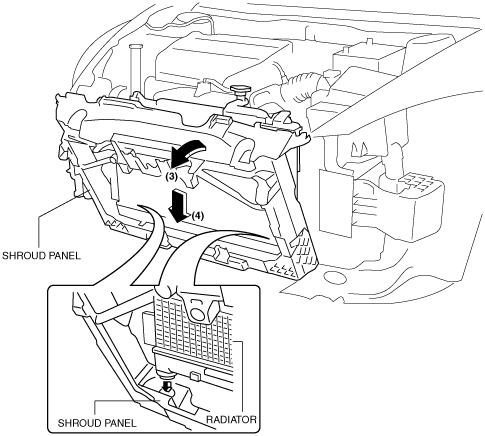
7. Pull the shroud panel in the direction of arrow (3) in the figure, and remove it in the direction of arrow (4).
am6zzw00004601
|
8. Install in the reverse order of removal.
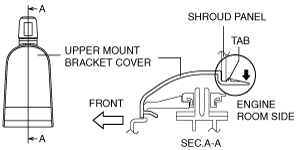
Upper Mount Rubber Bracket Removal Note
1. Remove the upper mount rubber bracket while pressing down the upper mount rubber bracket tab in the direction of the arrow in the figure.
am2zzw00001624
|