1. Turn the ignition switch to the ON position.
2. Verify that the O/D OFF indicator light is not illuminated.
3. Depress the O/D OFF switch and verify that the O/D OFF indicator light illuminates.
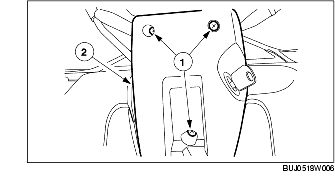
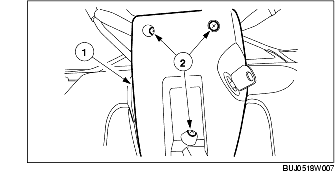
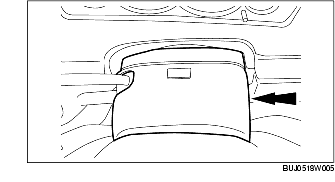
1. Remove the upper cover of the steering column.
2. Remove the lower cover of the steering column.
3. Turn the ignition switch to the ON position.
4. Measure the voltage when the O/D OFF switch is cycled.
5. Install the lower cover of the steering column.
6. Install the upper cover of the steering column.
1. Disconnect the negative battery cable.
2. Remove upper cover of the steering column.
3. Remove the lower cover of the steering column.
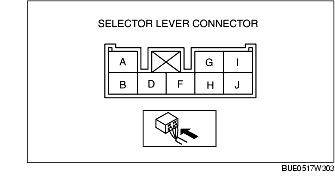
4. Disconnect the selector lever connector.
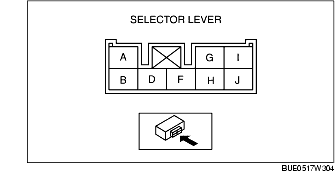
5. Measure the continuity between terminals when the O/D OFF switch is cycled.
6. Connect the selector lever connector.
7. Install the lower cover of the steering column.
8. Install the upper cover of the steering column.
9. Connect the negative battery cable.