Air Bag Control Module: Service and Repair
REMOVAL1. Disconnect the battery ground cable.
WARNING: THE BACKUP POWER SUPPLY ENERGY MUST BE DEPLETED BEFORE ANY AIR BAG COMPONENT SERVICE IS PERFORMED. TO DEPLETE THE BACKUP POWER SUPPLY ENERGY, DISCONNECT THE BATTERY GROUND CABLE AND WAIT THREE MINUTES.
NOTE: Repair is made by installing a new part only. If the new part does not correct the condition, install the original part and perform the diagnostic procedure again.
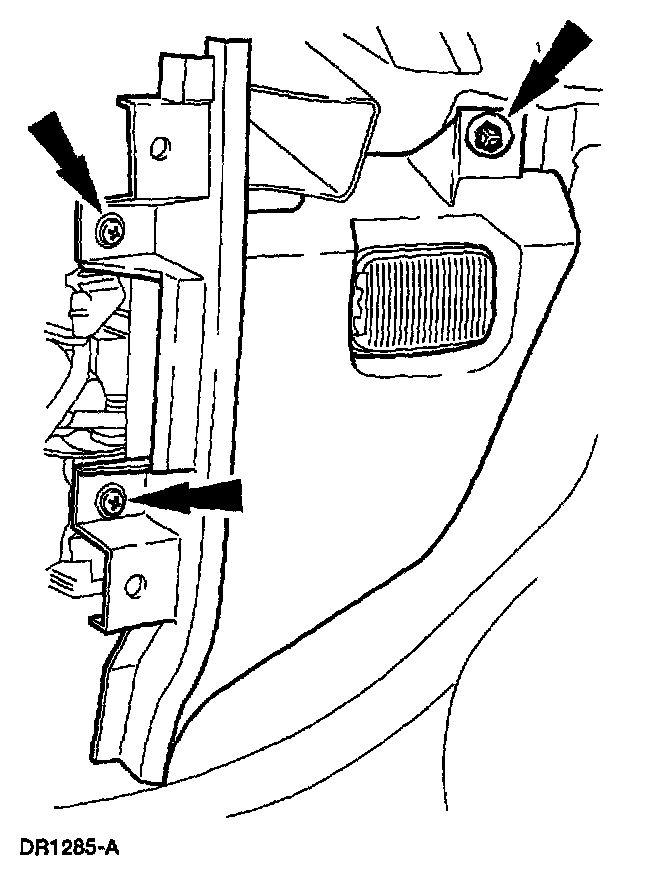
2. Remove the four pushpins (two shown) and the C.D. changer cover (if equipped) or the console compartment door.
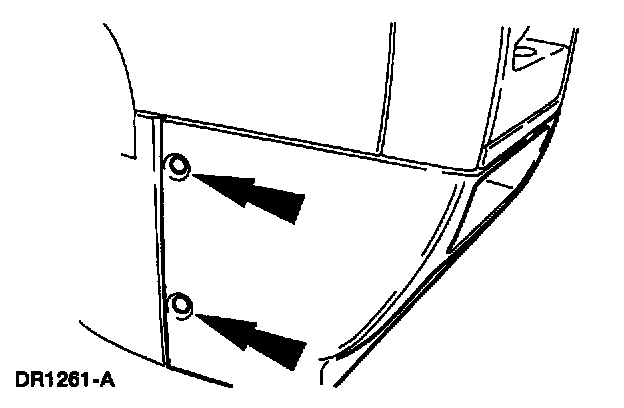
3. Remove the two screws and one plastic nut and position out the passenger side inner kick panel.
4. Disconnect the light assembly and remove the passenger side inner kick panel.
5. Remove the four tamper proof Torx (R) bolts and position out the air bag diagnostic module.
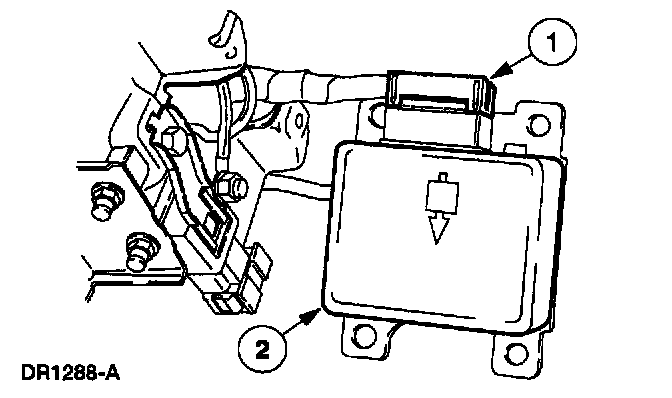
6. Remove the air bag diagnostic monitor.
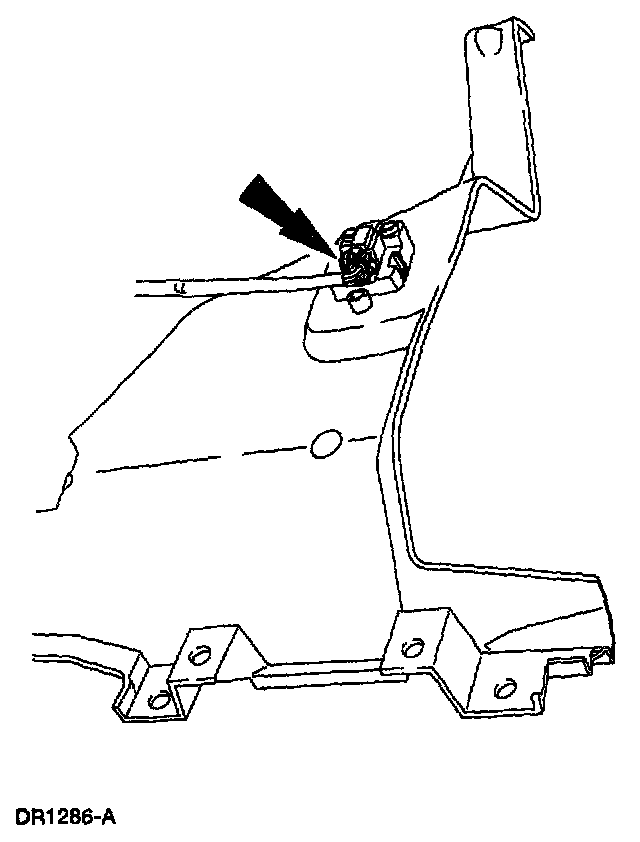
1 Disconnect the air bag diagnostic monitor electrical connector.
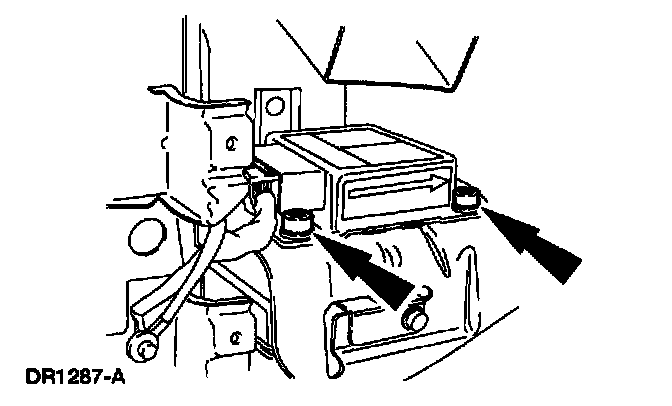
2 Remove the air bag diagnostic module.
INSTALLATION

1. Follow the removal procedure in reverse order. Verify that the air bag warning indicator is operative.
CAUTION: The air bag diagnostic monitor must be installed with the arrow marks pointing towards the front of the vehicle for correct operation.