Input Shaft Reassembly
The snap rings that are used on the input shaft are available in select fit sizes. Use the thickest snap ring that will fit in each snap ring groove.
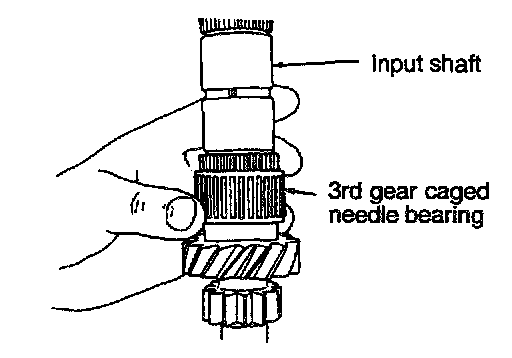
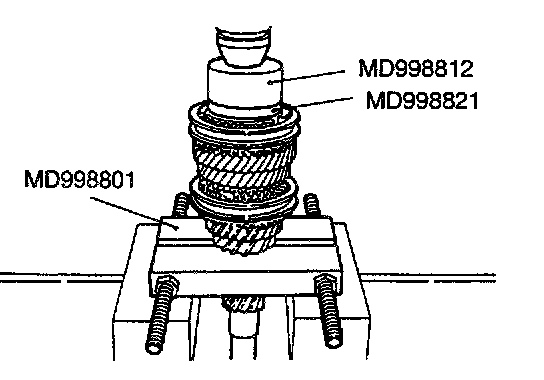
1. Place input shaft into shop press.
2. Install 3rd gear caged needle bearing on input shaft.
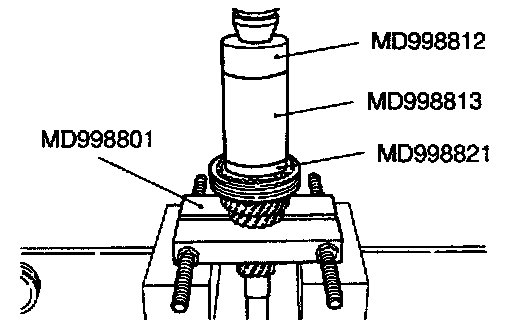
3. Install 3rd gear and 3/4 synchronizer onto input shaft. Install MD998812, MD998813, MD998821 over input shaft and press on synchronizer hub and 3rd gear. The synchronizer hub has the letter "U" stamped on the top face of the hub.
This designates that the hub must be installed with the "U" facing upward.

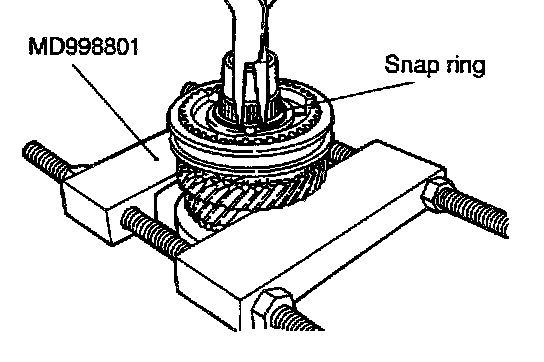
4. Install 3/4 synchronizer snap ring into slot on input shaft.
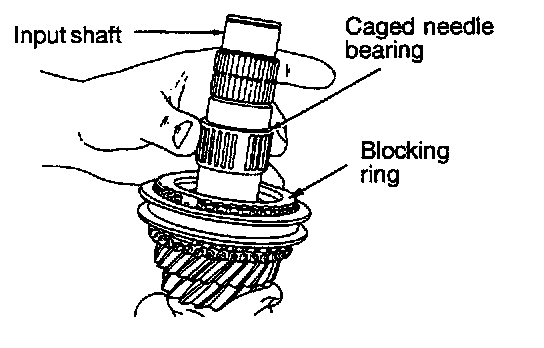
5. Install blocking ring into 3/4 synchronizer. Install 4th gear caged needle bearing.
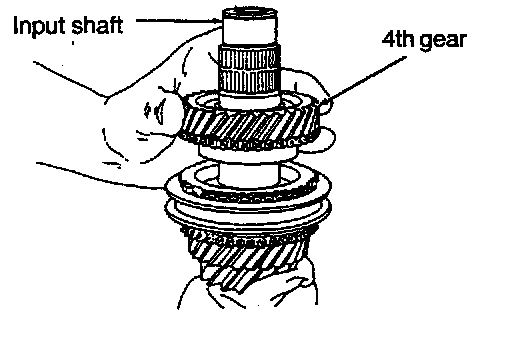
6. Install 4th gear onto input shaft.
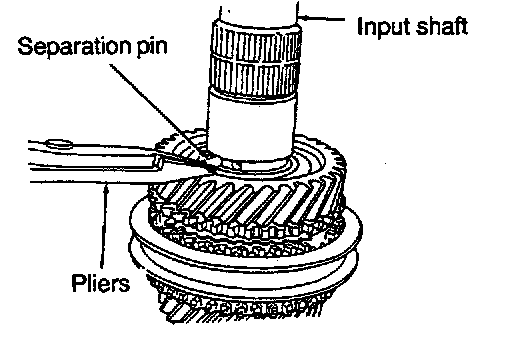
7. Install 4/5 split thrust washer separation pin.
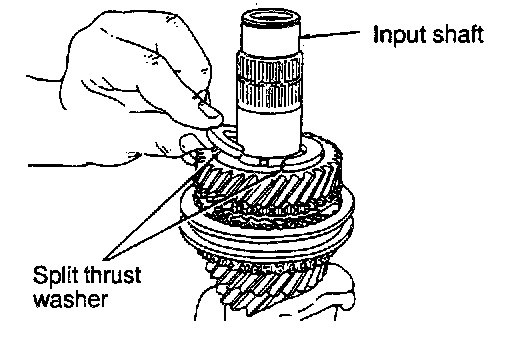
8. Install split thrust washer onto input shaft.
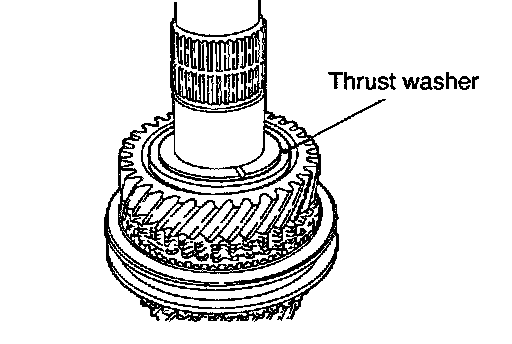
9. Install split thrust washer retaining ring.
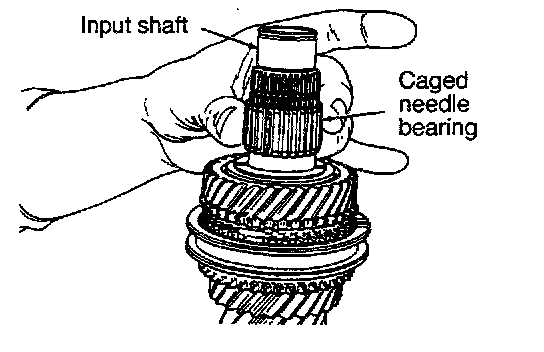
10. Install 5th gear caged needle bearing.
11. Using MD998812, MD998821, install 5th speed gear and synchronizer. The 5th gear synchronizer hub has the letter "S" stamped on the top face of the hub. This designates that hub must be installed with the "S" facing upward.
12. Install 5th gear synchronizer snap ring.