A/T Assembly Removal
REMOVALCAUTION: When removing the A/T assembly from engine, first remove the crankshaft position sensor (OBD) from the A/T assembly upper side. Be careful not to damage sensor edge.
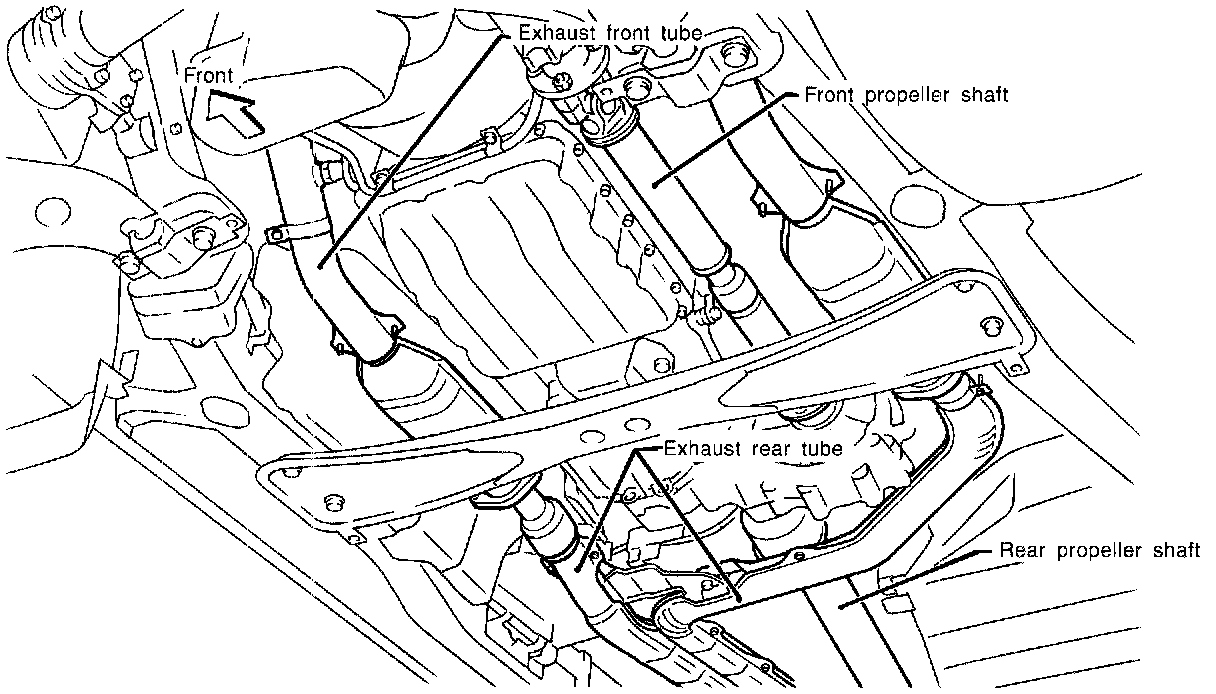
- 4WD and 2WD Model -
- Remove exhaust front and rear tubes (4WD model).
- Remove fluid charging pipe from A/T assembly.
- Remove oil cooler pipe from A/T assembly.
- Plug up openings such as the fluid charging pipe hole, etc.
- Remove propeller shaft.
- Remove transfer control linkage from transfer.
- Insert plug into rear oil seal after removing rear propeller shaft.
CAUTION: Be careful not to damage spline, sleeve yoke and rear oil seal.
- Remove speedometer cable from transfer assembly or A/T assembly.
- Remove A/T control cable from A/T assembly.
- Disconnect A/T harness connectors.
- Remove starter motor.
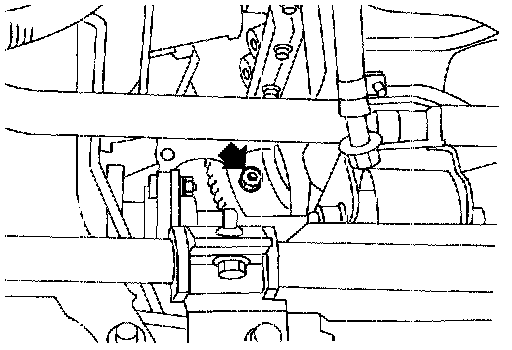
- Remove gusset and rear plate cover securing engine to A/T assembly.
- Remove bolts securing torque converter to drive plate. Remove the bolts by turning crankshaft.
- 4WD Model -
- Support A/T and transfer assembly with a suitable jack and secure to jack.
- Remove rear mounting bracket from body and A/T assembly.
- Remove bolts attaching A/T assembly to engine.
- Lower A/T assembly with transfer.
- 2WD Model -
- Support A/T assembly with a suitable jack and secure to jack.
- Remove rear mounting bracket from body and transmission assembly.
- Remove bolts attaching A/T assembly to engine.
- Pull A/T assembly backwards.
- Secure torque converter to prevent it from dropping.
- Lower A/T assembly.
INSTALLATION
- Reverse procedures to install.
- Check fluid level in transmission.
- Move selector through all positions to be sure that transmission operates correctly.
- Perform road test.