Fuel Level Sensor: Service and Repair
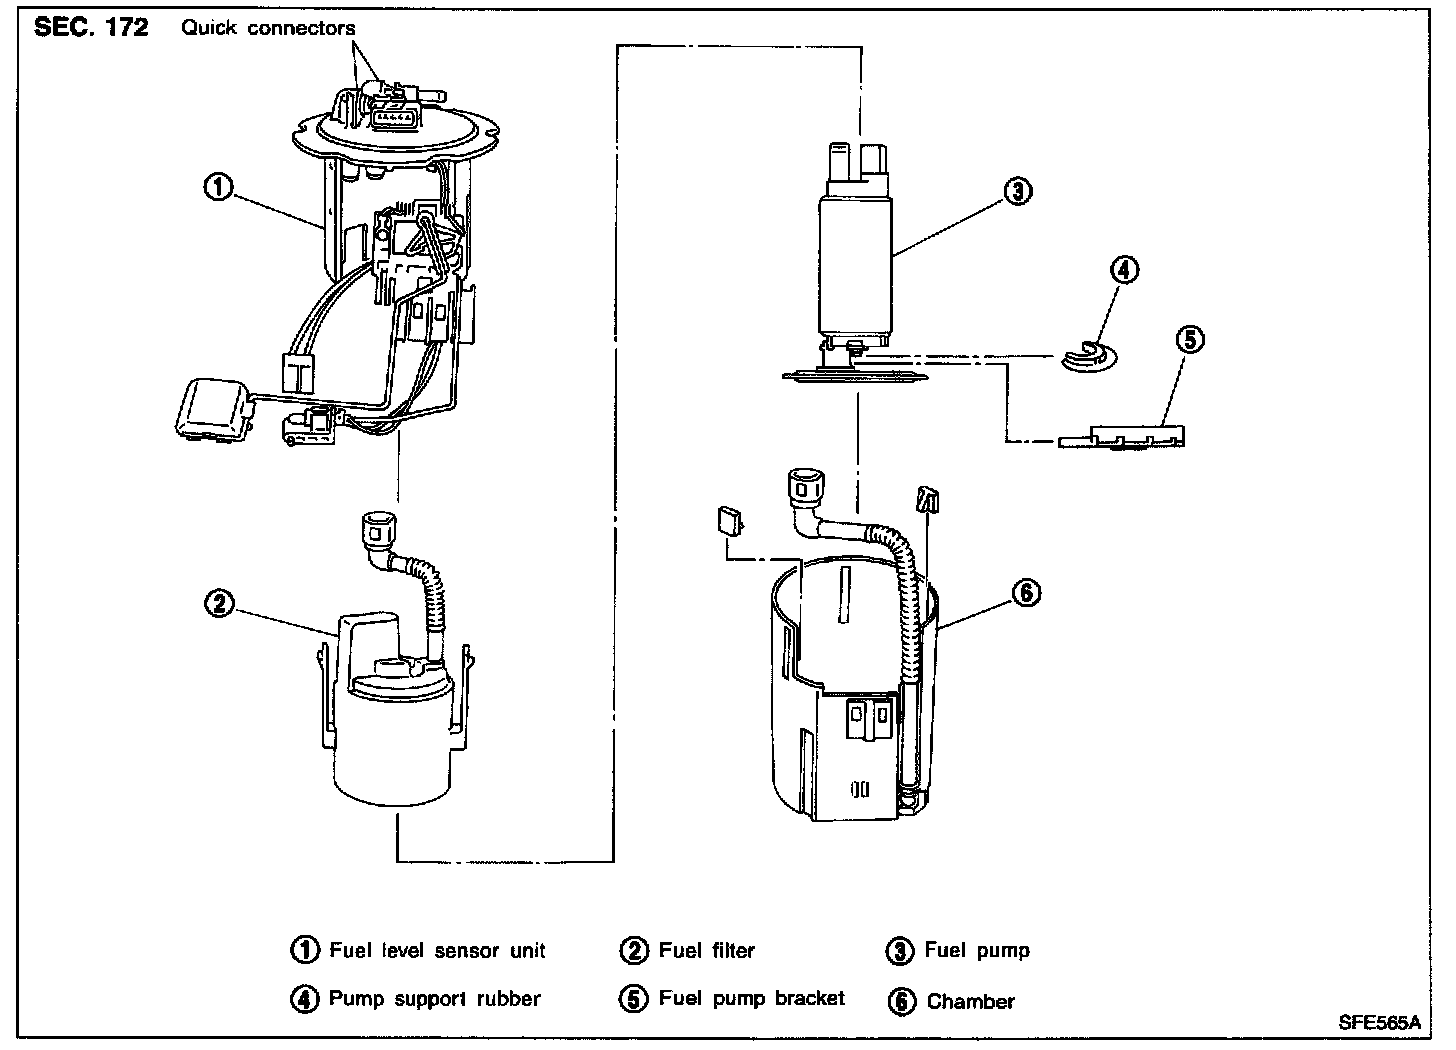
COMPONENTS
REMOVAL
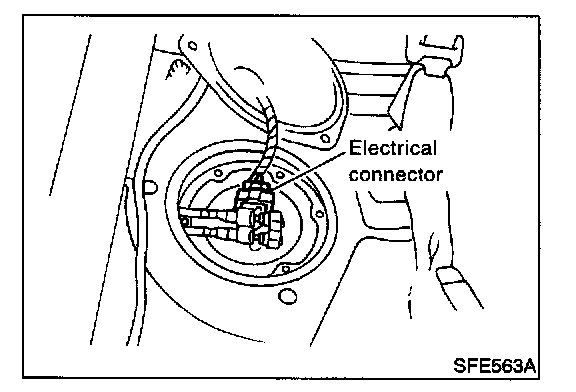
1. Release fuel pressure from fuel line.
2. Remove rear seat bottom.
3. Remove inspection hole cover located under the rear seat.
4. Disconnect electrical connector.
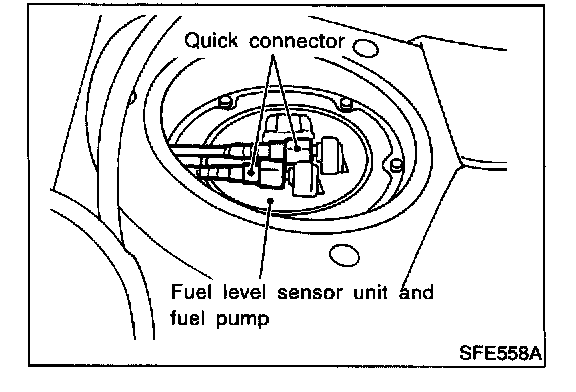
5. Remove the quick connectors.
- For removal of quick connectors, refer to step 5. of "Fuel Tank Removal".
6. Remove the six screws.

7. Pull out the fuel level sensor unit and fuel pump.
- Do not damage the arm of the fuel level sensor and fuel tank temperature sensor.

8. Remove flange of fuel level sensor unit and fuel pump.
- Using a screwdriver, remove the snap fit portion in the order of (1), (2) and (3) as shown in the figure at left.

9. Pull out the fuel tank temperature sensor harness.

10. Push fuel level sensor flange.
- Using a screwdriver, remove the snap fit portion in the order of (1) and (2) as shown in the figure at left.
11. Pull up the fuel level sensor.

12. Disconnect fuel pump connector.

13. Remove quick connectors from fuel level sensor unit.
- Put mating marks on tubes and connectors for correct installation.

14. Pull up the fuel level sensor unit from chamber.

15. Remove fuel filter from chamber.
- Using a screwdriver, remove the snap fit portion in the order of (1) and (2) as shown in the figure.

16. Separate the fuel filter and chamber.

17. Remove fuel pump bracket, then pull out from the fuel filter.

18. Remove fuel pump, then push down the fuel pump as shown in the figure.
19. Remove the pump support rubber from the fuel pump.
INSTALLATION
Installation is in reverse order of removal.