Connecting Rod Bearing: Service and Repair
CAUTION: Do not scrape, shim, or file bearing inserts. If the bearing surface of the insert is touched with bare fingers, the skin oil and acids will etch the bearing surface. Ensure that the bearing cap bolt hole and the cap mating surfaces are clean and dry.1. Dip the bearing cap bolts in clean engine oil.
2. Place the inserts into the bearing cap and into the connecting rod.
^ The inserts will project slightly when put into place. Ensure that they project an equal distance on both sides.
^ Ensure the engagement of the insert tangs.
CAUTION: Upper and lower inserts may be different. Do not obstruct any oil passages.
3. When using a thrust bearing main bearing insert, coat the thrust surface with GM-approved lubricant or equivalent.
4. Lubricate the bearing surface with clean engine oil.
5. Install the connecting rod.
6. Install the bearing cap, by tapping the cap gently into place with a suitable tool.
7. Install the bearing cap bolts. Tighten the bolts to 35 Nm + 45 degrees (26 ft. lbs. + 50 degrees).
8. Pry the connecting rods back and forth, in order to check for binding.
9. If necessary, loosen and retighten the bearing car.
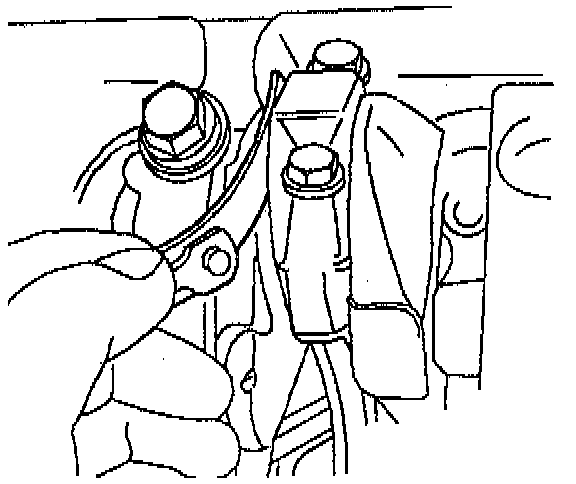
10. Measure the connecting rod side clearance.