Air Injection Vacuum Control Solenoid Valve: Service and Repair
AIR Solenoid Valve ReplacementREMOVAL PROCEDURE

1. Raise the vehicle. Refer to Lifting and Jacking the Vehicle in Vehicle Lifting.
2. For a 2WD vehicle, skip steps 6 and 7.
For a 4WD vehicle, skip steps 4 and 5.
3. Remove the AIR shield mounting bolts.

4. Remove the AIR shield.

5. Remove the retaining bolts from the steering linkage shield.

6. Remove the steering linkage shield.
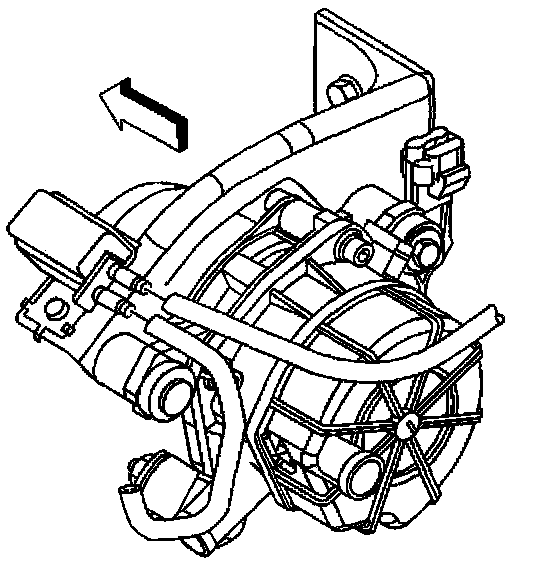
7. Disconnect the solenoid vacuum hoses.
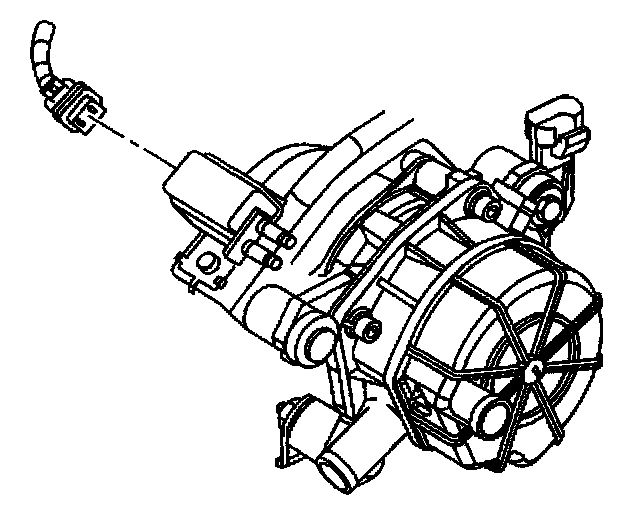
8. Disconnect the solenoid electrical connector.
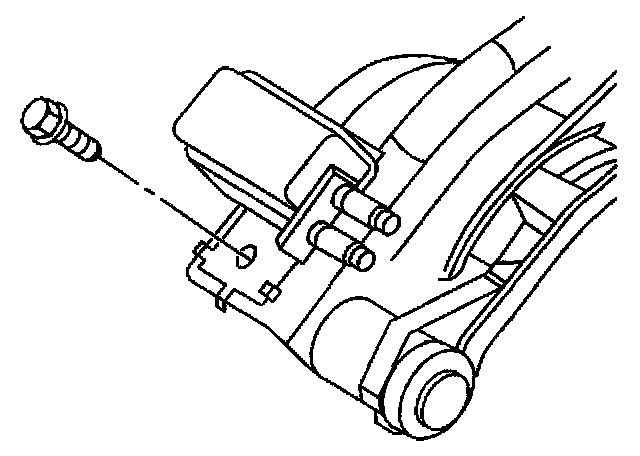
9. Remove the retaining screw from the bracket.
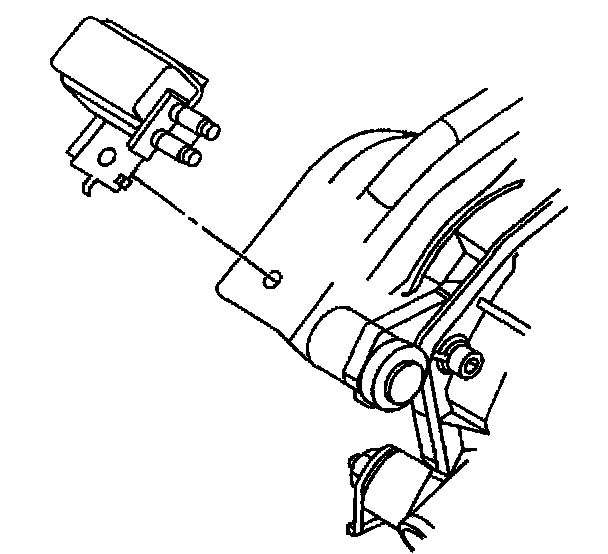
10. Remove the solenoid.
INSTALLATION PROCEDURE
1. Align the new solenoid bracket hole with hole in the AIR pump bracket.
2. Install the retainer screw (1).
3. Connect the solenoid electrical connector.
4. Connect the solenoid vacuum hoses.
5. For a 2WD vehicle, skip steps 8 and 9.
For a 4WD vehicle, skip steps 6 and 7.
6. Align the AIR shield.
NOTE: Refer to Fastener Notice in Service Precautions.
7. Install the AIR shield mounting bolts.
Tighten
Tighten the bolts to 33 N.m (24 lb ft).
8. Align the steering linkage shield.
9. Install the linkage shield mounting bolts.
Tighten
Tighten the bolts to 33 N.m (24 lb ft).
10. Lower the vehicle. Refer to Lifting and Jacking the Vehicle in Vehicle Lifting.