Air Duct: Service and Repair
AIR DISTRIBUTOR DUCT REPLACEMENTREMOVAL PROCEDURE
1. Remove the instrument panel. Refer to IP Carrier Replacement in Instrument Panel, Gauges and Console.
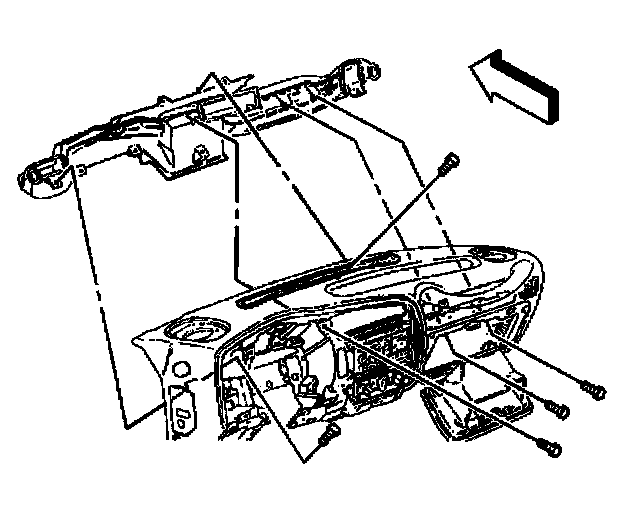
2. Remove the driver side air distributor duct screws.
3. Remove the cowl side air distributor duct screws.
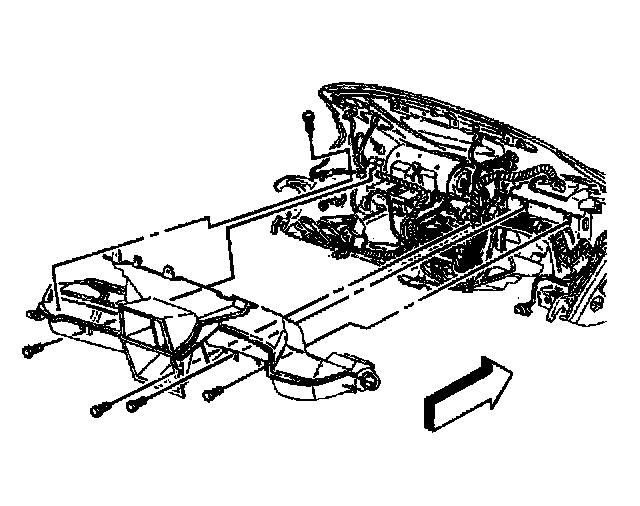
4. Remove the air distributor duct from the instrument panel.
INSTALLATION PROCEDURE
1. Install the air distributor duct to the instrument panel.
NOTE: Refer to Fastener Notice in Service Precautions.
2. Install the cowl side air distributor duct screws.
Tighten
Tighten the screws to 1.9 N.m (17 lb in).
3. Install the driver side air distributor duct screws.
Tighten
Tighten the screws to 1.9 N.m (17 lb in).
4. Install the instrument panel. Refer to IP Carrier Replacement in Instrument Panel, Gauges and Console.