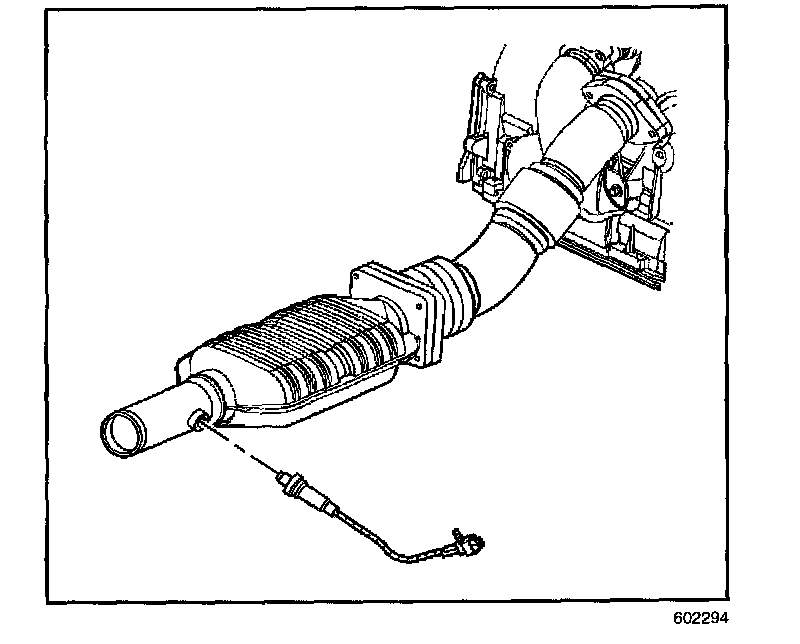
Heated Oxygen Sensor (HO2S) Replacement Bank 1 Sensor 2
REMOVAL PROCEDURENOTE: Refer to Oxygen Sensor Notice in Service Precautions.
IMPORTANT:
^ Remove the oxygen sensors with the engine temperature above 48°C (120°F). Otherwise the oxygen sensors may be difficult to remove.
^ A special anti-seize compound is used on the oxygen sensor threads. New service sensors should already have the compound applied to the threads. Coat the threads of a reused sensor with anti-seize compound P/N 5613695 or equivalent.
1. Raise and support the vehicle. Refer to Lifting and Jacking the Vehicle.
2. Disconnect the pre-or post-converter oxygen sensor electrical connector.
3. Remove the pre-or post-converter oxygen sensor.
INSTALLATION PROCEDURE
NOTE: Refer to Fastener Notice in Service Precautions.
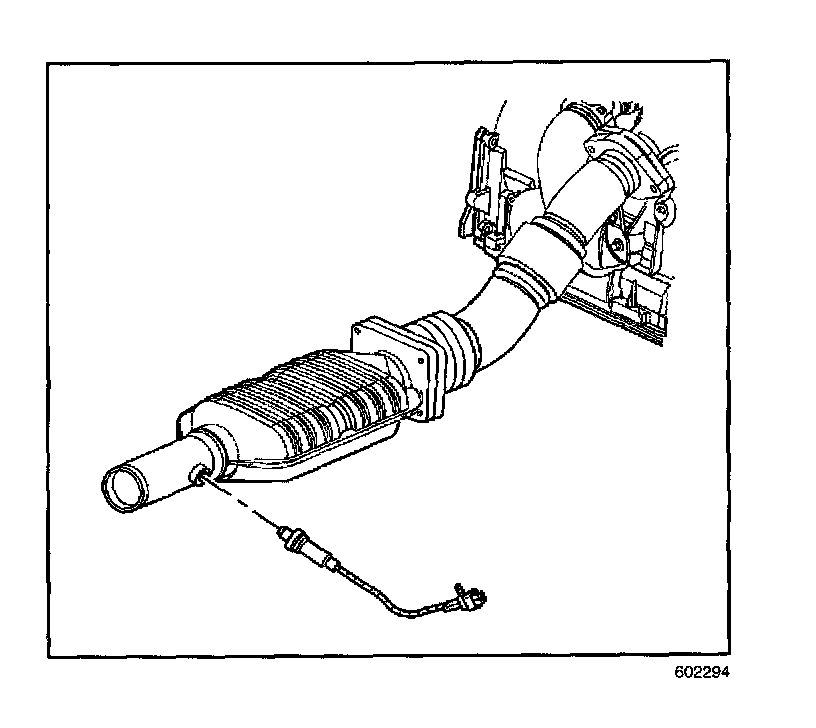
1. Install the pre-or post-converter oxygen sensor.
Tighten
Tighten the Pre or Post heated oxygen sensor (HO2S) sensor to 41 N.m (30 lb ft).
2. Connect the pre-or post-converter oxygen sensor electrical connector.
IMPORTANT: Ensure that the connectors are securely installed beneath the harness heat shield in order to prevent connector damage.
3. Lower the vehicle.