Orifice Solenoid Replacement
ORIFICE SOLENOID REPLACEMENTTOOLS REQUIRED
J 39400-A Halogen Leak Detector
REMOVAL PROCEDURE
1. Recover the refrigerant.
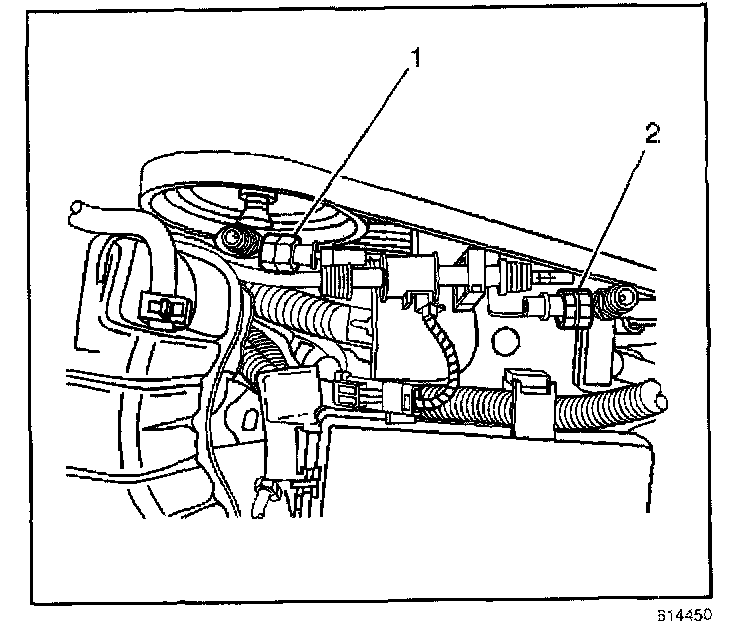
2. Disconnect the electrical connector from the orifice solenoid.
3. Disconnect the orifice solenoid from the accumulator cover.
4. Disconnect the hose fittings (1, 2) at each end of the valve.
5. Remove the valve.
INSTALLATION PROCEDURE
1. Inspect the orifice valve screen and clean or replace as necessary.
IMPORTANT: Lubricate the new expansion tube O-ring with mineral base 525 viscosity refrigerant oil before installing into the evaporator hose.
2. Install the orifice valve to the lines (1, 2) and hand tighten to ensure a good connection.
NOTE: Refer to Fastener Notice in Service Precautions.
Tighten
Tighten the fittings to 27 N.m (20 lb ft).

3. Install the orifice valve into the accumulator cover and connect the electrical connector.
4. Recharge the A/C system.
5. Leak test the fittings of the component using the J 39400-A.