Refrigerant Pressure Sensor / Switch: Service and Repair
Removing And Installing Pressure Switch
Preliminary work
1. Remove wiper linkage.
2. Remove cowl panel cover.
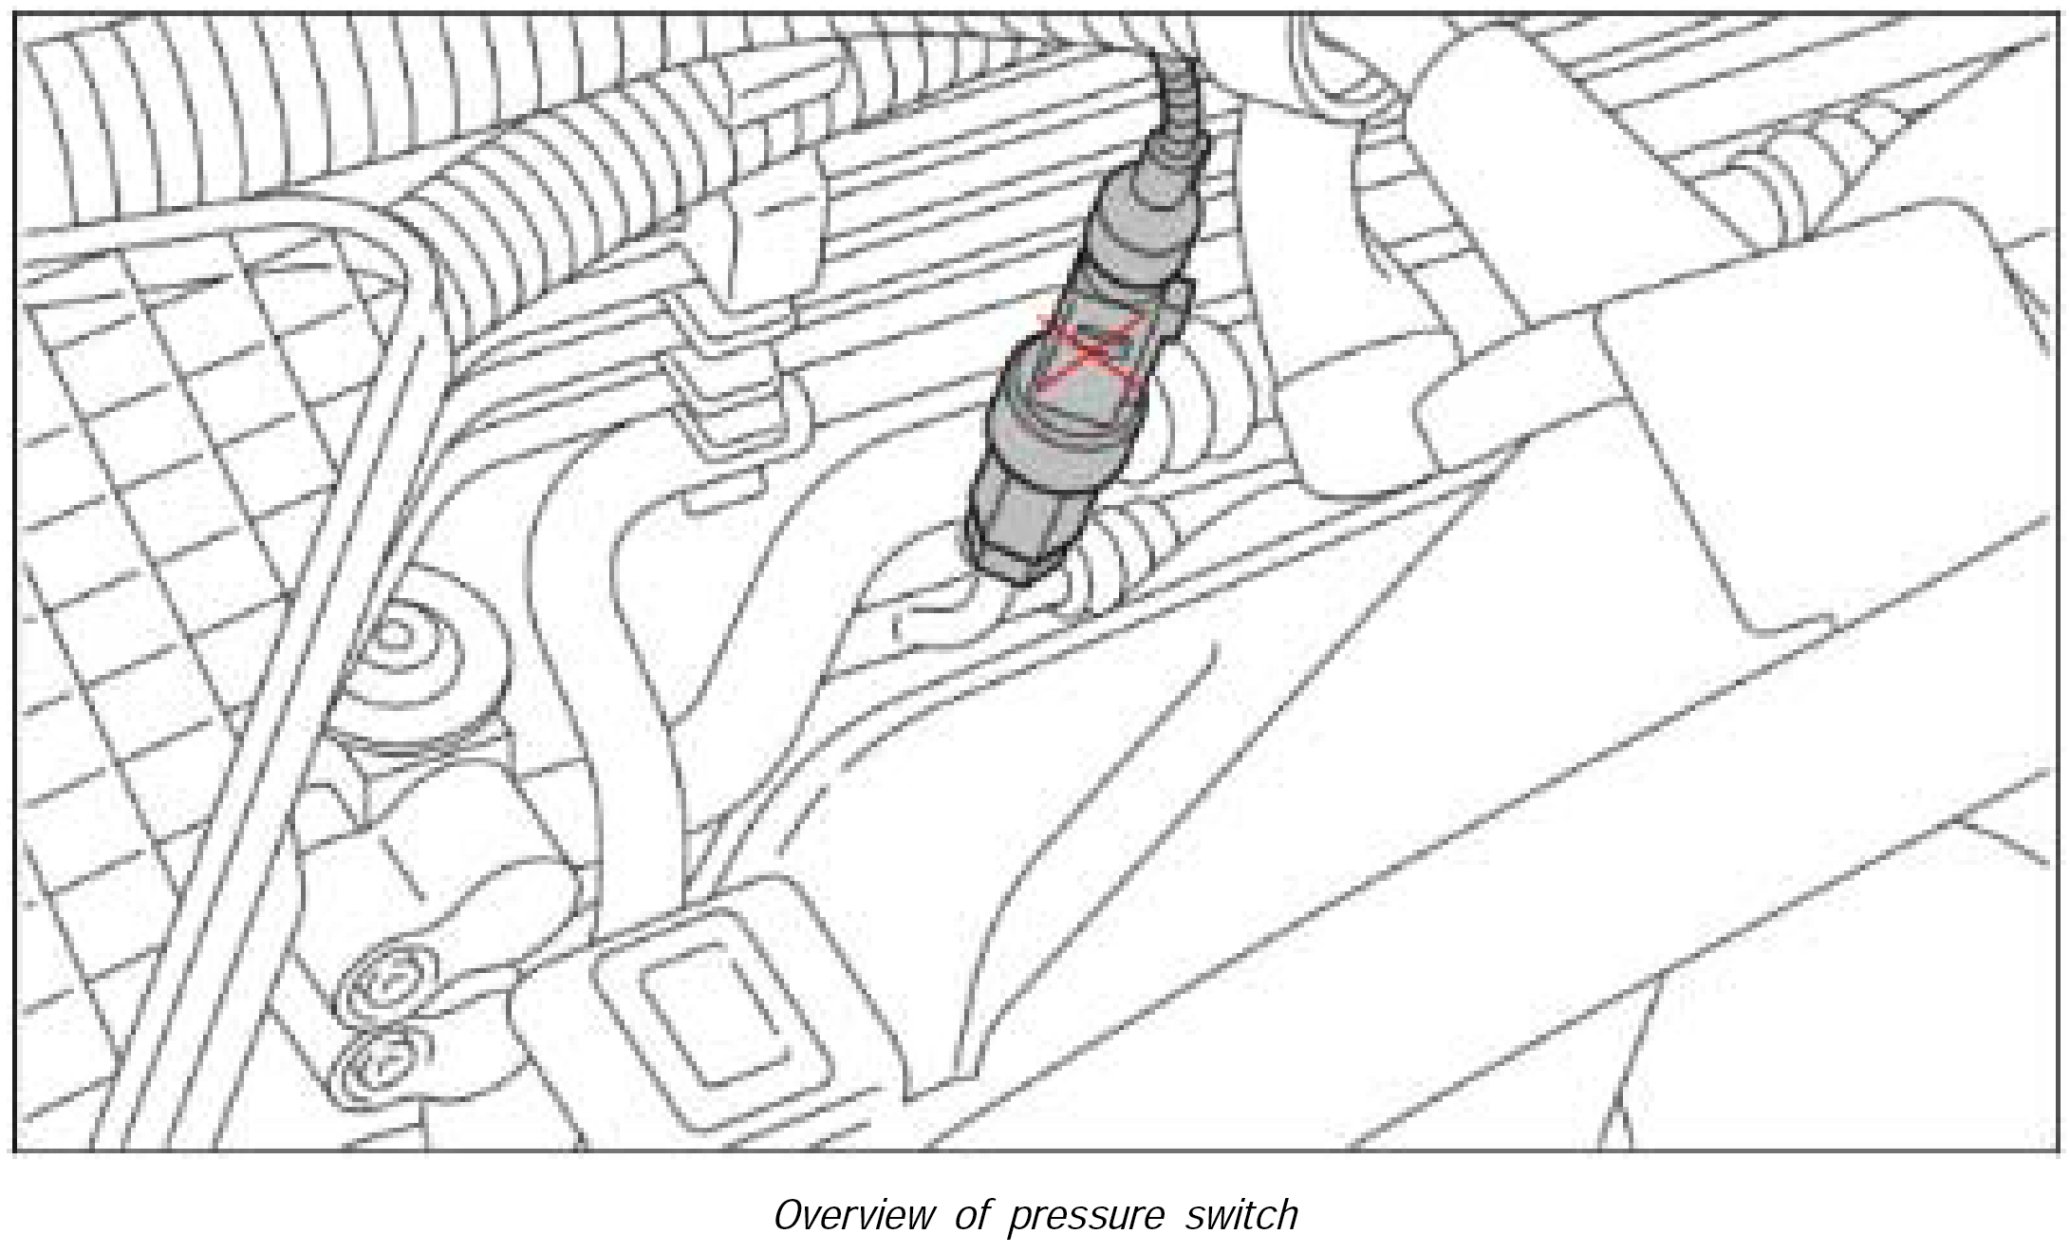
Removing pressure switch
NOTE: The pressure switch is located in the radiator tank in the direction of travel under the cowl panel cover.
ATTENTION:
Danger of injury from contact with the refrigerant.
- Observe safety regulations when working with refrigerant.
1. Drain refrigerant.
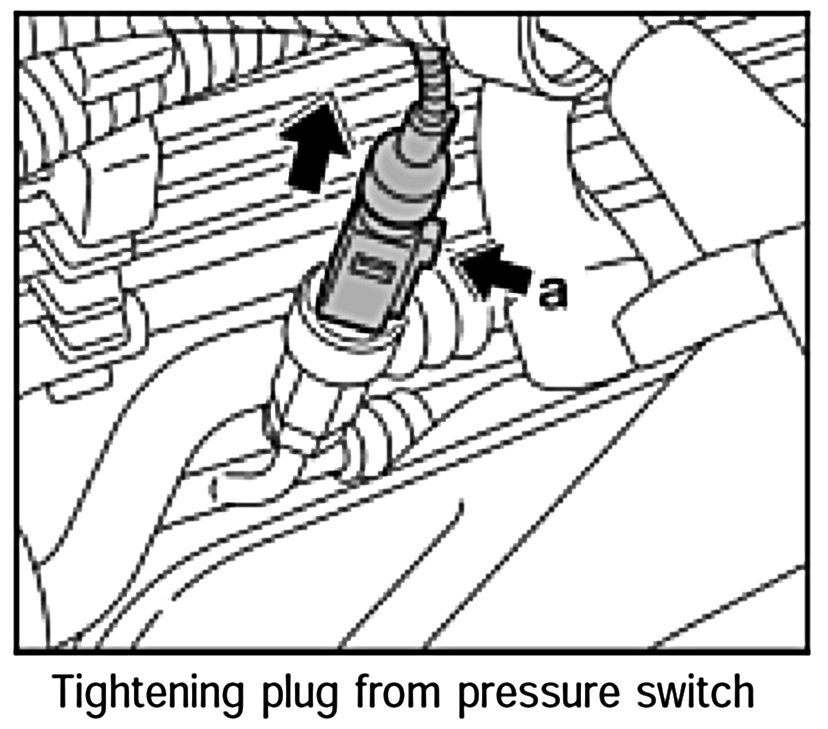
2. Press release on electrical connector -a- and disconnect from pressure switch.
3. Place one open-ended wrench on the hexagon of the pressure switch and a second open-ended wrench on the hexagon of the refrigerant line.
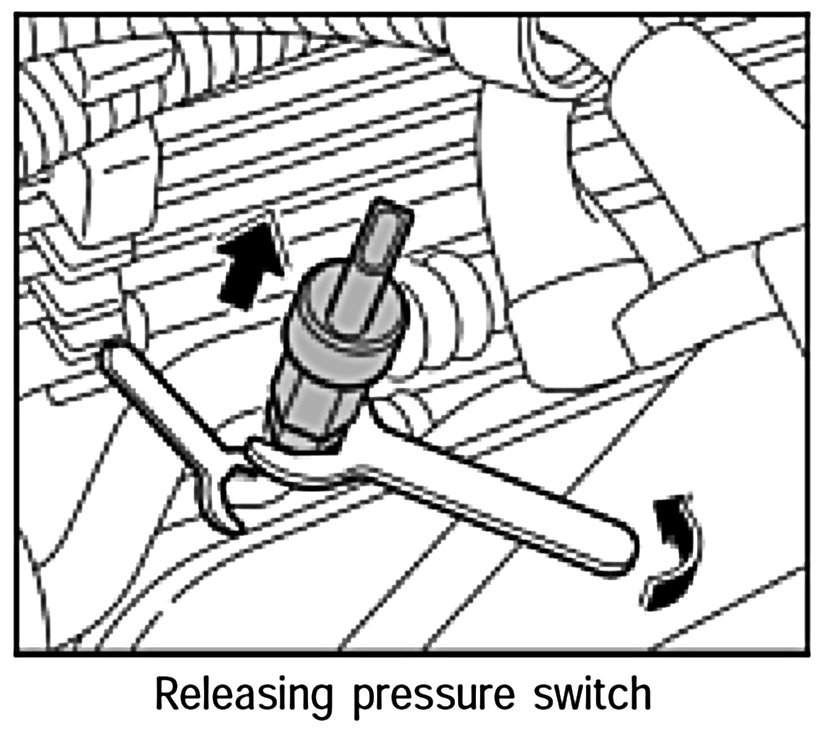
4. Unscrew pressure switch from refrigerant line in direction of arrow and remove.
Installing pressure switch
1. Replace the O-ring on the pressure switch and wet it with refrigerant oil.
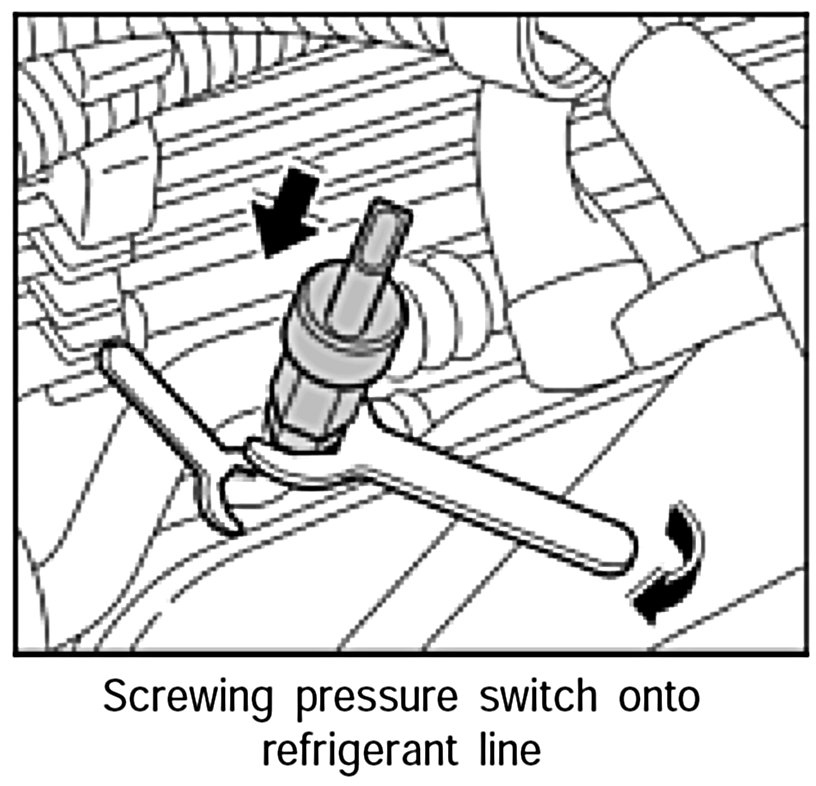
2. Screw pressure switch onto refrigerant line and tighten with an open-ended wrench. Counter with a second open-ended wrench. Tightening torque: 3.5 ftlb.
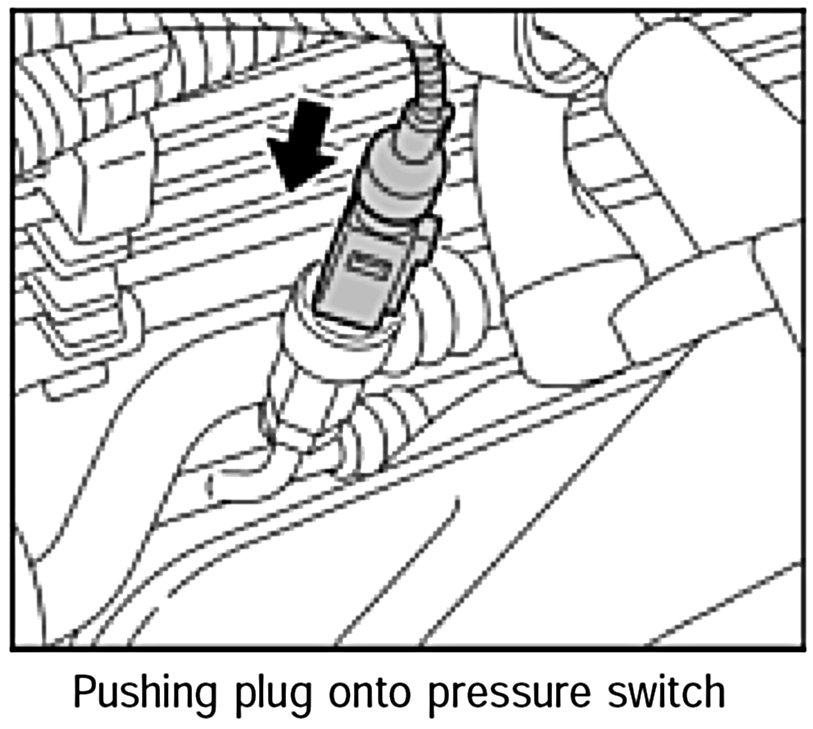
3. Push electrical plug onto pressure switch until it clicks into place.
Subsequent work
1. Fill in refrigerant.
2. Install cowl panel cover.
3. Install wiper linkage.