Preheated Oxygen Sensor 1. OBDII
Preheated Oxygen Sensor 1. OBDII
To remove
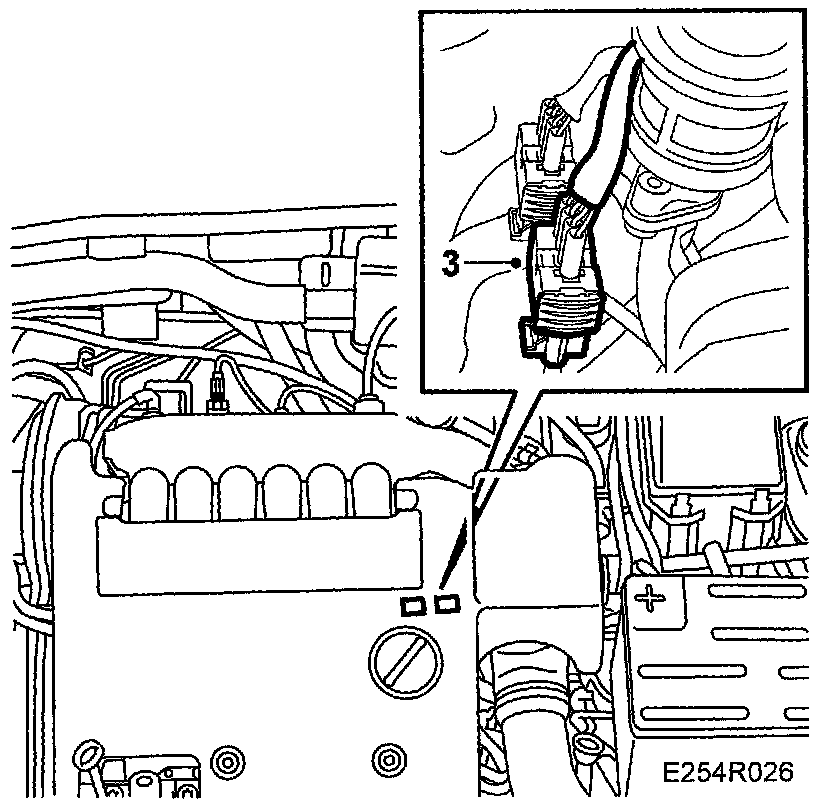
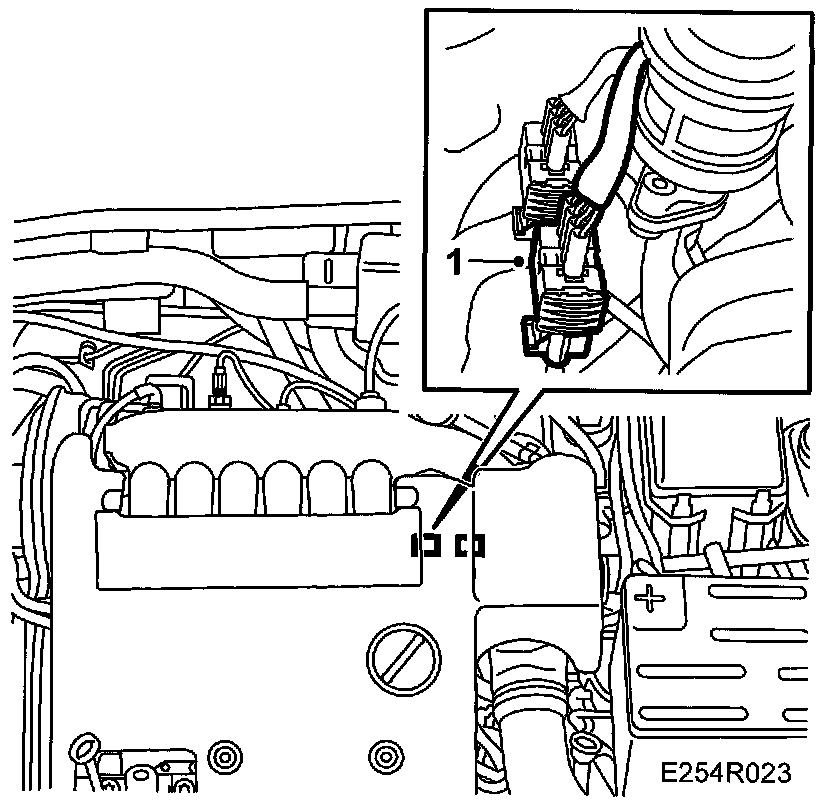
1. Separate the oxygen sensor connector and remove it from the bracket.
2. Raise the car.
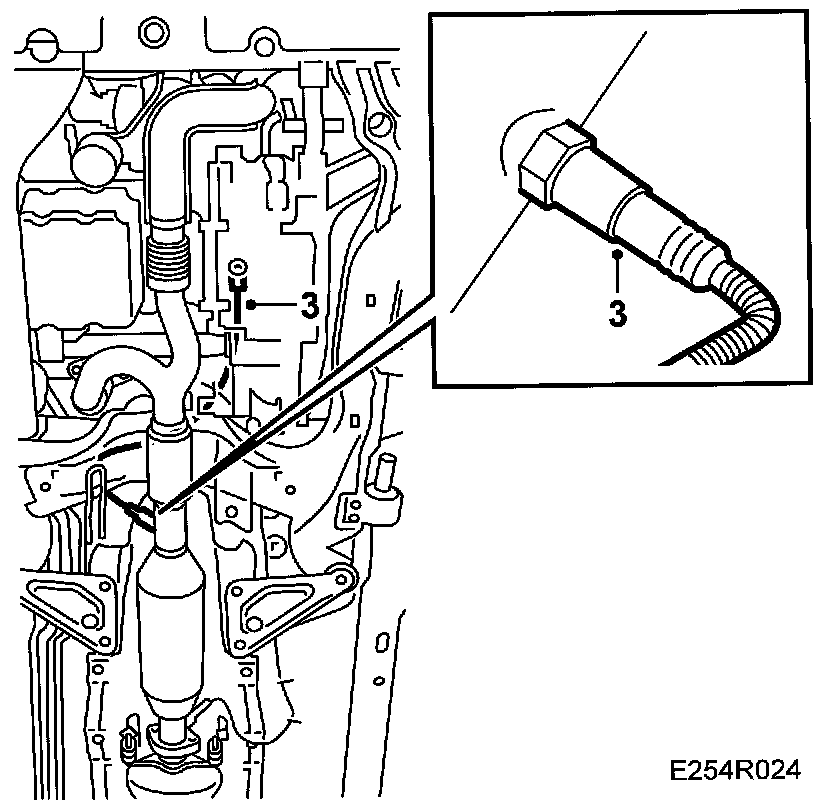
3. Cut off the cable tie securing the oxygen sensor cable. Note how the cables are positioned and lower the cable. Remove the oxygen sensor.
IMPORTANT:
- The cables must not be twisted. Twisted cables exposed to vibration can break.
- The oxygen sensor is sensitive to impacts and jolting and must be handled with care.
To fit
IMPORTANT:
- The cables must not be twisted. Twisted cables exposed to vibration can break.
- The oxygen sensor is sensitive to impacts and jolting and must be handled with care.
NOTE: Coat the oxygen sensor threads sparingly with Molykote 1000 (part no. 30 20 971).
1. Fit the oxygen sensor.
Tightening torque: 55 Nm (40.5 lbf ft)
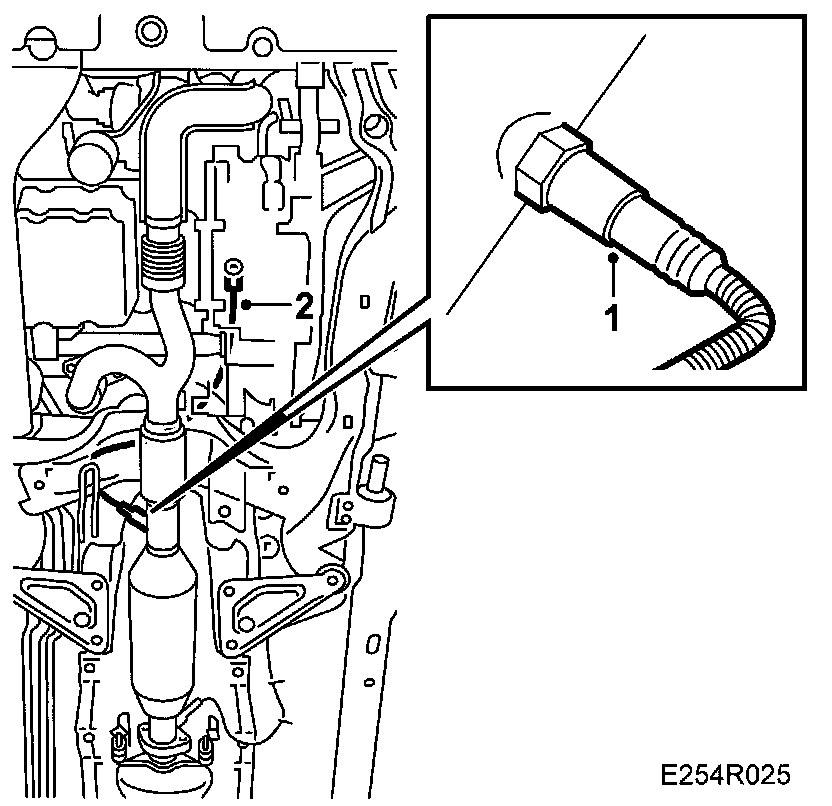
2. Carefully replace the cable to the oxygen sensor connector. Secure the cable with a cable tie.
IMPORTANT: Chemicals such as contact spray and grease must not come into contact with the oxygen sensor connectors.
3. Attach the connector to the holder and connect the oxygen sensor's connector. Lower the car.