3. Rear Crankshaft Oil Seals Removal
REAR CRANKSHAFT OIL SEAL REMOVAL - 2001 MODEL YEARNOTICE: To prevent oil leaks and seal damage, the engine's oil pan must be removed if the rear oil seal carrier requires replacement.
1. Remove engine oil pan. Refer to "Oil Pan - In Chassis" removal procedure in the General Information section of this service manual.
2. Remove rear oil seal assembly bolts and discard bolts. New bolts are supplied with seal kit and will be used for installation.
NOTICE: Do not pry in the area of the crankshaft flange sealing surface.

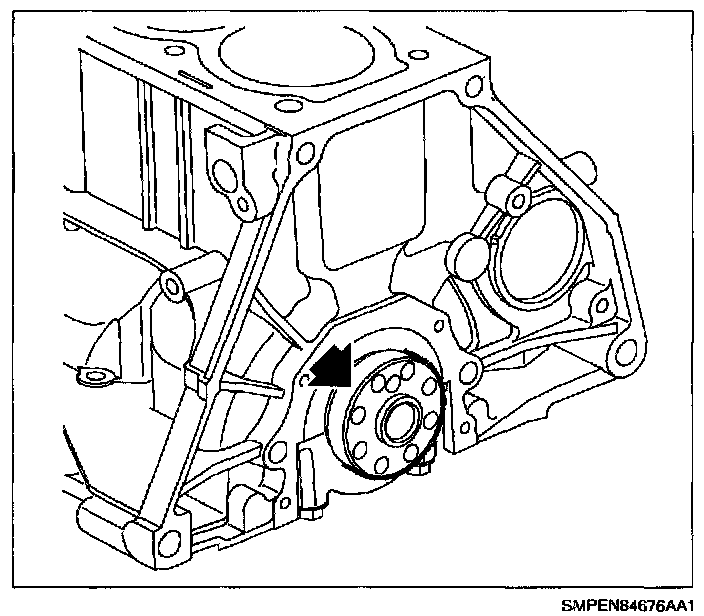
3. Pry the outside edges of rear oil seal carrier away from engine block and remove seal carrier.
4. Remove original RTV from engine block and oil pan using scraper or 3M Scotch-Brite pads (or equivalent).
NOTICE: Do not use petroleum cleaners such as mineral spirits; they leave film onto which RTV will not stick.
5. Clean the engine block sealing surface with a chlorinated solvent, such as brake cleaner Saturn P/N 21OO7432, alcohol, (or equivalent).
6. Check the oil seal lip contact surface of the crankshaft for rust, scratches, or damage. If rust is present, remove using a fine 3M Scotch-Brite pad and clean thoroughly.