6. Disassembly Of Piston and Connecting Rod Assemblies
- Tools Required
- SA9lOlE Piston Pin Retainer/Replacer

1. Check fit between piston and pin.
Try to move the piston back and forth on the piston pin. If any movement is felt, measure the piston pin to piston and connecting rod clearances.
Piston Pin to Piston:
Standard: 0.002 - 0.011 mm (0.0001 - 0.0004 inch)
Service Limit: 0.015 mm (0.0005 inch) max.
Piston Pin to Connecting Rod:
Standard: 0.005 - 0.021 mm (0.0002 - 0.0008 inch)
Service Limit: 0.030 mm (0.00012 inch) max.

2. Remove piston rings:
a. Using a piston ring expander, remove the compression rings.
b. Remove oil ring by hand.

3. Disconnect connecting rod from piston.
a. Using a small screwdriver, remove the snap rings from the piston.

b. Using a plastic-faced hammer and service tool SA9lOlE, support the piston and lightly tap out the piston pin.
c. Remove the connecting rod.
NOTICE: Carefully remove any burrs in the piston bore, next to the snap ring groove, using an X-ACTO knife. This will prevent piston pin scoring during removal.

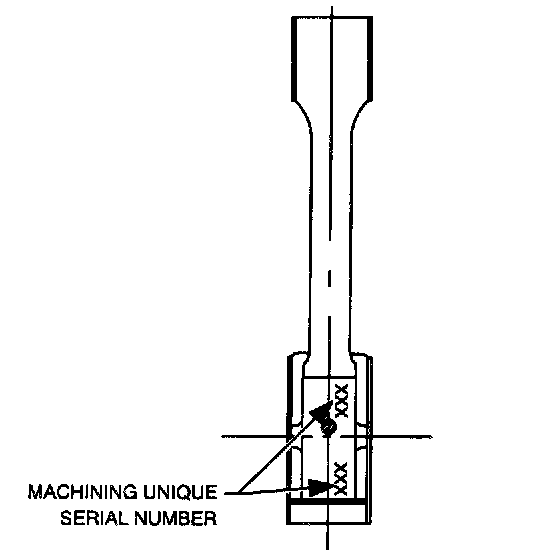
IMPORTANT: The piston and pin are a matched set. Arrange the pistons, pins, rings, connecting rods, and bearings in correct order. The connecting rods and rod caps are identified with a unique serial number during machining.