Steering Column Trim Cover Replacement
Steering Column Trim Cover Replacement
Removal Procedure
1. Disable the SIR system. Refer to SIR Disabling and Enabling Service and Repair.
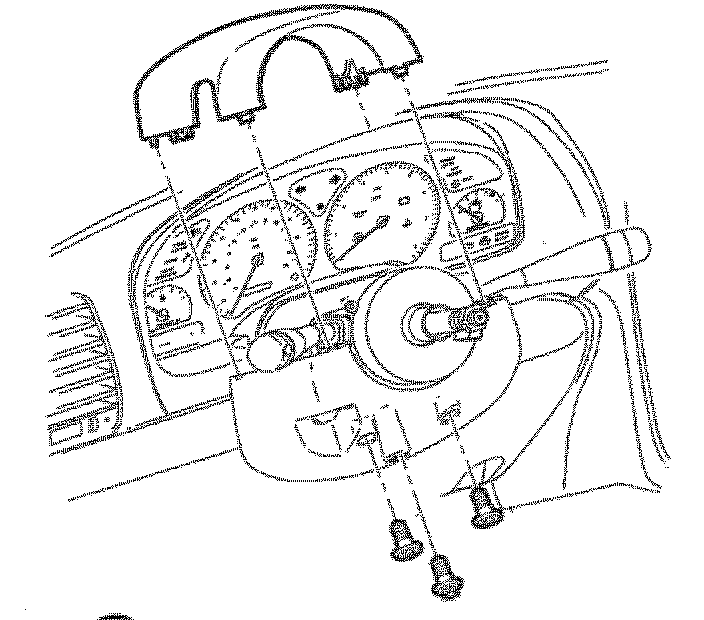
2. Remove the upper to lower steering column cover fasteners.
3. Unsnap and remove the upper steering column cover.
4. Remove the lower steering column cover screws.
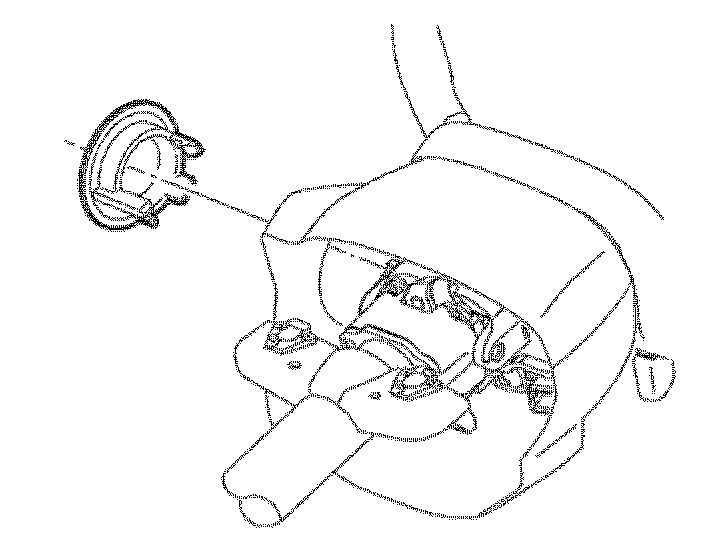
5. Unsnap and remove the ignition switch bezel.
6. Remove the lower trim cover.
Installation Procedure
1. Position the upper and lower shrouds.
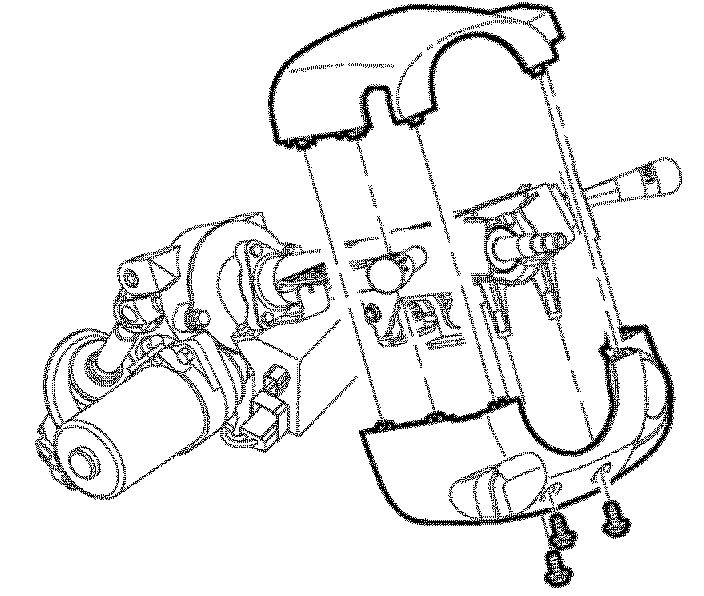
2. Apply light pressure until they snap in place.
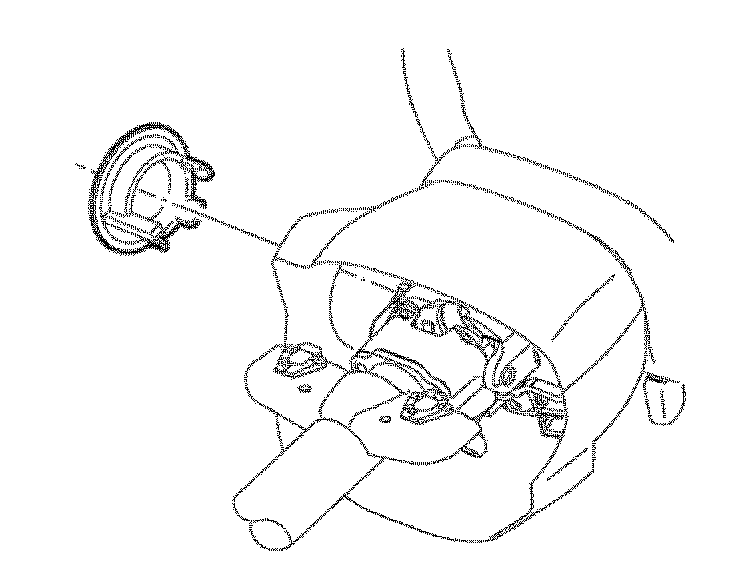
3. Install the ignition switch bezel.
Notice: Use the correct fastener in the correct location. Replacement fasteners must be the correct part number for that application. Fasteners requiring replacement or fasteners requiring the use of thread locking compound or sealant are identified in the service procedure. Do not use paints, lubricants, or corrosion inhibitors on fasteners or fastener joint surfaces unless specified. These coatings affect fastener torque and joint clamping force and may damage the fastener. Use the correct tightening sequence and specifications when installing fasteners in order to avoid damage to parts and systems.
4. Install the steering column fasteners.
Tighten
Tighten the lower steering column cover screws to 2 Nm (18 lb in).
5. Enable the SIR system. Refer to SIR Disabling and Enabling Service and Repair.