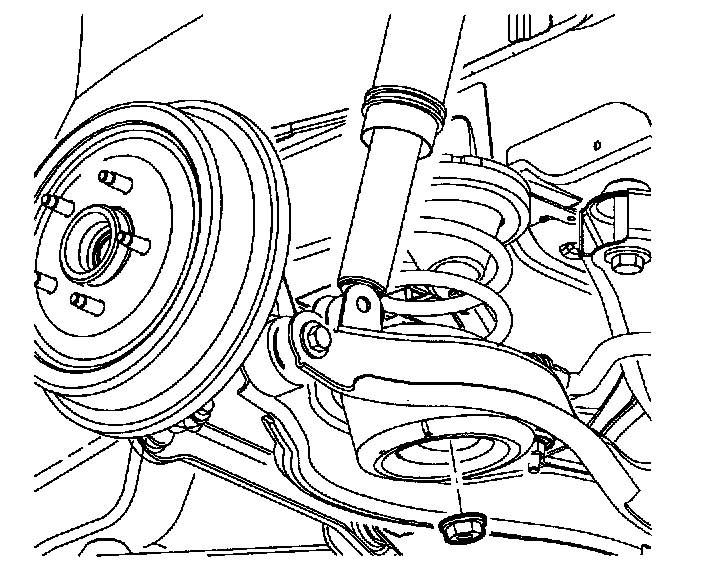
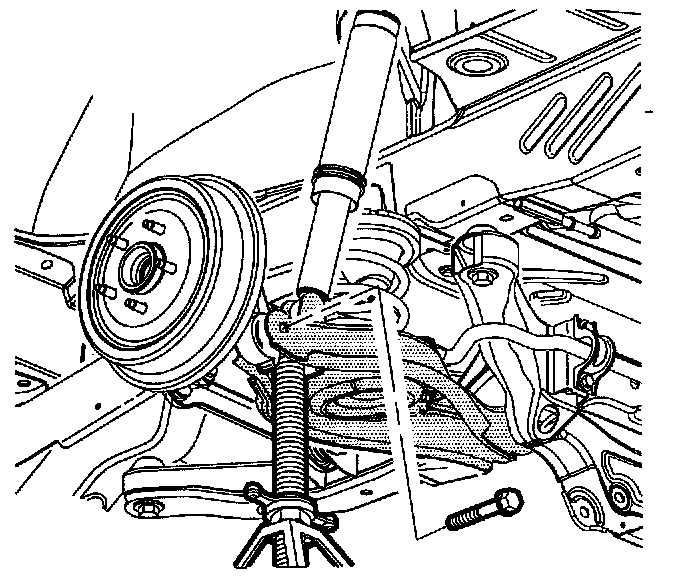
Rear
LOWER CONTROL ARM - INNER BUSHING (AT HOUSING)^ TOOLS REQUIRED - J45097 Lower Control Arm Bushing Remover & Installer
DISASSEMBLY
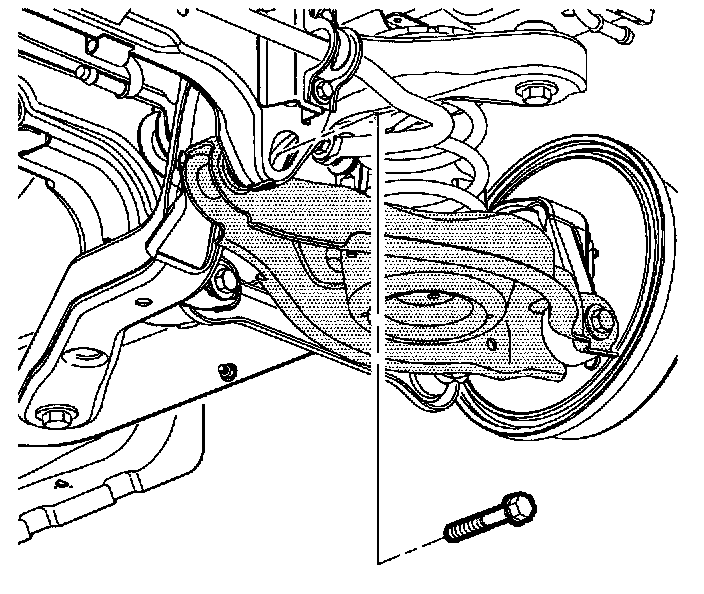
1. Using Lower Control Arm Bushing Remover & Installer J45097 remove bushing in the direction of arrow.
2. Install push-out socket against bushing from flanged side of control arm.
3. Install through-bolt with washer and bearing against push-out socket.
4. Install a backing socket against control arm (opposite side from flange).
5. Install stabilizer between control arm ears.
NOTICE: Apply high pressure lube on threads of tool.
6. Install flat washer and nut. Tighten nut until bushing is removed.
ASSEMBLY
1. Install new bushing in the opposite direction.
IMPORTANT: Center of bushing to align with center of control arm. Approximately 2 mm (0.079 inch) beyond the flange.
2. Reverse tool layout, tighten nut to install bushing.