Rear Axle Upper Control Arm Replacement
Rear Axle Upper Control Arm Replacement
Removal Procedure
1. Raise and support the vehicle. Refer to Vehicle Lifting.
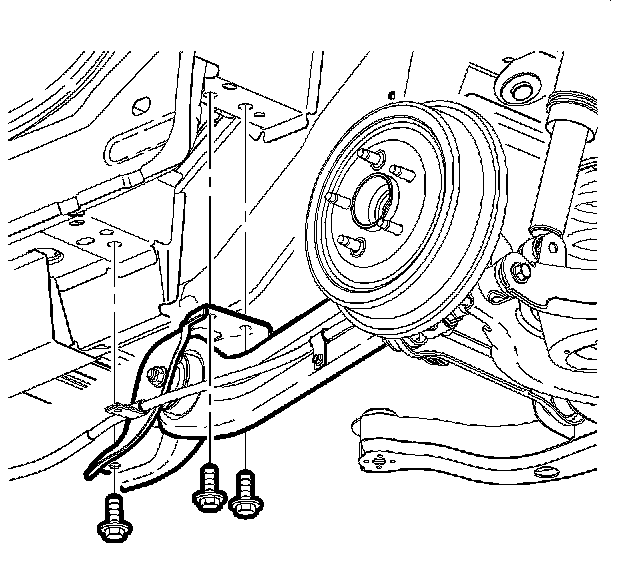
2. Remove the trailing arm bracket to body bolts.
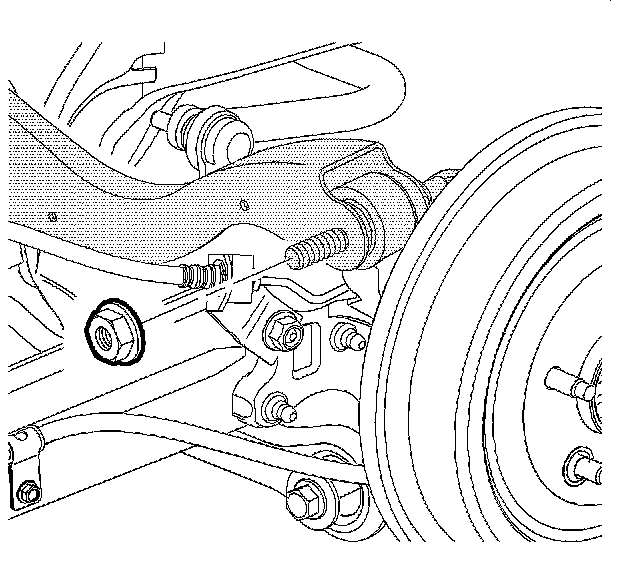
3. If applicable, remove the ABS brake harness from the upper control arm.
4. Remove the upper control arm to knuckle nut and bolt.
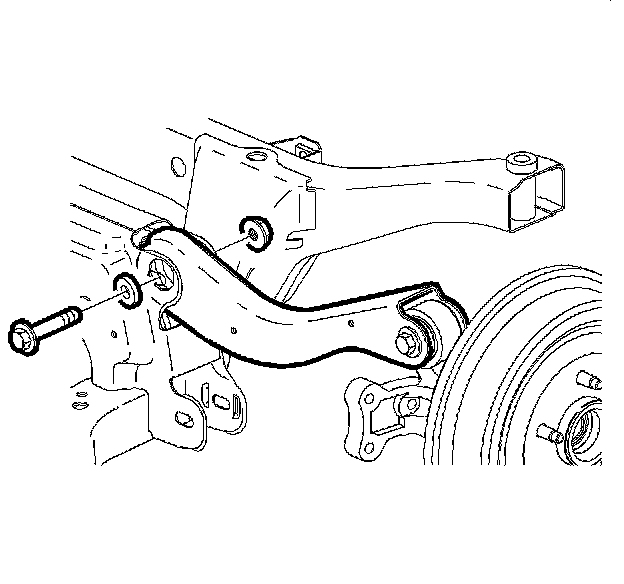
5. Remove the upper control to support nut and bolt.
6. Remove the upper control arm.
Installation Procedure
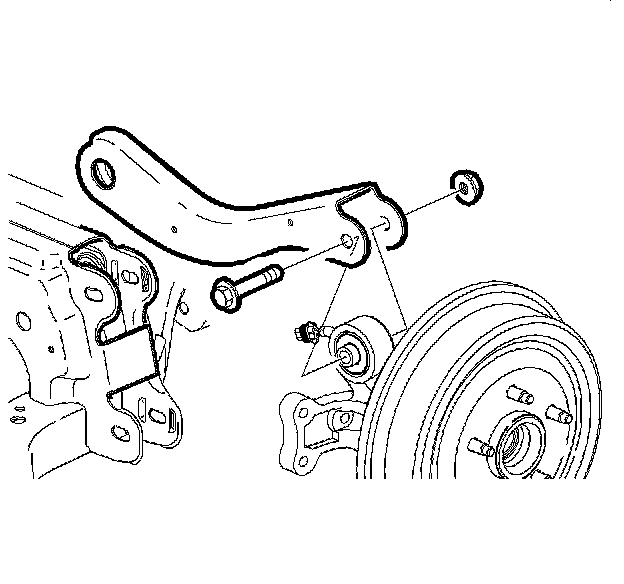
1. Install the upper control arm to the knuckle.
2. Loosely install the upper control arm to knuckle nut and bolt.
3. Install the upper control to support bolt and cam nut.
4. Notice: Refer to Fastener Notice in Service Precautions.
Tighten the upper control arm to knuckle nut and bolt.
^ Tighten the bolt to 160 Nm (118 ft. lbs.).
5. Tighten the upper control arm to support bolt.
^ Tighten the bolt to 160 Nm (118 ft. lbs.).
6. If applicable, install the ABS harness to the upper control arm.
7. Push upward on the trailing arm and loosely install the front bolt.
8. Use a drift to align the remaining bolts.
^ Tighten the trailing arm bracket to body bolts to 110 Nm (81 ft. lbs.).
9. Lower the vehicle.
10. Check the rear alignment.