Liftgate Outside Handle Replacement
Liftgate Outside Handle Replacement
Removal Procedure
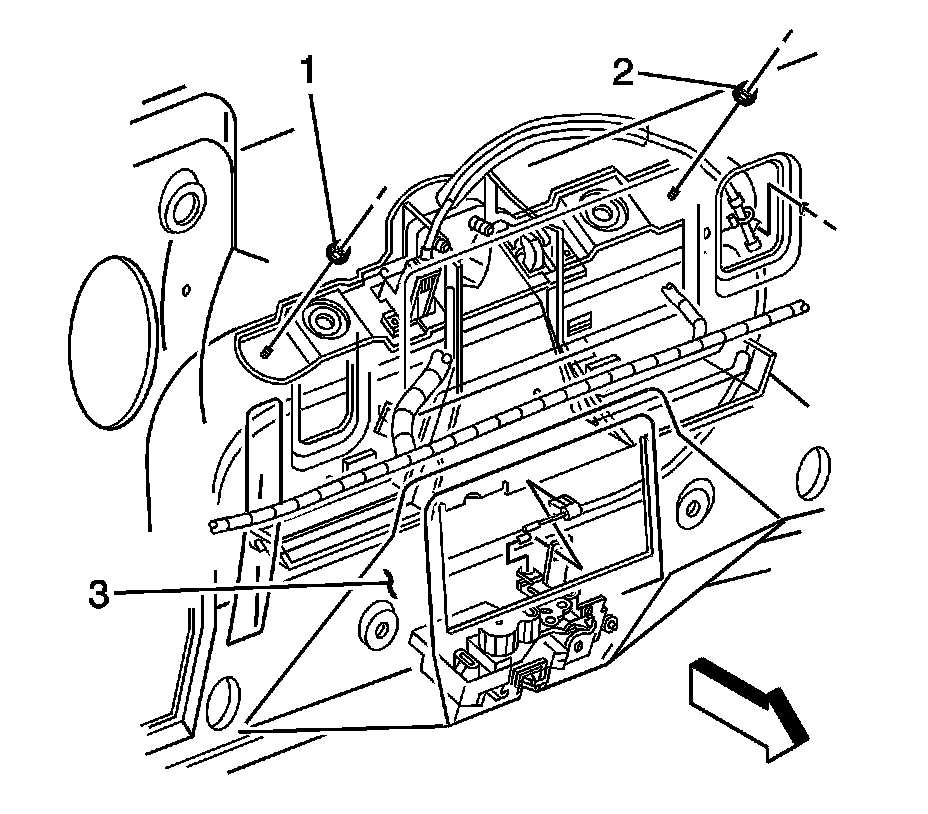
1. Open the liftgate.
2. Remove the liftgate trim panel.
3. Remove the water deflector.
4. Remove the license plate lamp sockets by turning the sockets counterclockwise.
5. Remove the liftgate handle nuts (1, 2) from the studs inside the liftgate (3).
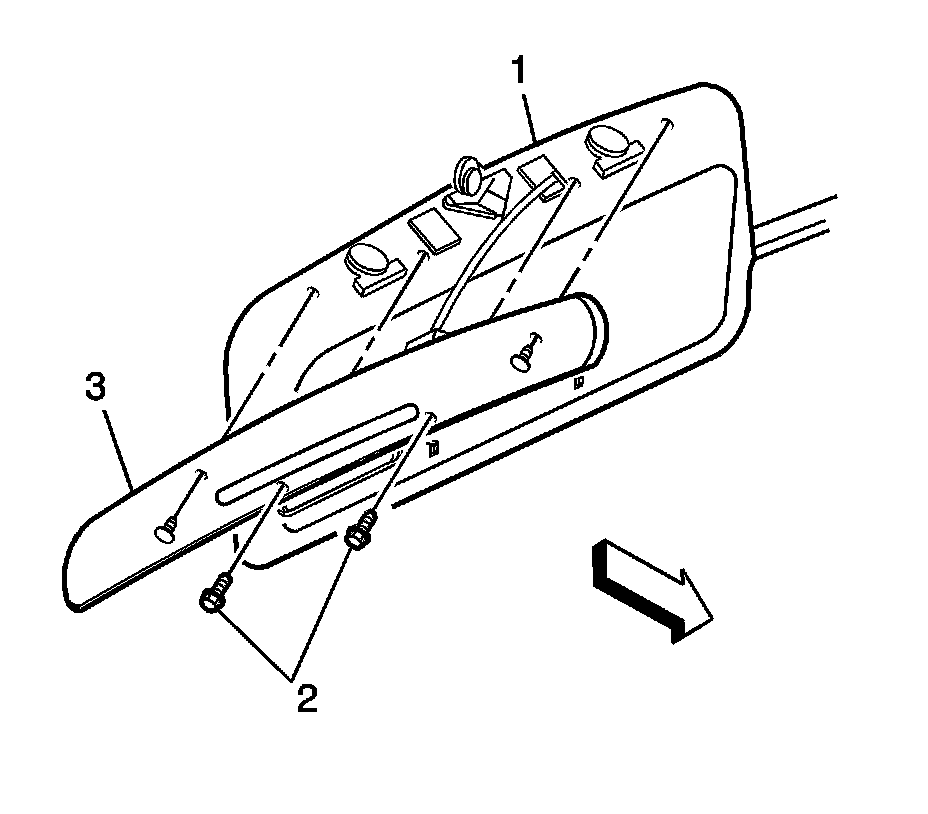
6. Remove the bolts (2) from the liftgate handle.
7. Remove the liftgate latch cable from the handle.
8. Remove the liftgate handle from the liftgate.
9. Remove the liftgate handle gasket and discard.
Installation Procedure
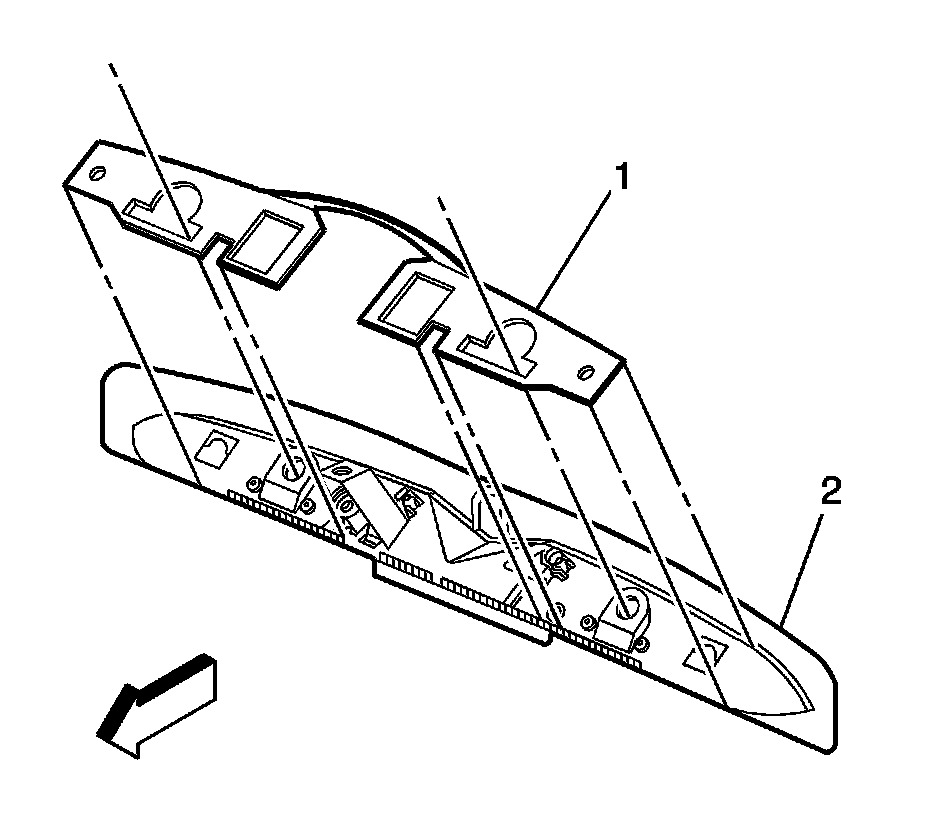
1. Install a new liftgate handle gasket (1) prior to installing the liftgate handle.
2. Install the liftgate latch cable to the liftgate handle.
3. Align the liftgate handle studs with holes in liftgate.
Notice: Refer to Fastener Notice.
4. Install the liftgate handle retaining bolts (2).
Tighten the bolts to 10 N.m (89 lb in).
5. Install the liftgate handle retaining nuts (1, 2) to the studs.
Tighten the nuts to 10 N.m (89 lb in).
6. Install license plate lamp sockets by turning sockets clockwise.
7. Install the water deflector. Refer to Liftgate Water Deflector Replacement.
8. Install the liftgate trim panel. Refer to Liftgate Trim Panel Replacement.
9. Close the liftgate.