Trunk / Liftgate Shock / Support: Service and Repair
Liftgate Strut Replacement
Removal Procedure
Caution: When a lift gate hold open device is being removed or installed, provide alternate support to avoid the possibility of damage to the vehicle or personal injury.
1. Open and support the liftgate.
2. Remove the tail lamps.
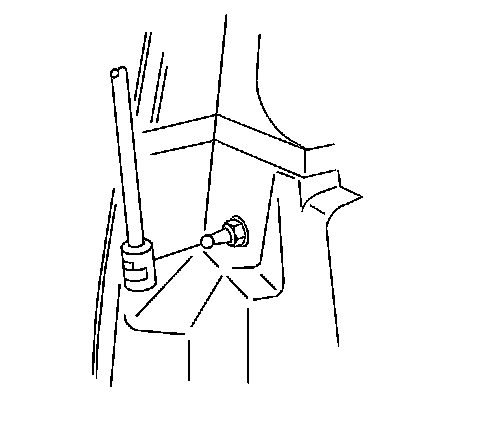
3. Lift up the snap ring retainer on the bottom of the assist rod struts using a small flat-bladed tool.
4. Remove the bottom of the strut from the ball stud on the body.
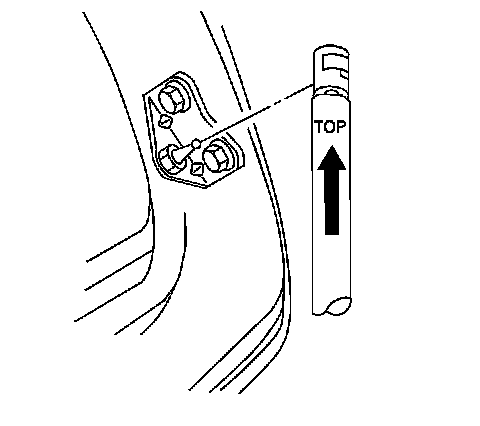
5. Lift up on the snap ring at the top of the strut using a small flat-bladed tool.
6. Remove the top of the strut from the ball stud.
7. Remove the strut from the vehicle.
Installation Procedure
Important: The top of the liftgate strut is marked with the word TOP and an up-arrow.
1. Align the top of the strut with the ball stud on the liftgate.
2. Press on the top of the strut to install onto the ball stud.
3. Align the bottom of the strut to the ball stud on the body.
4. Press on the bottom of the strut to install onto the ball stud.
5. Install the tail lamps.
6. Remove the support, and close the liftgate.