Disassembly and Assembly
Intake Unit With Evaporator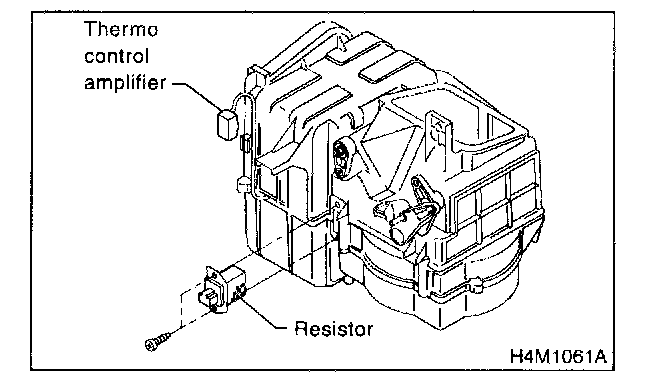
1. Remove resistor assembly and remove thermo control amplifier from intake unit case.
2. Remove some screws then separate intake unit case.
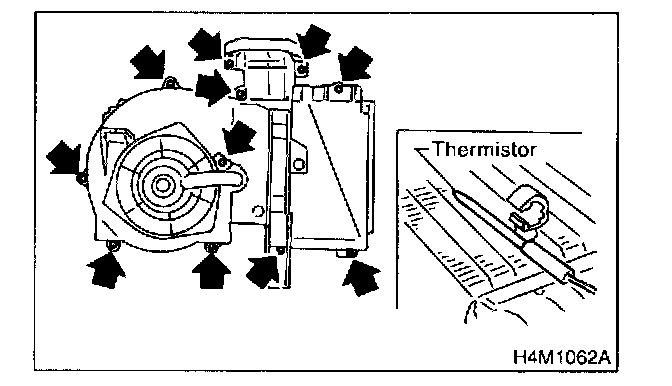
3. Remove thermistor from clip with the evaporator.

4. Remove the block expansion valve from pipes.
5. Check to see if the evaporator fins are clogged. If they are, clean them with compressed air.
CAUTION: Water must never be used to clean the evaporator.
6. Check parts that have been removed for cracks or scratches, and repair or replace them with new ones, if necessary.
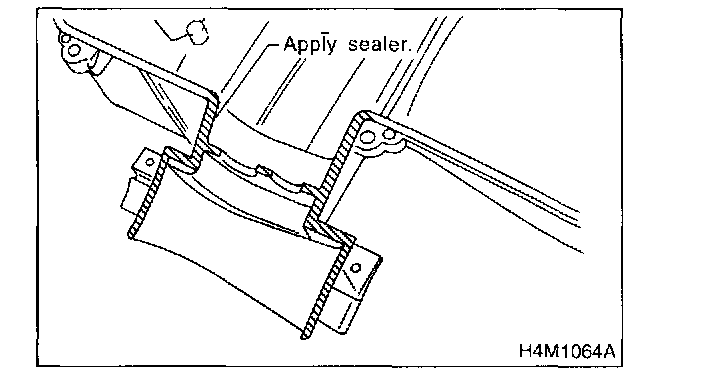
7. Before assembling intake unit, apply sealer to flange of intake unit case.
Sealer:
THREE BOND 1215 or equivalent
8. Reassemble the intake unit in the reverse order of disassembly.
NOTE: Confirm that the O-ring is inserted in the specified position.