Radiator Main Fan
Radiator Main Fan and Fan MotorREMOVAL
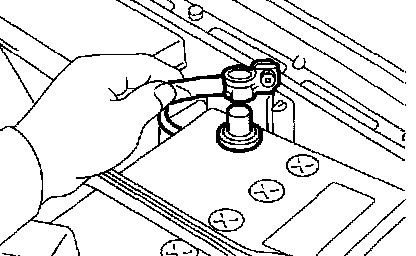
1. Disconnect battery ground cable.
2. Lift-up the vehicle.
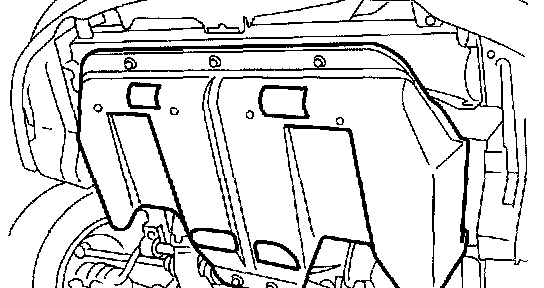
3. Remove under cover.
4. Drain engine coolant completely.
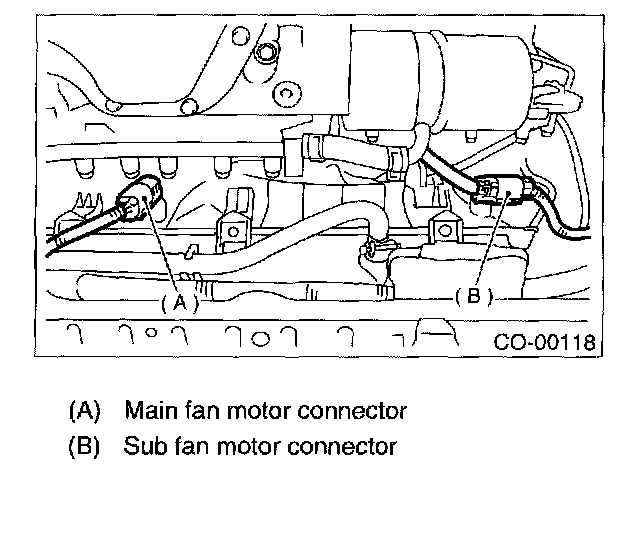
5. Disconnect connectors of main and sub fan motor.
6. Lower the vehicle.
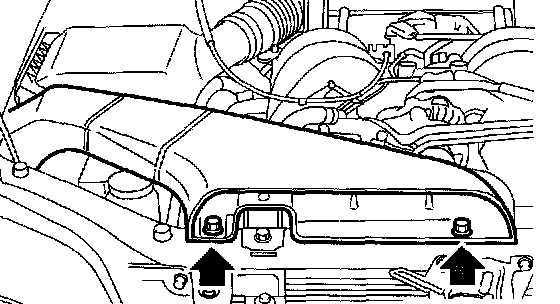
7. Remove air intake duct.
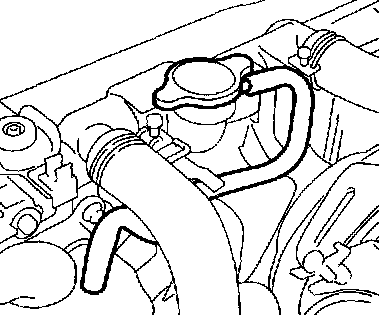
8. Disconnect over flow hose.
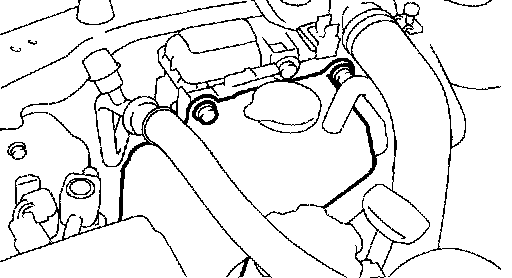
9. Remove reservoir tank.
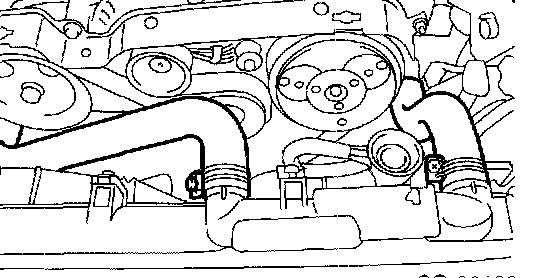
10. Disconnect radiator inlet hoses from radiator.
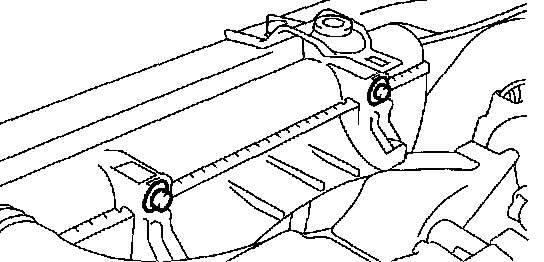
11. Remove radiator sub fan motor assembly.
12. Remove radiator main fan motor assembly.
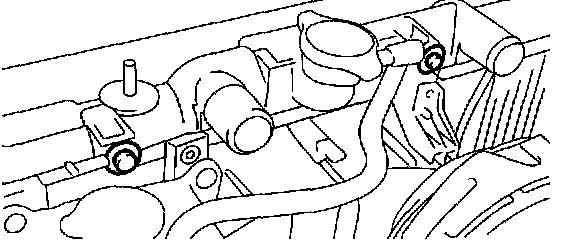
NOTE: When removing main fan assembly by lifting it upward, main fan shroud will cause interference with coolant suction area. In order to avoid this, shift the main fan assembly over to sub fan side before removing it.
INSTALLATION
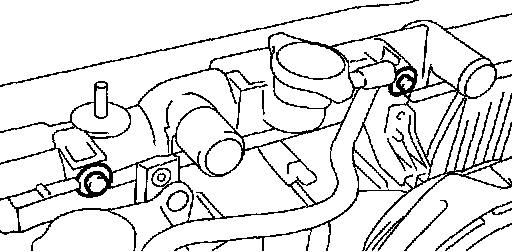
Install in the reverse order of removal.
Tightening torque: 4.9 Nm (0.50 kgf-m, 3.6 ft. lbs.)
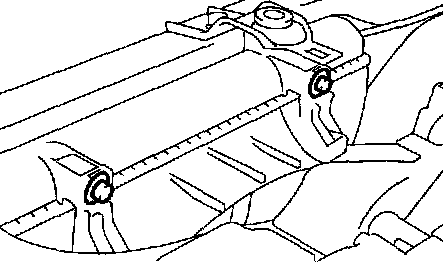
Tightening torque: 4.9 Nm (0.50 kgf-m, 3.6 ft. lbs.)
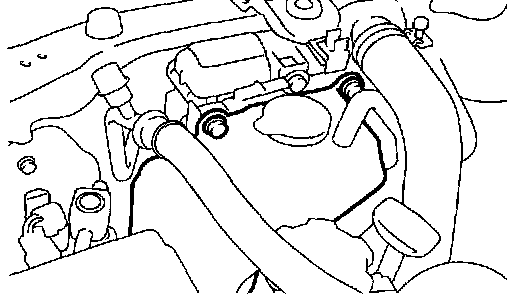
Tightening torque: 4.9 Nm (0.50 kgf-m, 3.6 ft. lbs.)
DISASSEMBLY
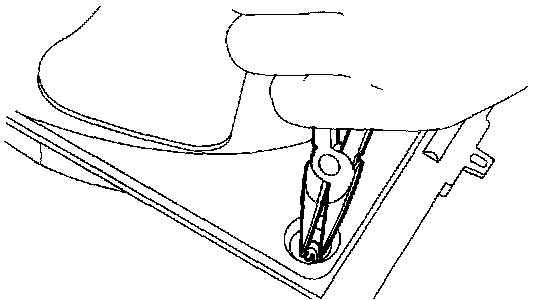
1. Remove clip which holds motor connector onto shroud.
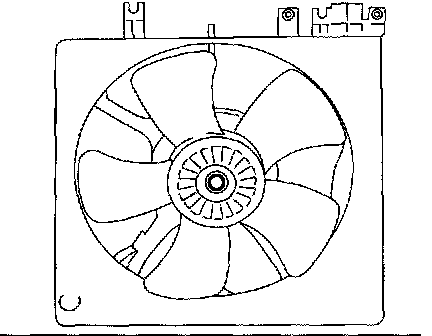
2. Remove nut which holds fan itself onto fan motor and shroud assembly.
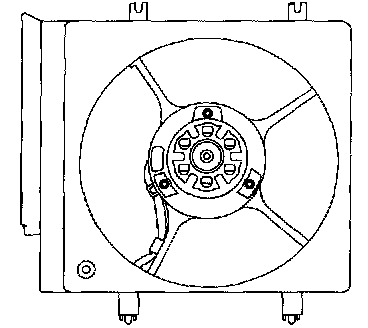
3. Remove screws which install fan motor onto shroud.
ASSEMBLY
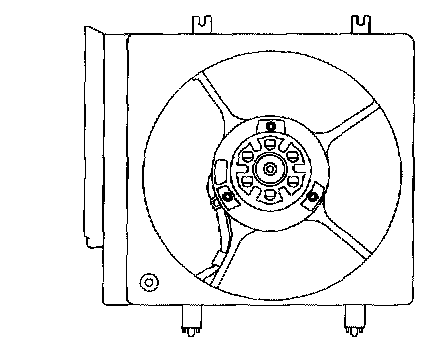
Assemble in the reverse order of disassembly.
Tightening torque: 4.4 Nm (0.45 kgf-m, 3.3 ft. lbs.)
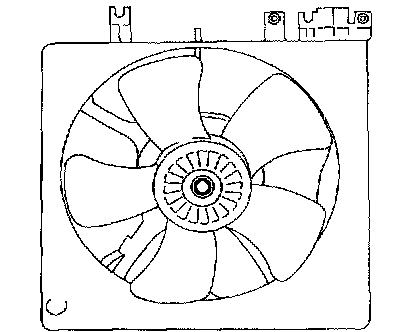
Tightening torque: 7.5 Nm (0.76 kgf-m, 5.5 ft. lbs.)
INSPECTION
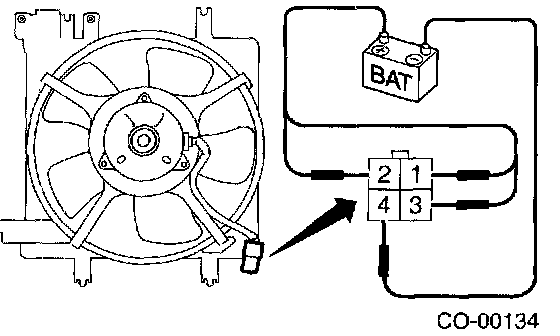
1. Connect battery as shown in the figure.
2. Make sure the main fan motor operates properly. Replace it if it doesn't.