Front Fender: Service and Repair
FRONT FENDERREMOVAL
1. FENDER PANEL
1. Disconnect the ground cable from the battery.
2. Remove the side sill spoilers.
3. Remove the front bumper.
4. Remove the headlight assembly.
5. Remove the mud guard.
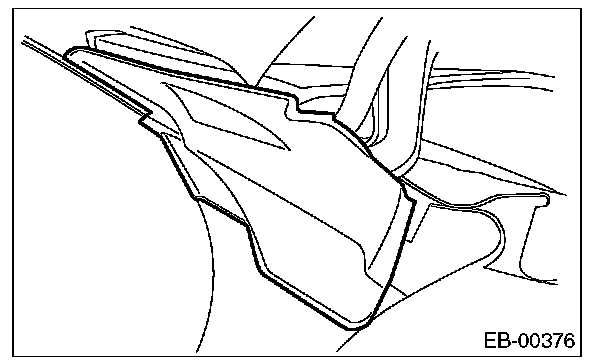
6. Remove the cowl panel side.
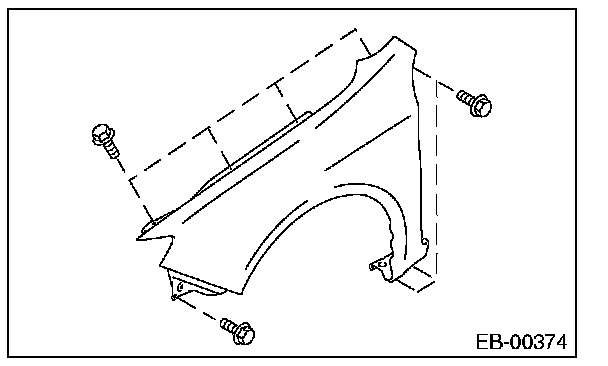
7. Remove the bolt, and remove the front fender panel.
2. FENDER GARNISH
1. Disconnect the ground cable from the battery.
2. Remove the side sill spoilers.
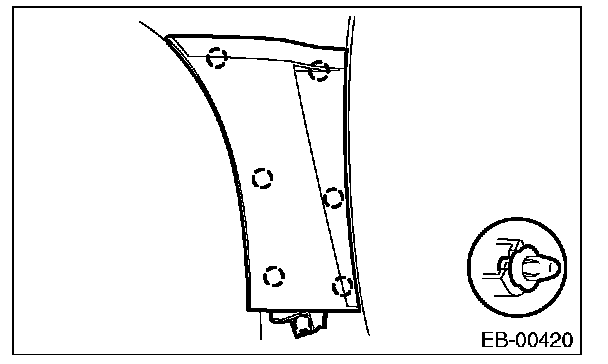
3. Remove the clips and remove the front fender garnish.
INSTALLATION
Install in the reverse order of removal.
Tightening torque: 7.5 N.m (0.76 kgf-m, 5.5 ft-lb)
CAUTION:
- Always use new double-sided tape.
- After attaching the front fender panel, always perform headlight beam level adjustment.
NOTE: Install while paying attention to make a uniform clearance around the front fender panel. For the clearance dimensions, refer to "SPECIFICATION" in "General Description".