Overhaul
Leak Check Valve AssemblyDISASSEMBLY
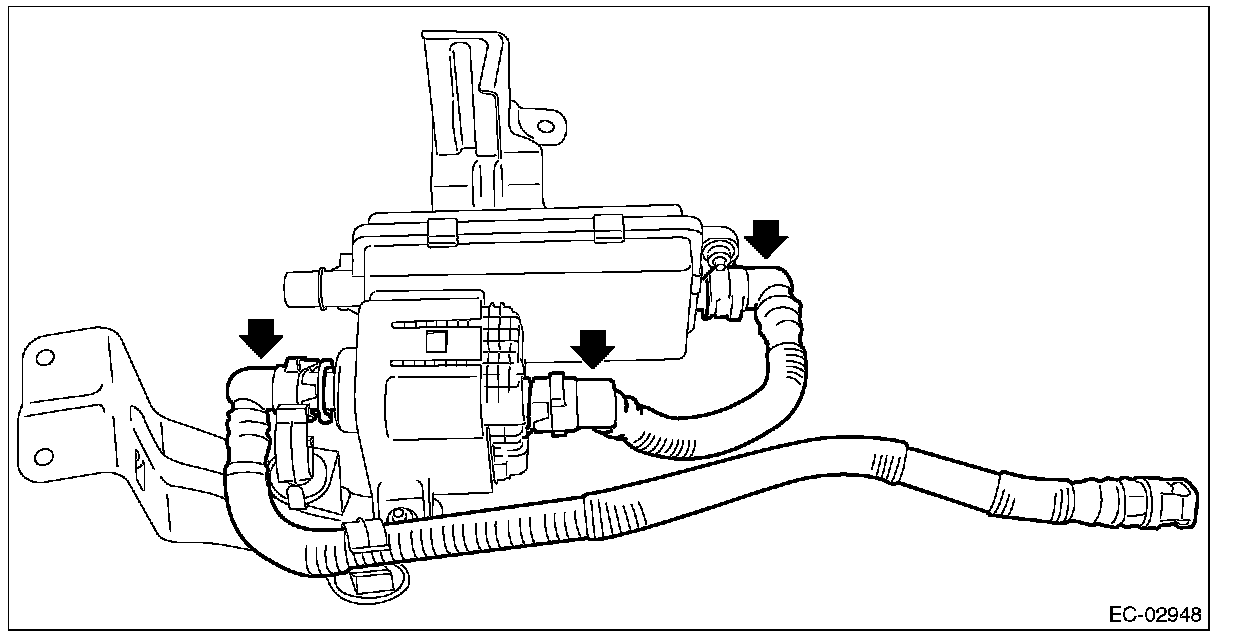
1. Remove the drain separator from the leak check valve assembly.
2. Disconnect the drain tube from the leak check valve assembly.
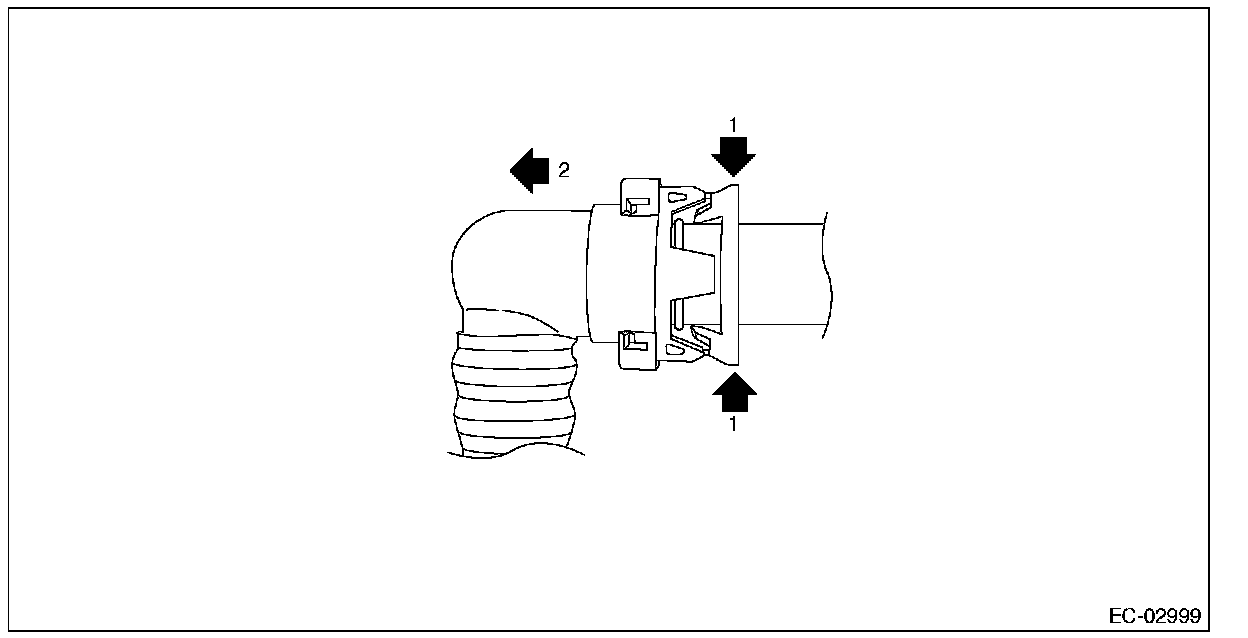
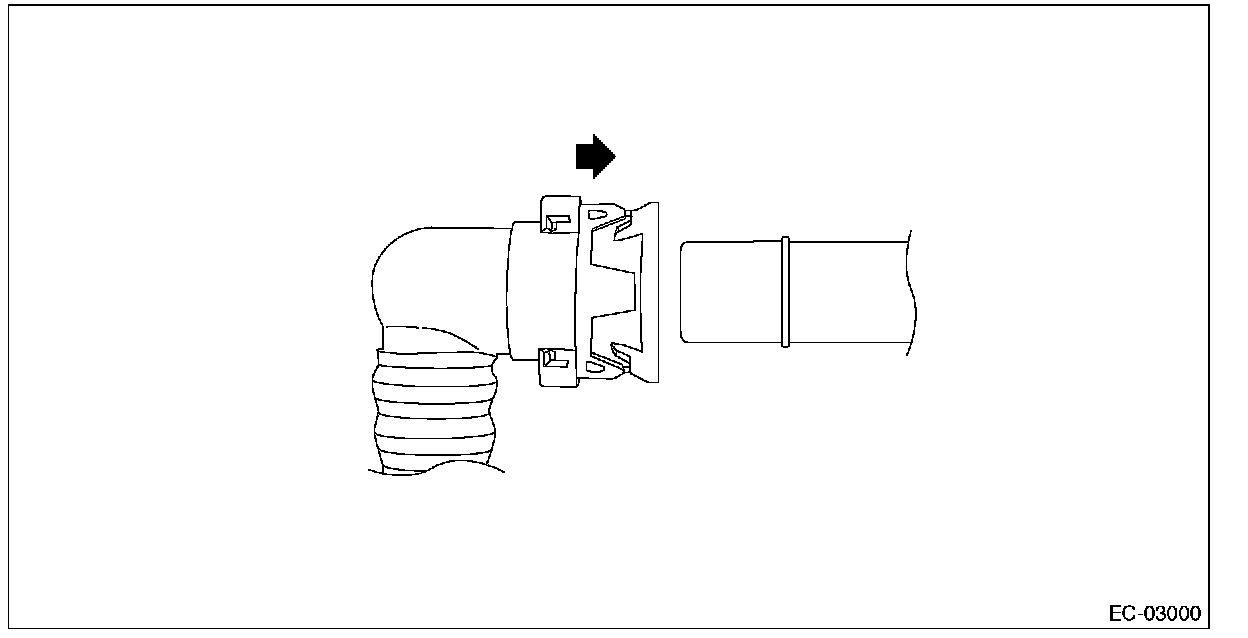
NOTE: Disconnect the quick connector as shown in the figure.
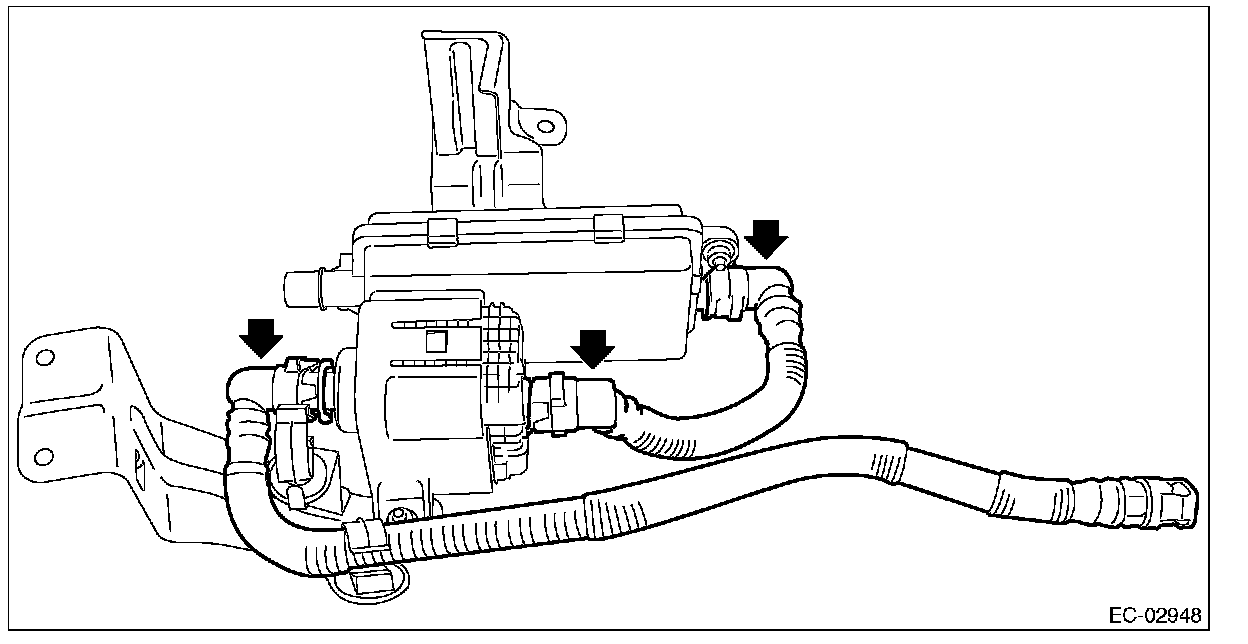
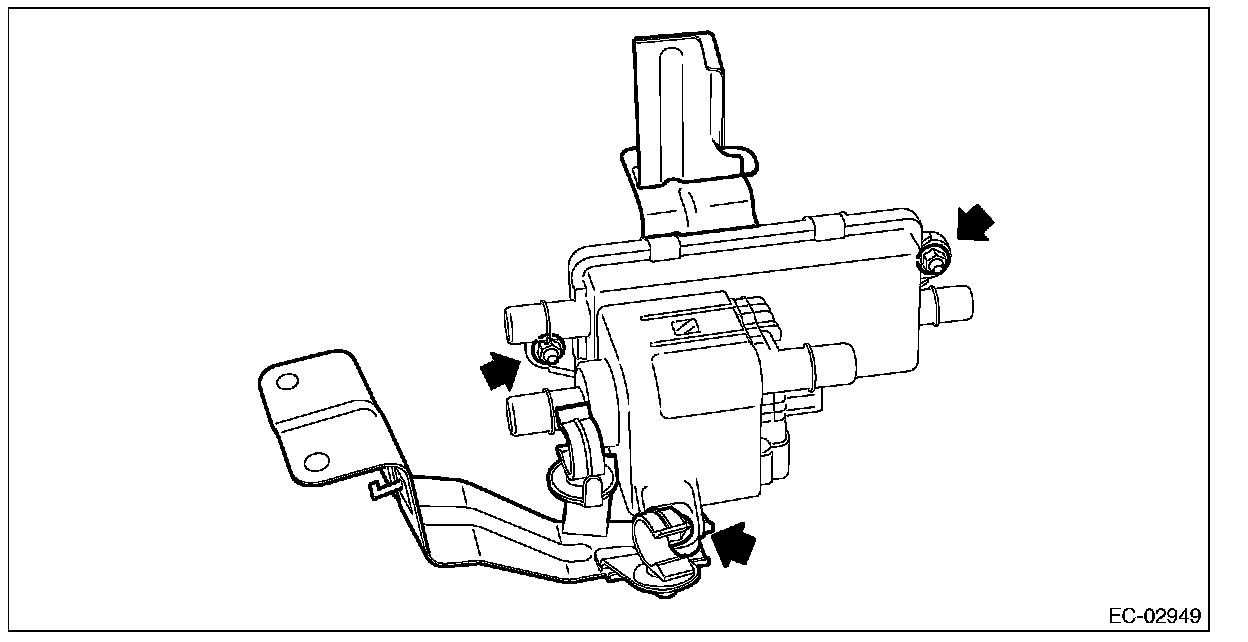
3. Remove the bracket from the leak check valve assembly.
ASSEMBLY
1. Install the bracket to the leak check valve assembly.
Tightening torque: 18 N.m (1.8 kgf-m, 13.3 ft-lb)
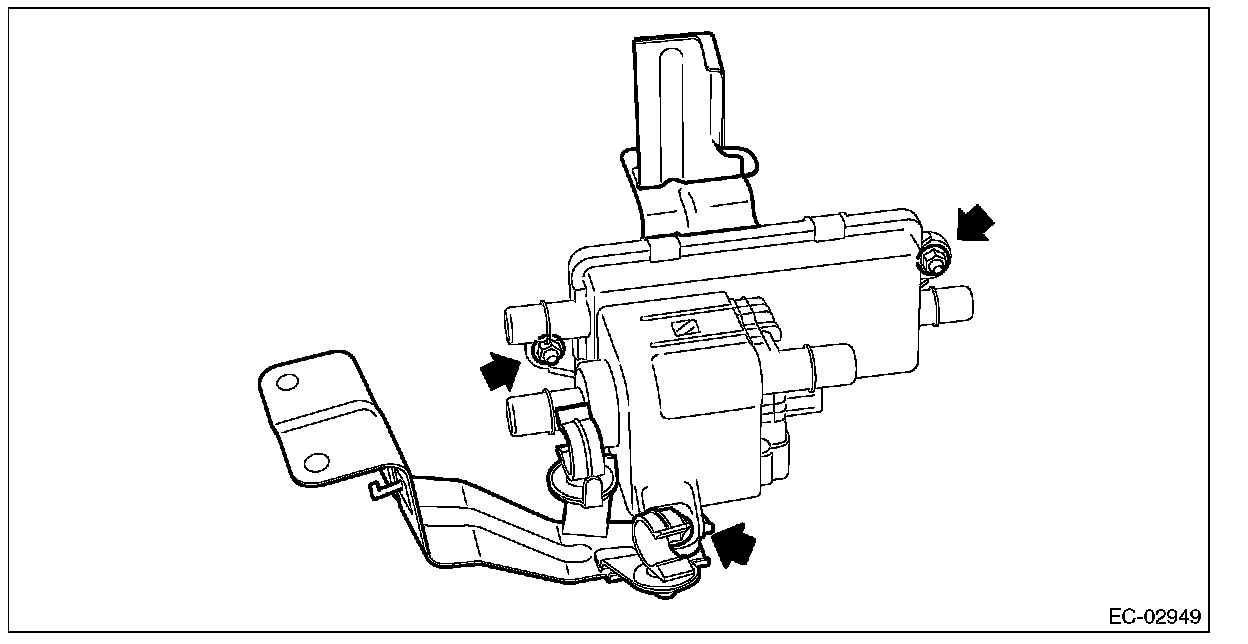
2. Install the drain tube to the leak check valve assembly.
CAUTION:
- Check that there is no damage or dust on the quick connector. If necessary, clean the seal surface of the pipe.
- Make sure that the quick connector is securely connected.
NOTE: Connect the quick connector as shown in the figure.
3. Install the drain separator to the leak check valve assembly.