Compressor Shaft Seal: Service and Repair
Lip Type Seal (Seiko Seiki Compressor)REMOVAL
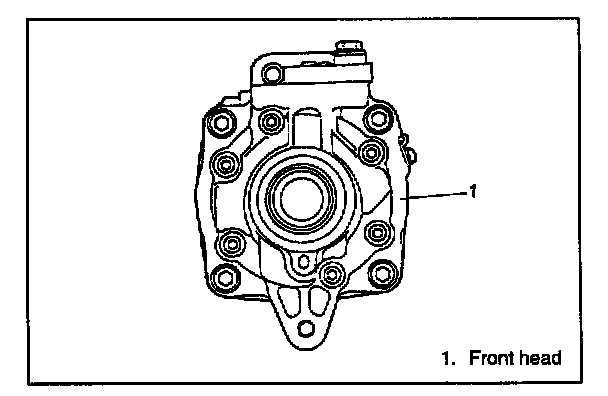
1. Remove magnet clutch.
2. Remove front head mounting screw (10 pcs).
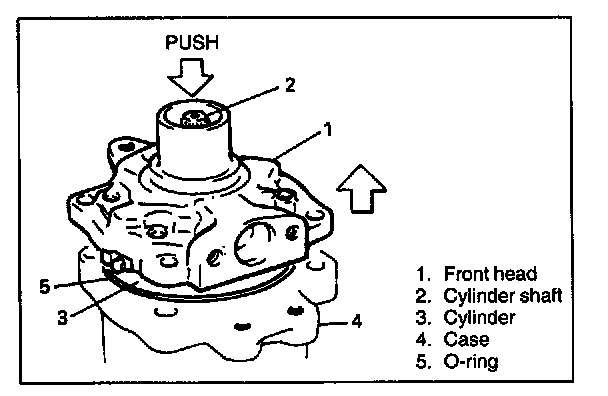
3. Remove front head by pushing cylinder shaft.
NOTE: Be careful not to remove cylinder from case.
4. Remove O-ring.
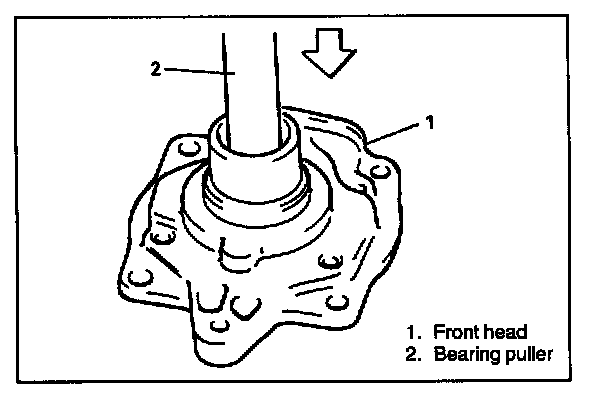
5. Remove lip seal from front head.
INSTALLATION
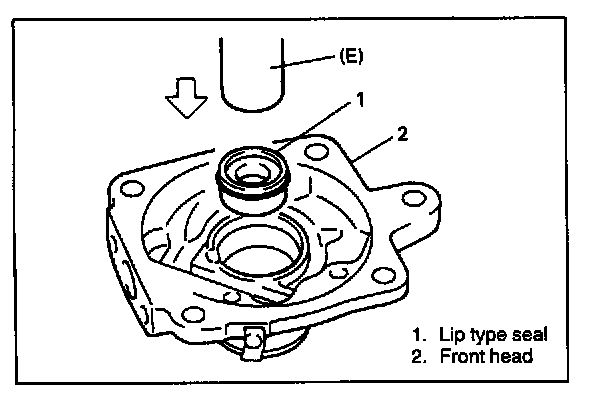
1. Press-fit lip seal into front head using special tool (E).
Special Tool
(E): 09991 - 06050
CAUTION: Do not reuse mechanical seal once removed from compressor.
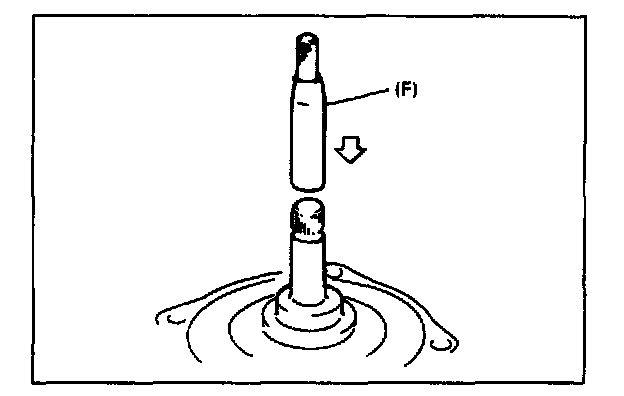
2. Coat special tool (F) surface with oil and place it on the shaft.
Special Tool
(F): 09991 - 06040
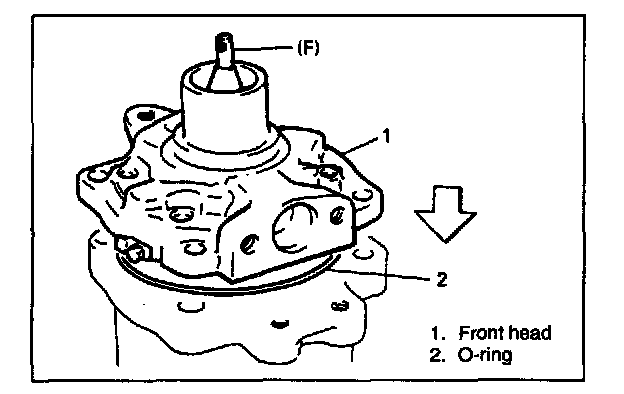
3. Install O-ring to case.
4. Apply A/C oil to lip seal and O-ring.
5. Install front head assembly.
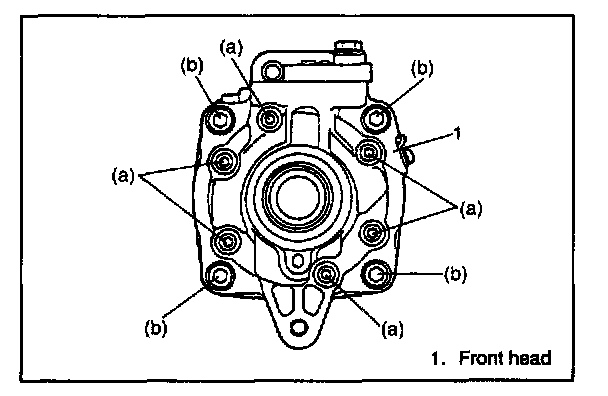
6. Tighten front head bolt.
Tightening Torque
(a): 14 N.m (1.4 kg.m, 10.5 lb.ft)
(b): 23 N.m (2.3 kg.m, 17.0 lb.ft)
NOTE:
- Be sure to use new front head bolt washer.
- Tighten bolt (a) first, and next (b).