Power Driver Seat Slide Assembly Removal and Installation
Power Driver Seat Slide Assembly Removal and InstallationPower Driver Seat Slide Assembly Removal
1. Remove the driver seat. Refer to Front Bucket Seat Removal.
2. Remove the front seat cushion. Refer to Front Seat Cushion Removal.
3. Disconnect the electrical connector.
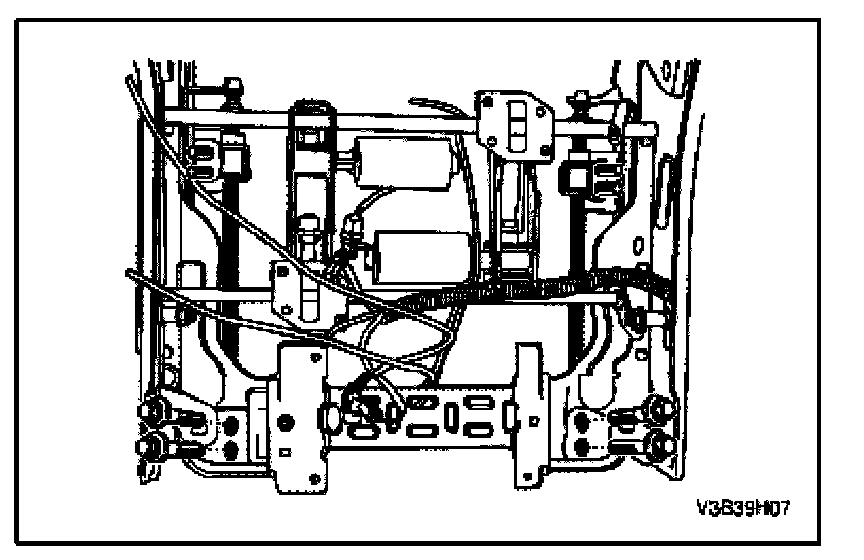
4. Remove the bolts the screws, and the slide assembly.
Power Driver Seat Slide Assembly Installation
CAUTION: Dissimilar metals in direct contact with each other may corrode rapidly. Make sure to use the correct fasteners to prevent premature corrosion.
1. Install the slide assembly with the bolts and the screws.
Tighten:
Tighten the slide assembly bolts to 25 N.m (18 lb.ft).
Tighten the slide assembly screws to 10 N.m (89 lb.in).
2. Connect the electrical connector.
3. Install the front seat cushion. Refer to Front Seat Cushion Installation.
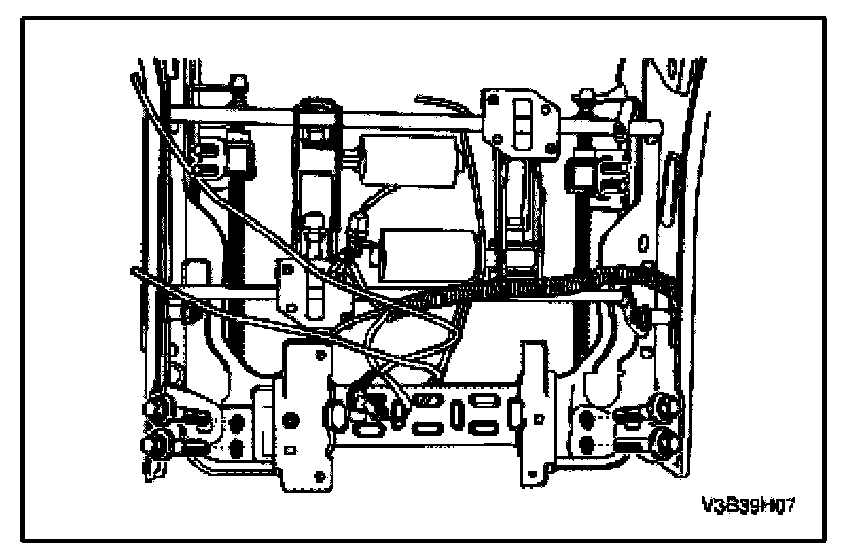
4. Install the driver seat. Refer to Front Bucket Seat Installation.