Torque Converter Housing Disassembly and Assembly
Torque Converter Housing Disassembly and Assembly1. Remove the torque converter bolts.
2. Hit the torque converter housing lightly.
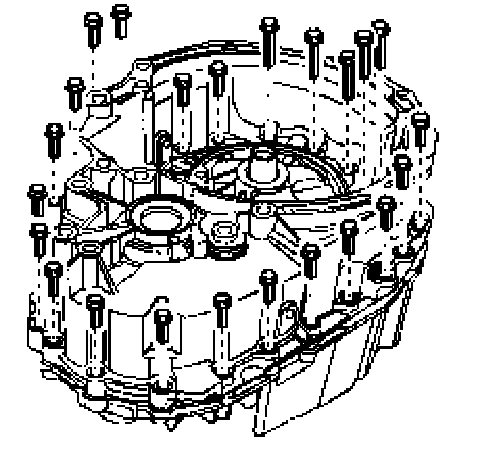
3. Remove the torque converter housing.
Installation Notice
^ First pre-tighten the bolts in the following order. (7,20) (12,23) (16,4)
Tighten: Tighten the bolts to 15 Nm (11 ft. lbs.).
^ Then, tighten the bolts in the following order. (15,3) - (16,4) - (14,5) - (13,23)- (12,22) - (11,21) - (10,20) - (9,19) - (8,18) - (7,17) - (6) - (1,2)

^ Last, in numerical order, tighten the bolts all the way. (1)
23. Tighten: Tighten the bolts to 23 Nm (17 ft. lbs.).
4. Take out the metal gasket.
5. Take out the paper gasket.

6. Remove the oil filter bolt and oil filter.
Installation Notice
Tighten: Tighten the oil filter bolt to 10 Nm (89 inch lbs.).

7. Remove the baffle plate bolts and baffle plate. Installation Notice.
Tighten: Tighten the baffle plate bolts to 10 Nm (89 inch lbs.).
8. Remove the line pressure measurement plug.

9. Installation should follow the removal procedure in the reverse order.
Installation Notice
Tighten: Tighten the line pressure measurement plug to 20 Nm (15 ft. lbs.).