Removal and Installation

COMPONENTS
REMOVAL
1. REMOVE FRONT DOOR SCUFF PLATE LH
2. REMOVE COWL SIDE TRIM LH
3. REMOVE LOWER NO.1 PANEL
4. REMOVE LOWER LH INSERT
5. REMOVE CENTER CLUSTER FINISH PANEL
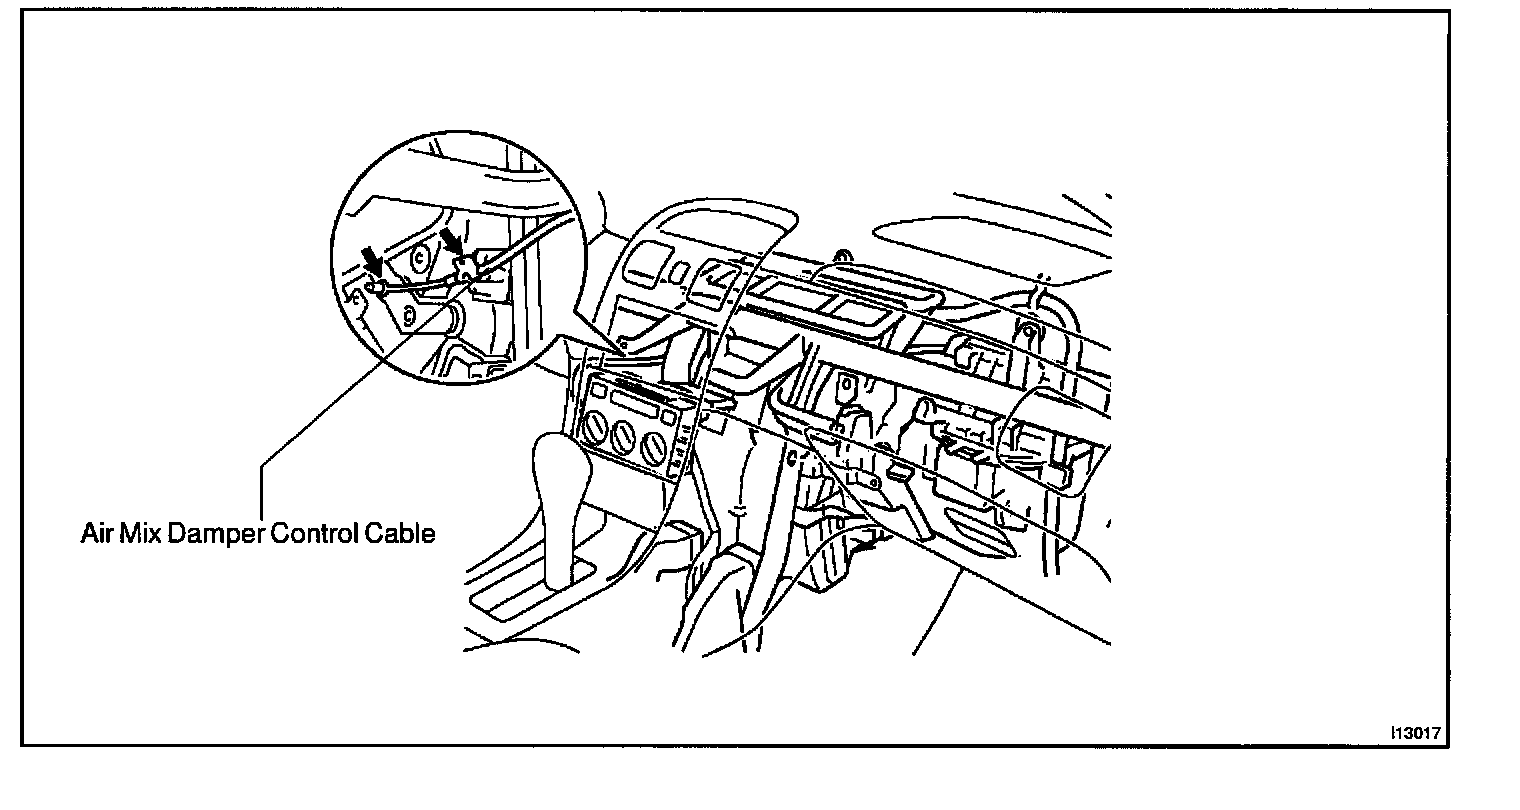
6. DISCONNECT AIR MIX DAMPER CONTROL CABLE
NOTE: When the air mix damper control cable is disconnected, should not bend the cable.
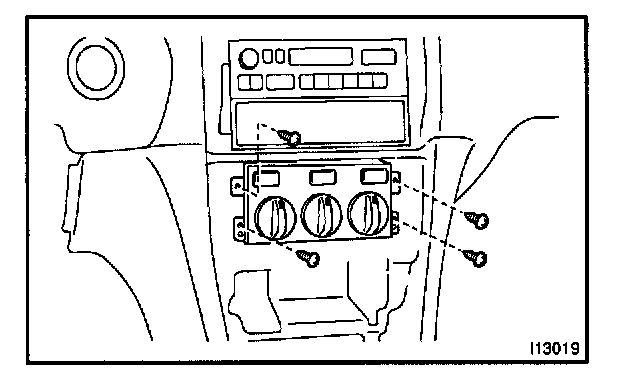
7. REMOVE A/C CONTROL ASSEMBLY
Remove the 4 screws and pull out the A/C control assembly, then disconnect the connectors.
INSTALLATION
1. INSTALL A/C CONTROL ASSEMBLY
a. Connect the connectors.
b. Pass through the air mix damper control cable outside of brace illustration.
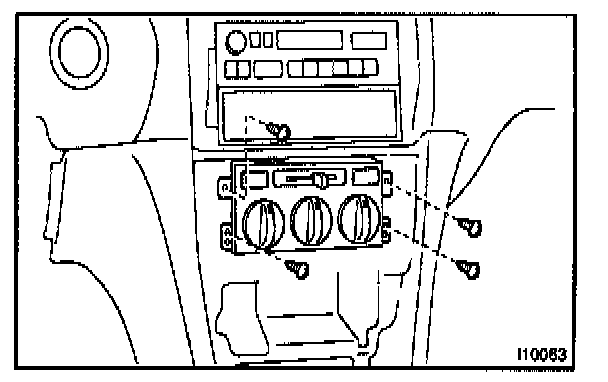
c. Install the 4 set screws.
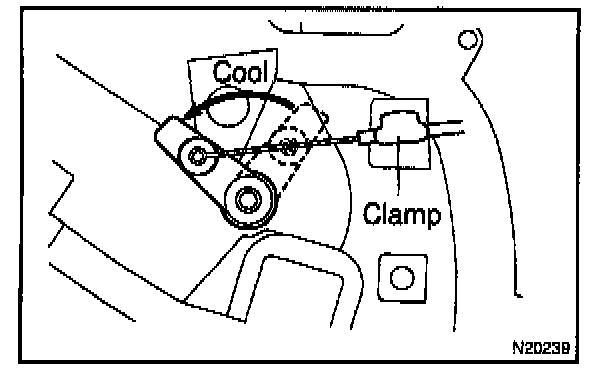
d. Connect air mix damper control cable.
1. Set the temperature control dial to "MAX. COOL" position.
2. Set the cable connector to air mix link pin on left side of A/C unit and clamp the cable outer on.
HINT: It is unnecessary to push or pull outer cable.
e. After connection, check the heater control dial operation.
2. INSTALL LOWER LH INSERT
3. INSTALL LOWER NO.1 PANEL
4. INSTALL COWL SIDE TRIM LH
5. INSTALL FRONT DOOR SCUFF PLATE LH