Condenser HVAC: Service and Repair
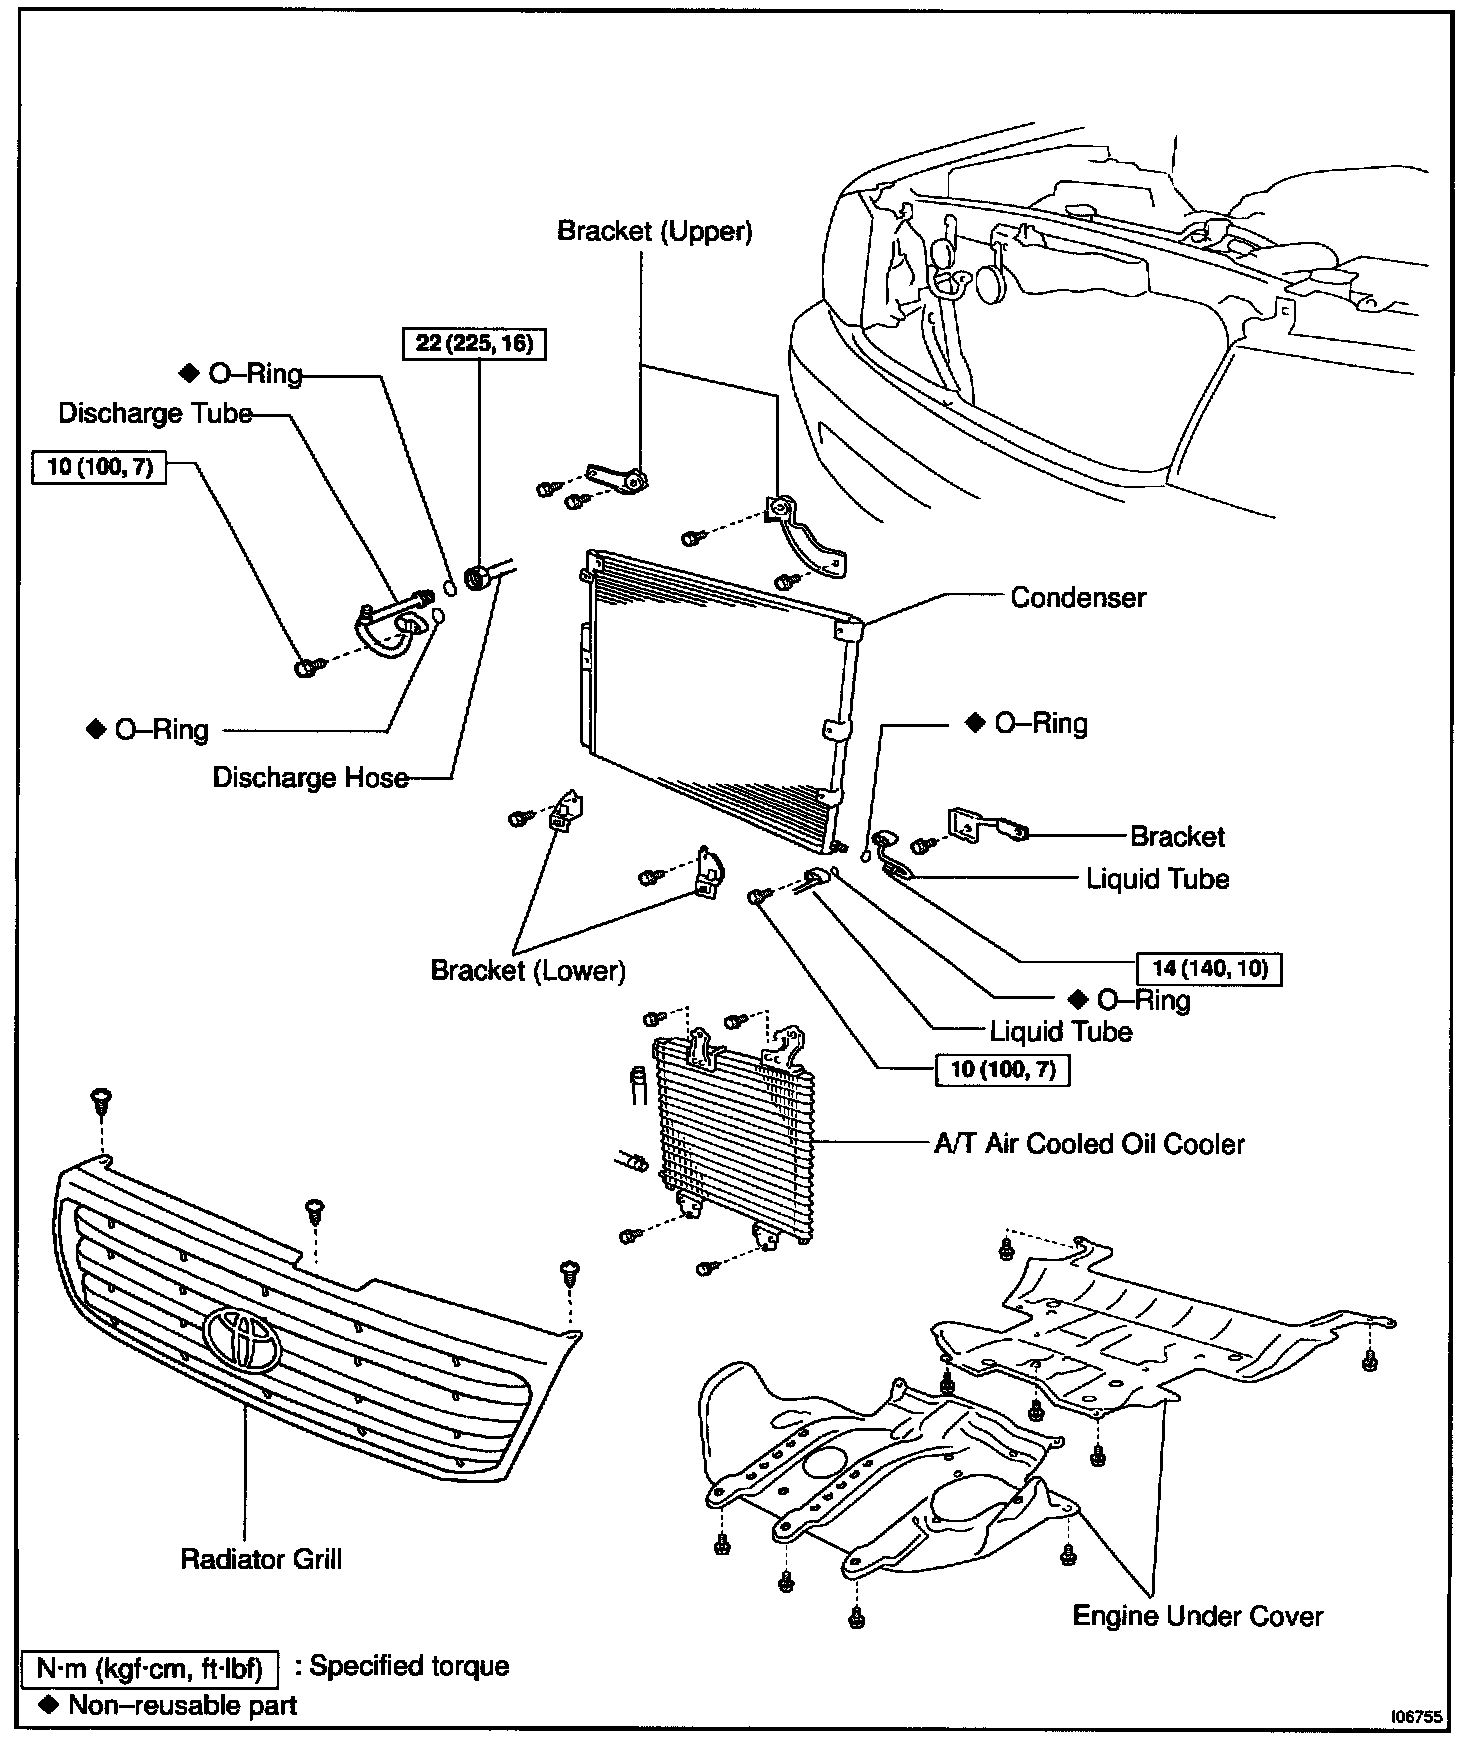
COMPONENTS
REMOVAL
1. DISCHARGE REFRIGERANT FROM REFRIGERATION SYSTEM
HINT: At the time of installation, please refer to the following item.
Evacuate air from refrigeration system.
Charge system with refrigerant and inspect for leakage of refrigerant.
Specified amount: 650 ± 50 g (22.93 ± 1.76 oz.)
2. REMOVE RADIATOR GRILL
3. REMOVE A/T AIR COOLED OIL COOLER
4. REMOVE ENGINE UNDER COVER
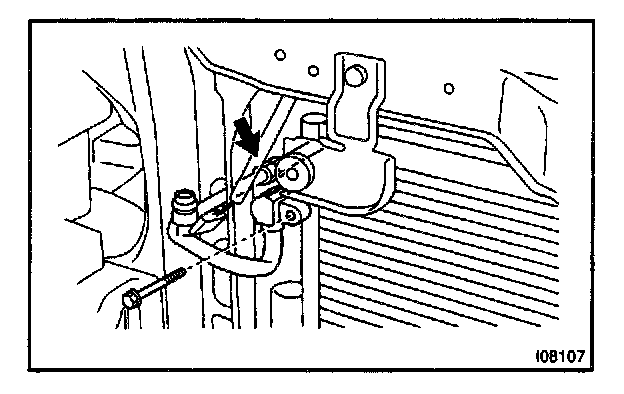
5. REMOVE DISCHARGE TUBE
a. Remove the bolt and disconnect the tube from condenser.
Torque: 10 Nm (100 kg.cm, 7 ft.lb)
b. Loosen the nut and remove the tube.
Torque: 22 Nm (225 kg.cm, 16 ft.lb)
NOTE: Cap the open fittings immediately to keep moisture or dirt out of the system.
HINT: At the time of installation, please refer to the following item.
Lubricate 2 new O-rings with compressor oil and install them to the tube.
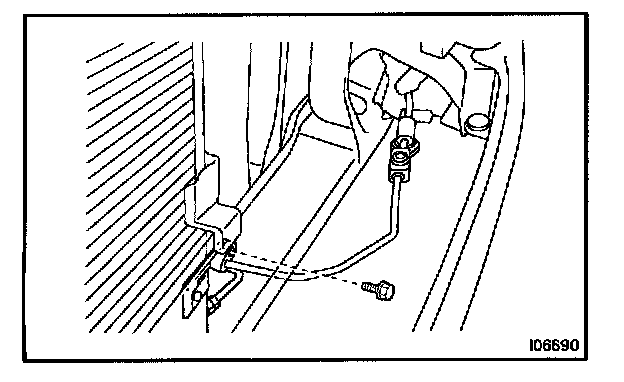
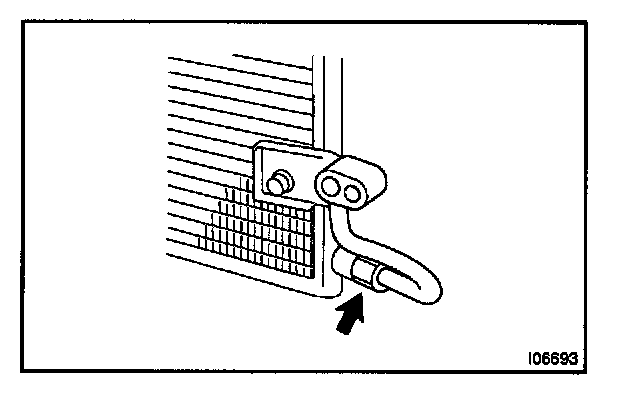
6. DISCONNECT LIQUID TUBE
Remove the bolt and disconnect the tube
Torque: 10 Nm (100 kg.cm, 7 ft.lb)
NOTE: Cap the open fittings immediately to keep moisture or dirt out of the system.
HINT:
At the time of installation, please refer to the following item.
Lubricate a new O-ring with compressor oil and install them to the tube.
7. REMOVE CONDENSER
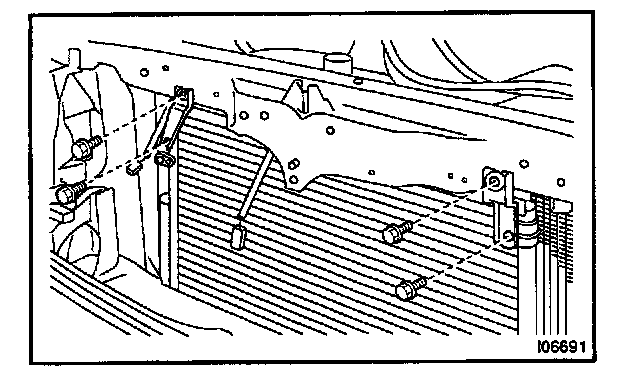
a. Remove the 4 bolts and 2 upper bracket.
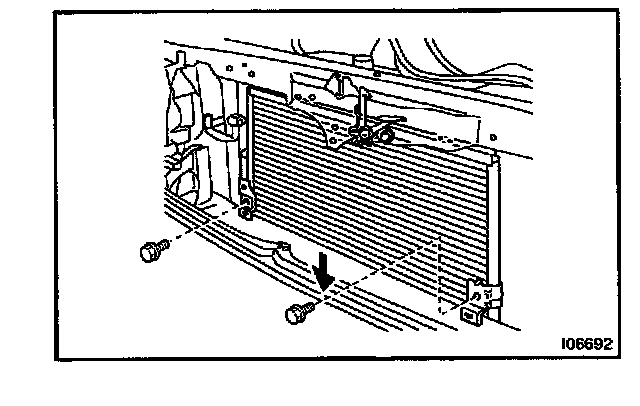
b. Remove the 2 bolts and remove the 2 lower bracket.
c. Remove the condenser.
HINT: At the time of installation, please refer to the following item.
If condenser is replaced, add compressor oil to condenser.
Add: 40 - 50 cc (1.4 - 1.7 fl.oz.)
Compressor oil: ND-OIL 8 or equivalent
d. Loosen the nut and remove the liquid tube from condenser.
Torque: 14 Nm (140 kg.cm, 10 ft.lb)
NOTE: Cap the open fittings immediately to keep moisture or dirt out of the system.
HINT:
At the time of installation, please refer to the following item.
Lubricate a new O-ring with compressor oil and install them to the tube.
INSTALLATION
Installation is in the reverse order of removal.