Disassembly and Reassembly
DISASSEMBLY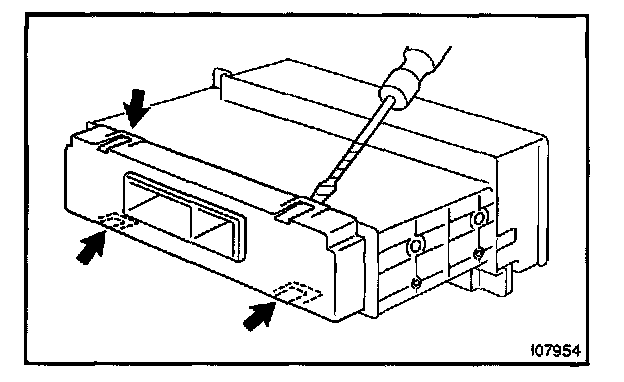
1. Rear cover:
REMOVE HEATER CONTROL HOUSING
Using a screwdriver, release the 4 claws and remove the heater control housing.
HINT: Tape the screwdriver tip before use.
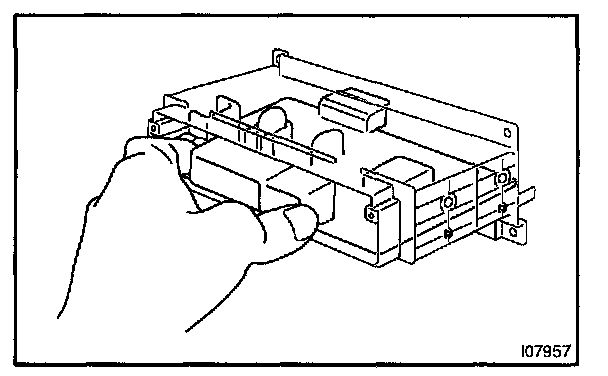
2. REMOVE A/C AMPLIFIER
Hold the connector of amplifier and pull out amplifier.
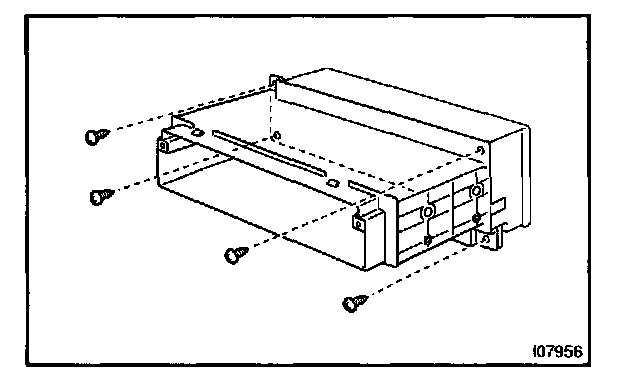
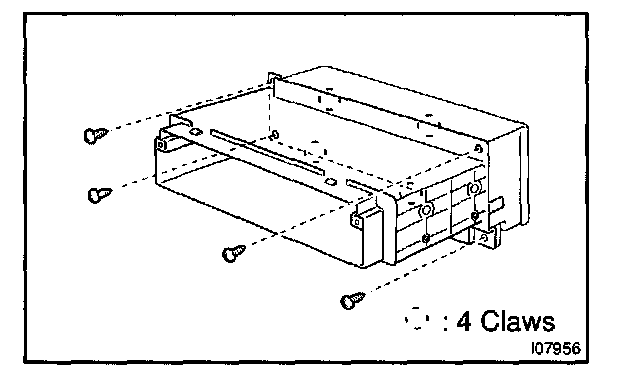
3. REMOVE HEATER CONTROL HOUSING (Rear case)
a. Remove the 4 set screws.
b. Release the 4 claws and remove the heater control housing.
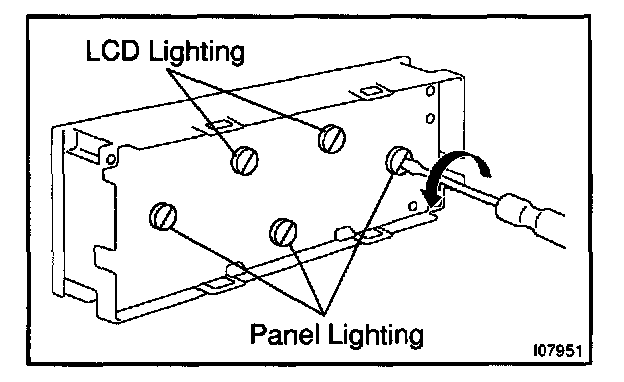
4. REMOVE BULB
Using a screwdriver, turn the bulb to the left and pull out the bulb.
REASSEMBLY
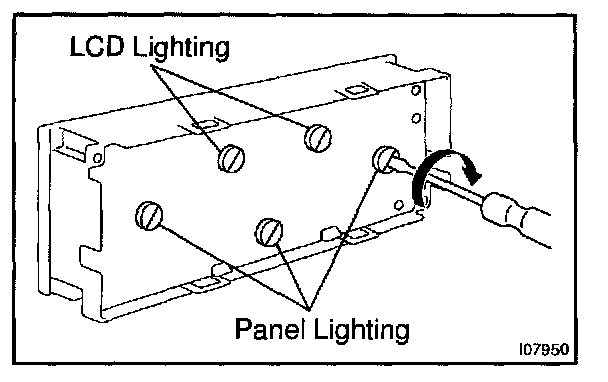
1. INSTALL BULB
a. Install the bulb to the A/C control panel.
b. Using a screwdriver, turn the bulb to the right and lock the bulb.
2. Rear case:
INSTALL HEATER CONTROL HOUSING
a. Install the heater control housing and fit the 4 claws.
b. Install the 4 screws.
3. INSTALL A/C AMPLIFIER
a. Hold the connector of supply parts amplifier and pull out the amplifier from electrostatic prevention bag.
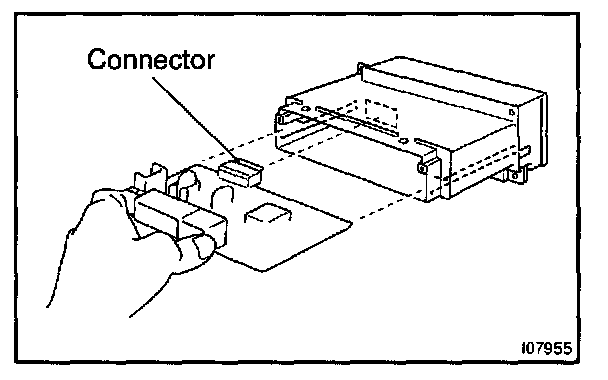
b. Hold the connector of amplifier and insert the amplifier to the heater control housing.
c. Check the fitting for connector of amplifier.
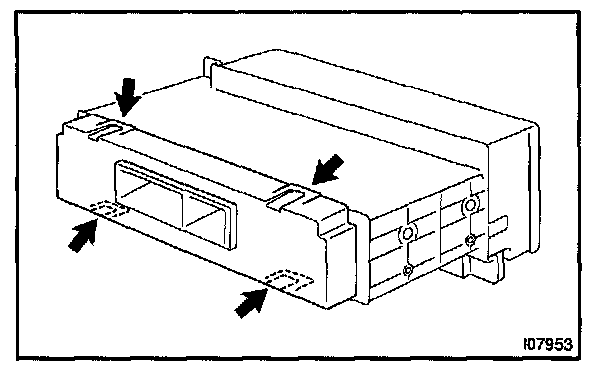
4. Rear cover:
INSTALL HEATER CONTROL HOUSING
Install the heater control housing and fit the 4 claws.