Valve Body Assembly
ON-VEHICLE REPAIR1. CLEAN TRANSMISSION EXTERIOR
To prevent contamination, clean the exterior of the transmission.
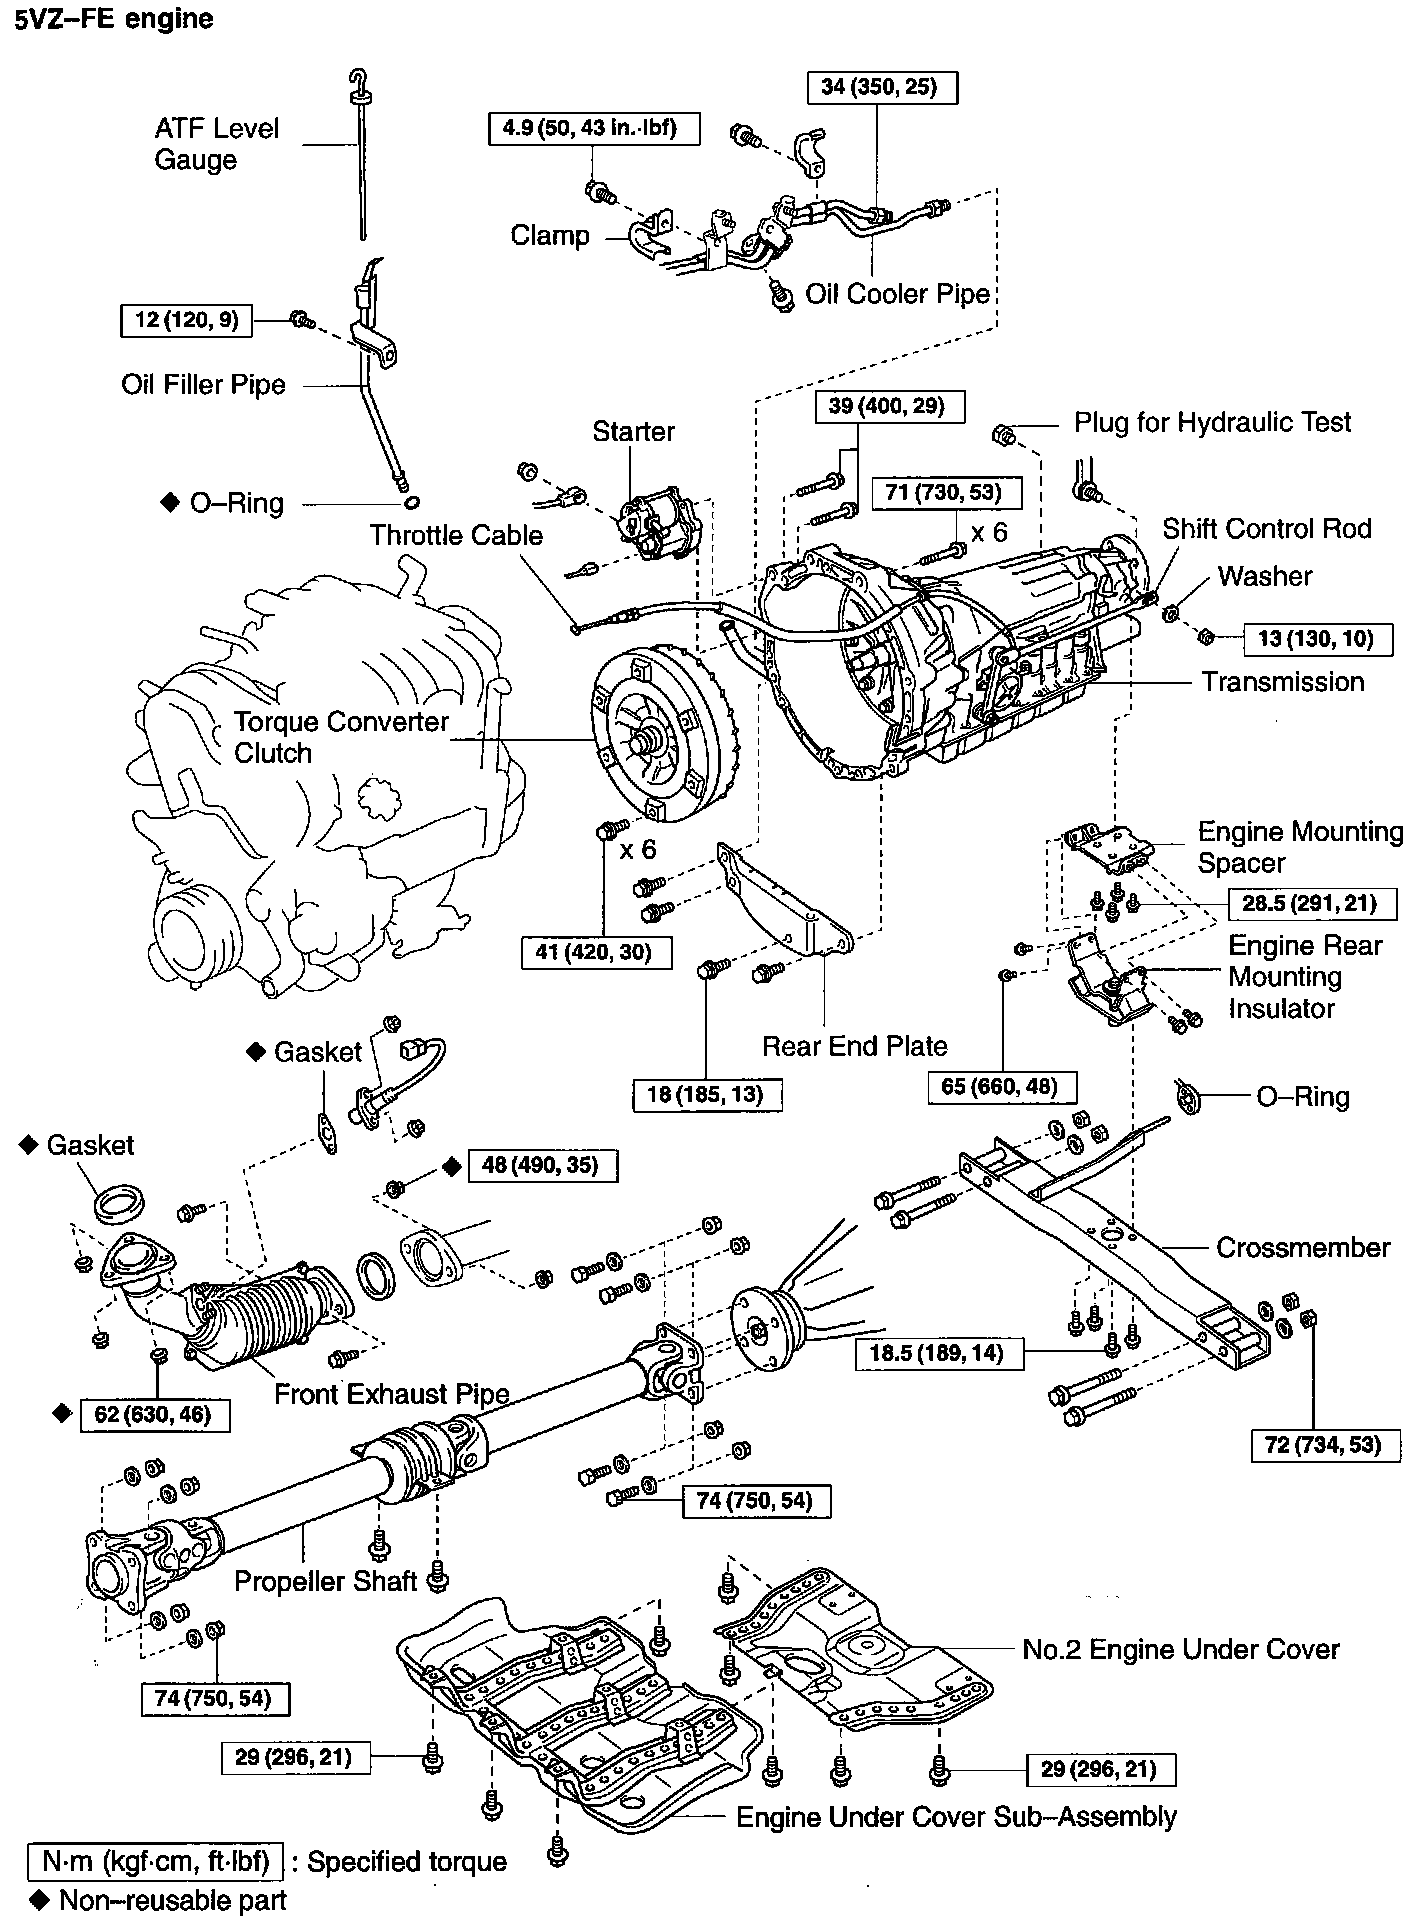
2. REMOVE DRAIN PLUG AND DRAIN ATF
3. REMOVE OIL PAN
NOTICE:
^ Some fluid will remain in the oil pan.
^ Be careful not to damage the filler pipe.
a. Remove the 14 bolts, and carefully remove the oil pan.
b. Remove the gasket.
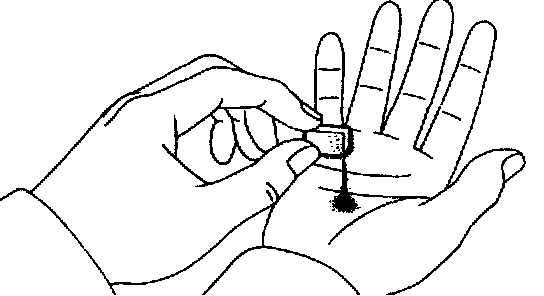
4. EXAMINE PARTICLES IN PAN
Remove the magnets and use them to collect any steel chips.
Look carefully at the magnetic and non-magnetic chips to anticipate what type of wear you will find in the transmission.
Steel (magnetic) bearing, gear and plate wear
Brass (non-magnetic) bushing wear
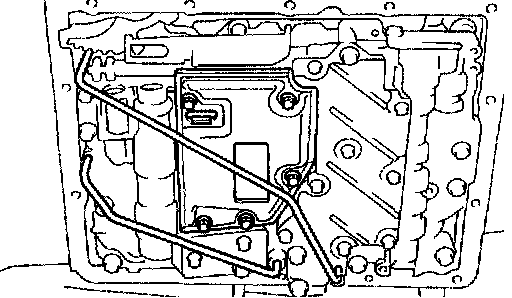
5. REMOVE OIL PIPES
Pry up both pipe ends with a large screwdriver and remove the 2 pipes.
NOTICE: Be careful not to bend or damage the pipes.
6. REMOVE OIL STRAINER
Remove the 5 bolts, oil strainer and the gasket.
NOTICE: Be careful as some oil will come out with the strainer.
7. REMOVE VALVE BODY
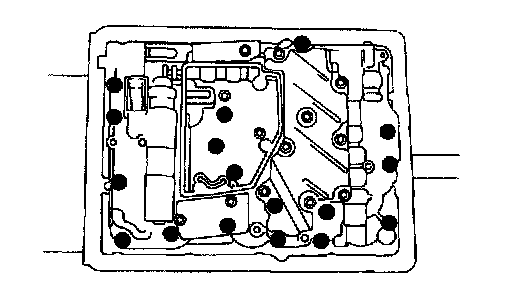
a. Remove the 17 bolts.
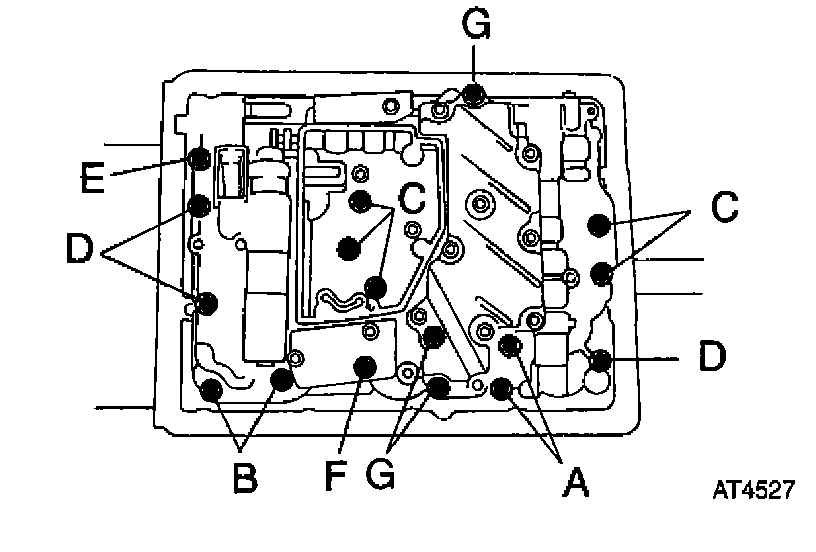
b. Disconnect the throttle cable from the cam and remove the valve body.
8. INSTALL VALVE BODY
a. While holding the cam down with your hand, connect the throttle cable.
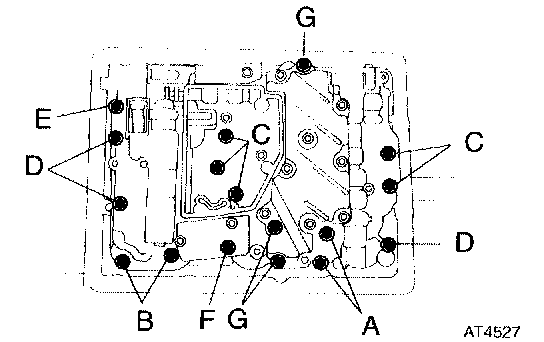
b. Install the 17 bolts as shown in the illustration.
Torque: 10 Nm (100 kgf-cm, 7 ft. lbs.)
HINT: Each bolt length is indicated.
Bolt length:
A: 20 mm (0.79 inch)
B: 25 mm (0.98 inch)
C: 30 mm (1.18 inch)
D: 35 mm (1.42 inch)
E: 40 mm (1.57 inch)
F: 47 mm (1.85 inch)
G: 55 mm (2.17 inch)
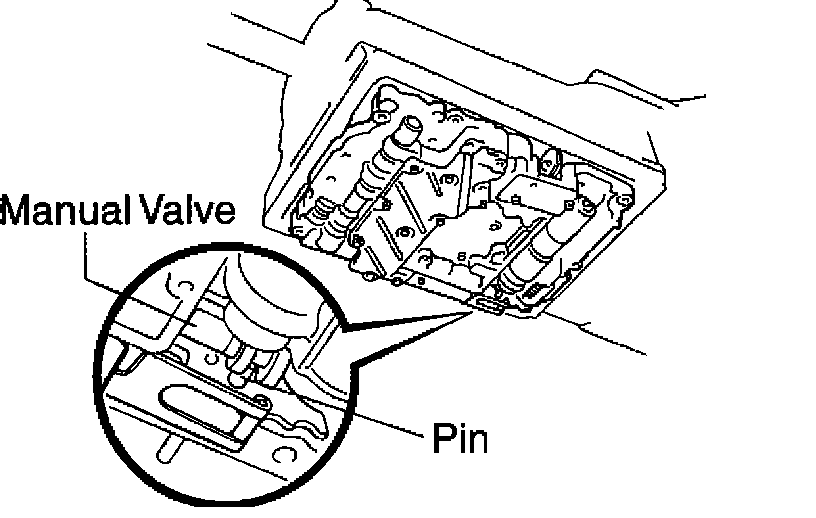
c. Align the groove of the manual valve to the pin of the lever.
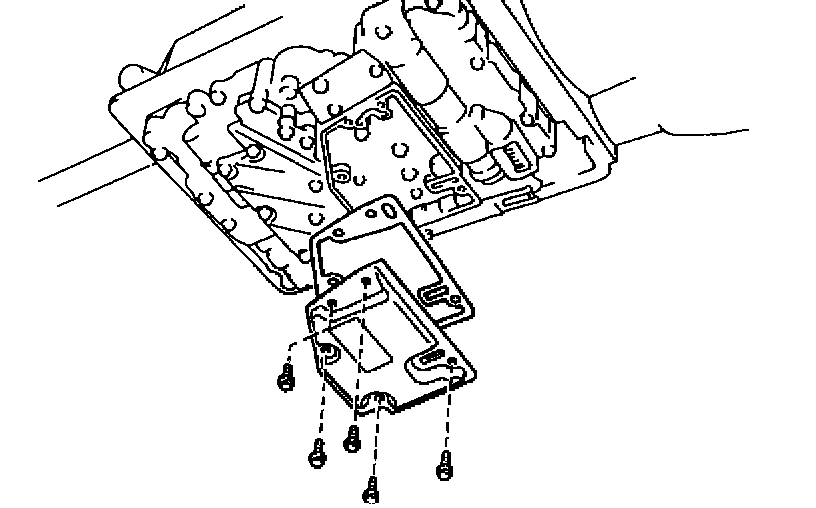
9. INSTALL OIL STRAINER
a. Install a new gasket to the oil strainer.
b. Install the oil strainer to the valve body with the 5 bolts.
Torque: 5.4 Nm (55 kgf-cm, 48 inch lbs.)
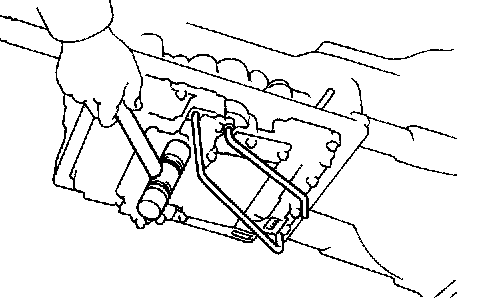
10. INSTALL OIL PIPES
Using a plastic hammer, install the 2 pipes.
NOTICE: Be careful not to bend or damage the pipe.
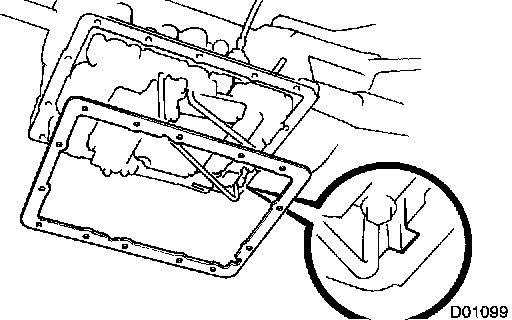
11. INSTALL OIL PAN
a. Install the 2 magnets in the oil pan.
NOTICE: Make sure that the magnets do not interfere with the oil pipes.
b. Install a new gasket to the transmission case.
HINT: Align the cut part of the gasket and case.
c. Install the oil pan with the 14 bolts.
Torque: 4.4 Nm (45 kgf-cm, 39 inch lbs.)
NOTICE: Be careful not to damage the filler pipe.
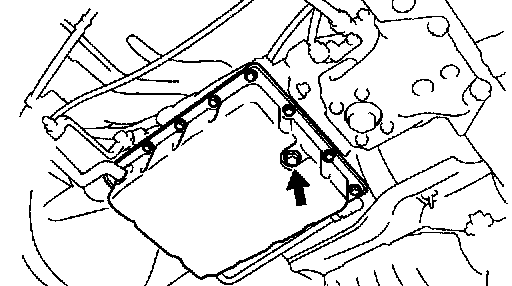
12. INSTALL DRAIN PLUG
Torque: 20 Nm (205 kgf-cm, 15 ft. lbs.)
13. FILL ATF AND CHECK FLUID LEVEL