Heater Control Valve: Service and Repair
REMOVAL1. DRAIN ENGINE COOLANT FROM RADIATOR
HINT: It is not necessary to drain out all the coolant.
2. DISCONNECT WATER VALVE CONTROL CABLE FROM WATER VALVE
a. Disconnect the control cable.
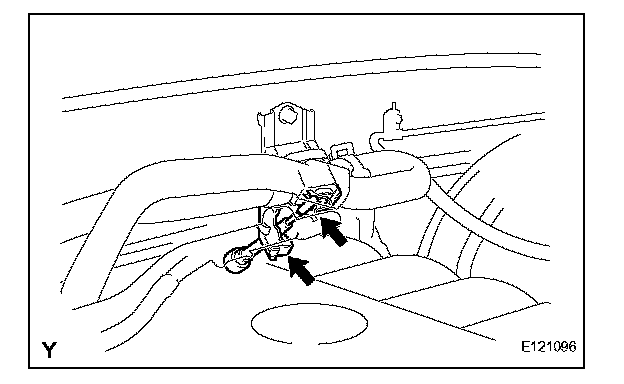
3. DISCONNECT WATER HOSES
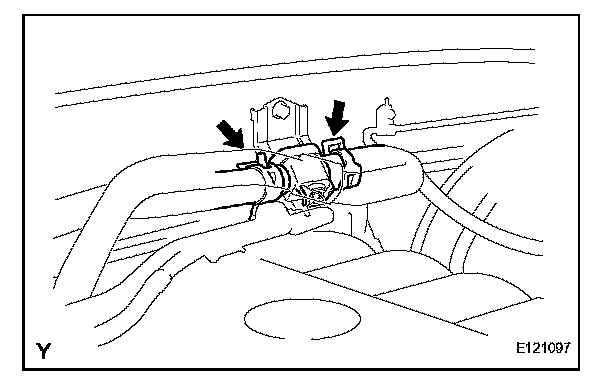
a. Using pliers, grip the claws of the hose clips and slide the hose clips along the hose.
b. Disconnect the water hoses.
HINT:
At the time of installation, refer to the given:
- Heater radiator pipe:
Push the water hose onto the heater radiator pipe up to the second ridge on the pipe.
- Water valve:
Push the water hose onto the water valve pipe till touching the body of the water valve.
4. REMOVE WATER VALVE
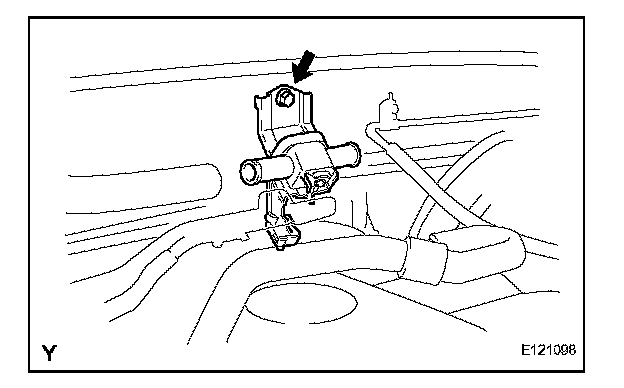
a. Remove the bolt and water valve.
INSTALLATION
Installation is in the reverse order of removal.
1. CHECK WATER VALVE OPERATION
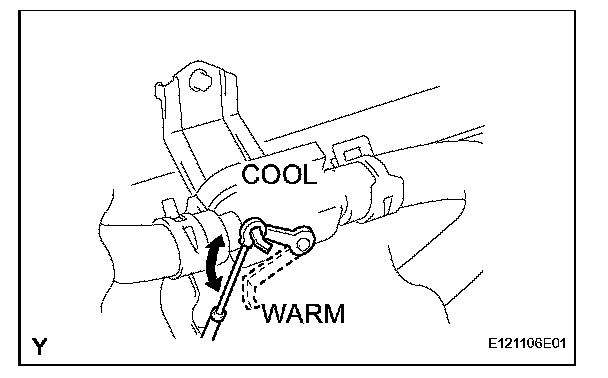
a. Turn the ignition switch to ON.
b. Operate temperature control switches to "MAX. COOL" and "MAX. WARM", then check water valve operation, as shown in the illustration.
If operation is not as specified, proceed to the next step.
2. ADJUST WATER VALVE CONTROL CABLE
a. Disconnect the control cable.
b. Turn the ignition switch to ON.
c. Set temperature control switches to "MAX. COOL".
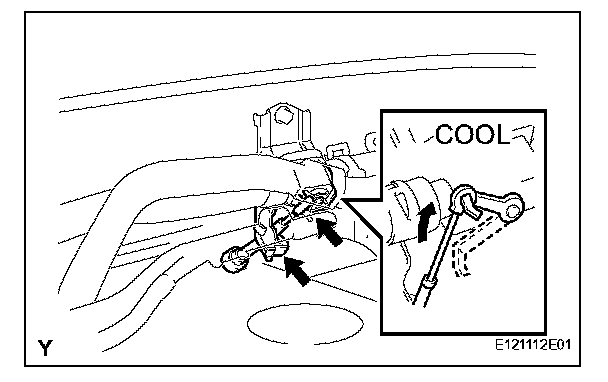
d. Set the water valve lever to the "COOL" position, connect the control cable and lock the clamp.
HINT: Lock the clamp while lightly pushing the outer cable in the direction shown by the arrow in the illustration.