Installation
DOOR LOCK: DOOR CONTROL SWITCH: INSTALLATION
1. INSTALL DOOR CONTROL SWITCH ASSEMBLY
(a) Attach the 2 claws to install the door control switch assembly.
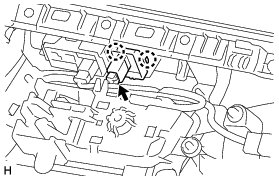
(b) Connect the door control switch connector.
2. INSTALL FRONT DOOR INNER GLASS WEATHERSTRIP RH
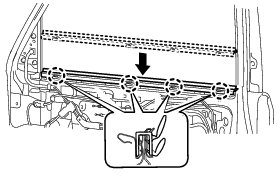
(a) Install the front door inner glass weatherstrip RH.
3. INSTALL FRONT DOOR TRIM BOARD SUB-ASSEMBLY RH
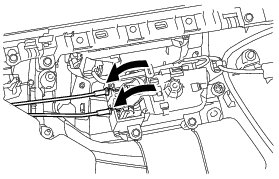
(a) Connect the front door lock remote control cable assembly and front door inside locking cable assembly.
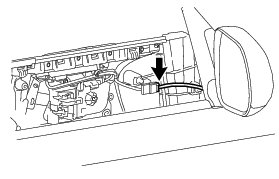
(b) Connect the connector.
(c) Attach the front door trim board sub-assembly to the 4 claws of the front door inner glass as shown in the illustration.
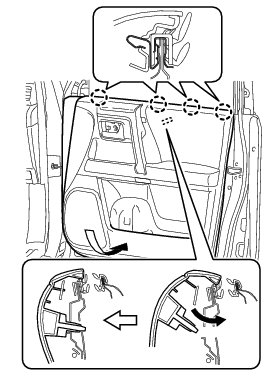
(d) Attach the 11 clips to install the front door trim board sub-assembly RH.
(e) Install the 3 screws.
(f) Attach the 4 claws to install the 2 door armrest caps.
4. INSTALL DOOR NO. 2 INSIDE HANDLE BEZEL RH
(a) Attach the 3 claws to install the No.2 inside handle bezel RH.
5. INSTALL FRONT DOOR LOWER FRAME BRACKET GARNISH RH
(a) Attach the 2 clips to install the front door lower frame bracket garnish RH.