Part 1
U760E AUTOMATIC TRANSAXLE: AUTOMATIC TRANSAXLE UNIT: DISASSEMBLY
1. REMOVE BREATHER PLUG HOSE
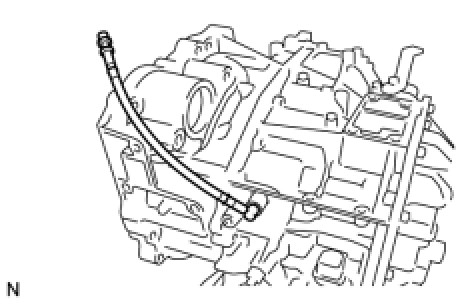
(a) Using a screwdriver, remove the breather plug hose from the transaxle case.
(b) Using a screwdriver, remove the No. 2 breather plug (ATM) from the breather plug hose.
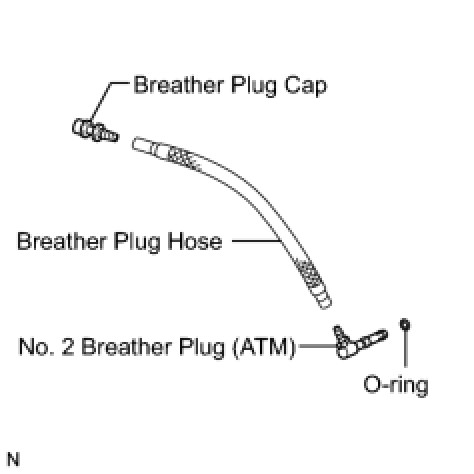
(c) Using a screwdriver, remove the O-ring from the No. 2 breather plug (ATM).
(d) Using a screwdriver, remove the breather plug cap from the breather plug hose.
2. REMOVE PARK/NEUTRAL POSITION SWITCH ASSEMBLY
(a) Remove the nut, washer, and control shaft lever from the control shaft.

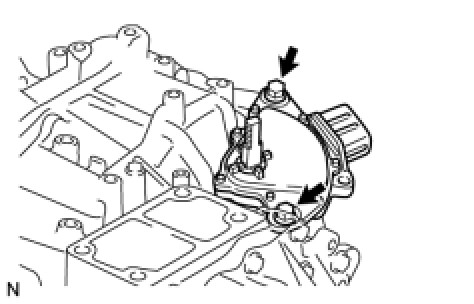
(b) Remove the 2 bolts and the park/neutral position switch assembly from the transaxle case.
NOTICE:
Before removing the park/neutral position switch, remove any dirt or rust on the installation portion of the control shaft. Be sure to remove the switch straight along the shaft while being careful not to deform the plate spring that supports the shaft. If the plate spring is deformed, the park/neutral position switch cannot be reinstalled correctly.
3. REMOVE OIL COOLER TUBE UNION (OUTLET OIL COOLER UNION)
(a) Loosen the nut while holding the oil cooler tube union (outlet oil cooler union).
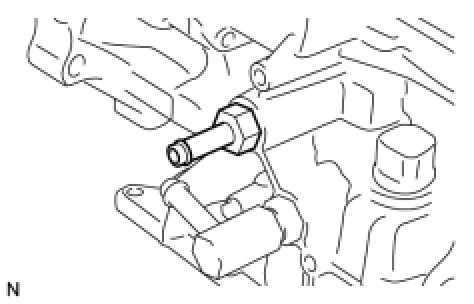
(b) Remove the oil cooler tube union (outlet oil cooler union) from the transaxle case.
(c) Remove the O-ring from the oil cooler tube union (outlet oil cooler union).
4. REMOVE OIL COOLER TUBE UNION (INLET OIL COOLER UNION)
(a) Loosen the nut while holding the oil cooler tube union (inlet oil cooler union).
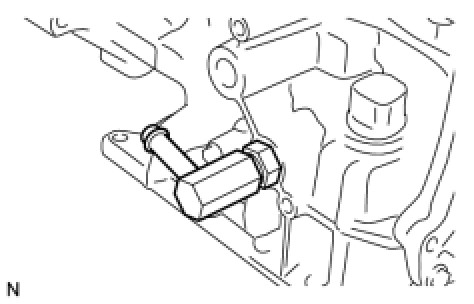
(b) Remove the oil cooler tube union (inlet oil cooler union) from the transaxle case.
(c) Remove the O-ring from the oil cooler tube union (inlet oil cooler union).
5. REMOVE NO. 1 TRANSAXLE CASE PLUG
(a) Remove the 3 No. 1 transaxle case plugs from the transaxle case.
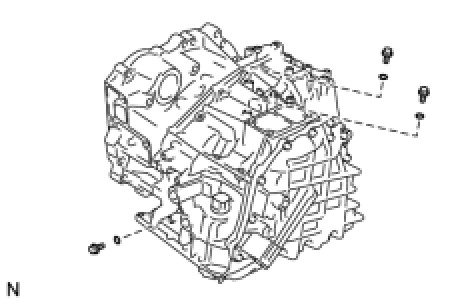
(b) Using a screwdriver, remove the 3 O-rings from the 3 No. 1 transaxle case plugs.
(c) Using a hexagon wrench (6 mm), remove the 3 hexagon bolts from the transaxle housing.
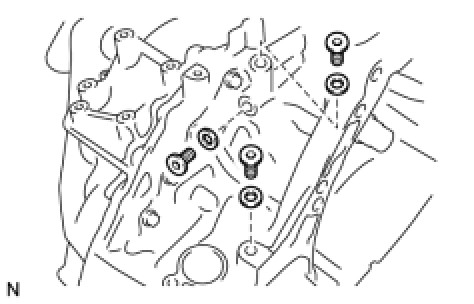
(d) Remove the gasket from each of the 3 hexagon bolts.
6. SUPPORT AUTOMATIC TRANSAXLE ASSEMBLY
(a) Support the transaxle assembly on wooden blocks.
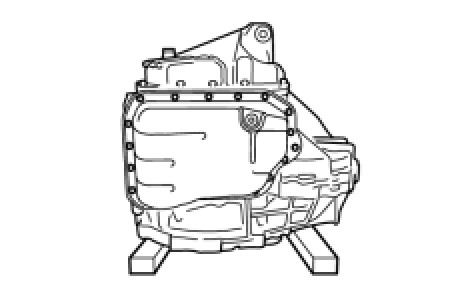
7. REMOVE AUTOMATIC TRANSAXLE OIL PAN SUB-ASSEMBLY
(a) Using a hexagon wrench (6 mm), remove the overflow plug from the automatic transaxle oil pan sub-assembly.
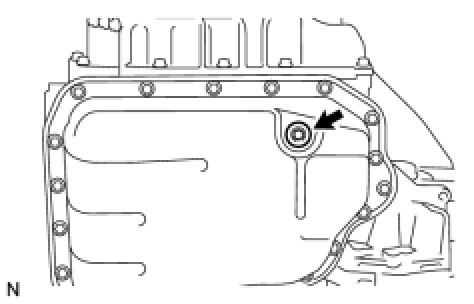
(b) Remove the gasket from the overflow plug.
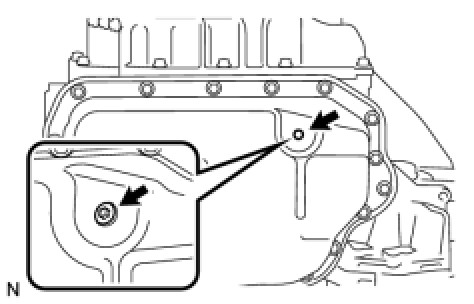
(c) Using a hexagon wrench (6 mm), remove the No. 1 transmission oil filler tube from the automatic transaxle assembly.
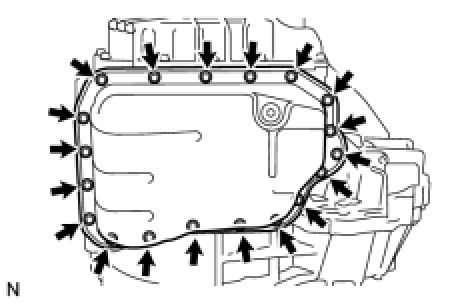
(d) Remove the 19 bolts, automatic transaxle oil pan sub-assembly, and automatic transaxle oil pan gasket from the automatic transaxle assembly.
(e) Remove the 2 transmission oil cleaner magnets from the automatic transaxle oil pan sub-assembly.
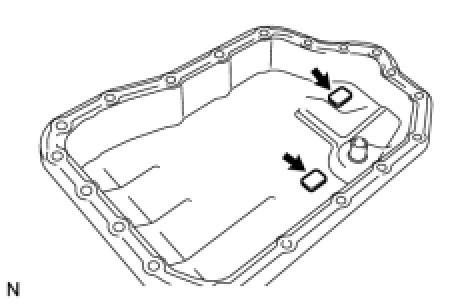
8. INSPECT TRANSMISSION OIL CLEANER MAGNET Transaxle Unit
9. REMOVE VALVE BODY OIL STRAINER ASSEMBLY
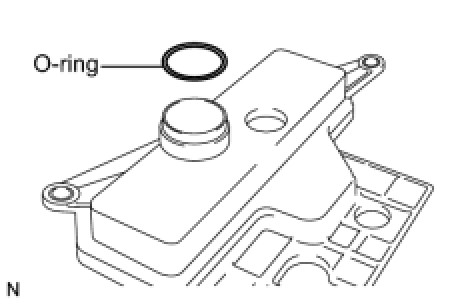
(a) Remove the 2 bolts and oil strainer assembly from the valve body assembly.
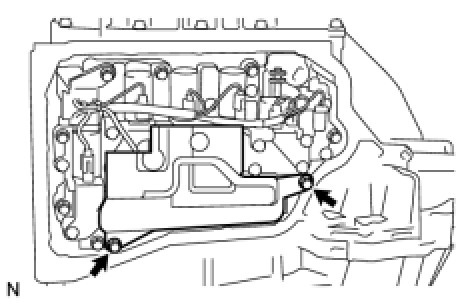
(b) Remove the O-ring from the oil strainer assembly.