Reassembly
HEATING / AIR CONDITIONING: REAR AIR CONDITIONING PANEL: REASSEMBLY
1. INSTALL CENTER CLUSTER MODULE LENS
(a) Remove the double-sided tape from the control knob sub-assembly.
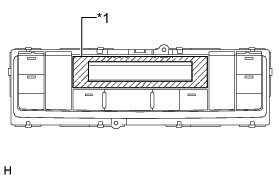
Text in Illustration

(b) Wipe off any tape adhesive residue with cleaner.
(c) Remove the peeling paper from a new center cluster module lens.
HINT
After removing the peeling paper, keep the exposed adhesive free from foreign matter.
(d) Install the center cluster module lens.
NOTICE:
Do not reuse the center cluster module lens after removing it.
2. INSTALL HEATER CONTROL KNOB
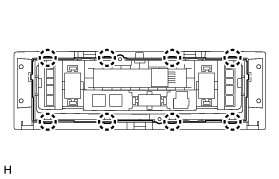
(a) Attach the 8 claws to install the heater control knob.
3. INSTALL HEATER CONTROL GUARD
(a) Install the heater control guard.
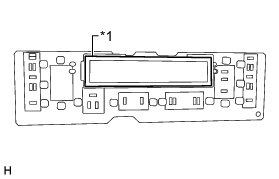
Text in Illustration

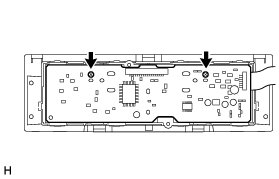
4. INSTALL CENTER CLUSTER MODULE CIRCUIT
NOTICE:
As the electronic parts of the circuit board may be damaged by static electricity, do not touch the electronic parts of the circuit board or the soldered areas with bare hands.
(a) Install the center cluster module circuit with the 2 screws.
5. INSTALL LOWER HEATER CONTROL BASE
NOTICE:
As the electronic parts of the circuit board may be damaged by static electricity, do not touch the electronic parts of the circuit board or the soldered areas with bare hands.
(a) Install the 3 screws.
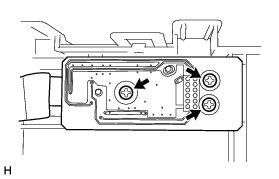
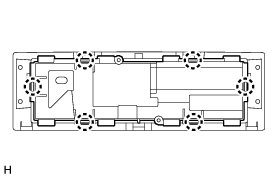
(b) Attach the 6 claws to install the lower heater control base.