Part 2
U140F AUTOMATIC TRANSAXLE: AUTOMATIC TRANSAXLE UNIT: DISASSEMBLY - (Continued)
21. REMOVE PARKING LOCK PAWL BRACKET

(a) Remove the 2 bolts and parking lock pawl bracket.
22. REMOVE MANUAL VALVE LEVER SHAFT RETAINER SPRING

(a) Using needle-nose pliers, remove the retainer spring.
23. REMOVE MANUAL VALVE LEVER SUB-ASSEMBLY
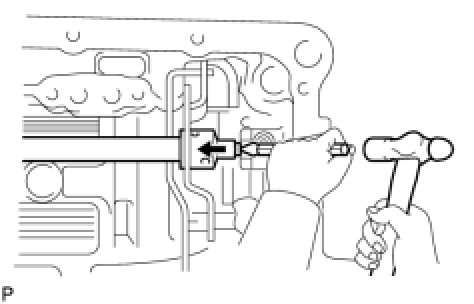
(a) Using a chisel and hammer, unstake and remove the spacer.
(b) Using a pin punch and hammer, tap out the pin.

HINT
Slowly tap out the pin so that it will not fall into the transaxle.
(c) Remove the manual valve lever shaft and manual valve lever.

24. REMOVE PARKING LOCK ROD SUB-ASSEMBLY
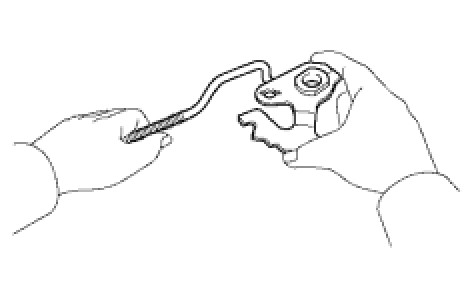
(a) Remove the parking lock rod from the manual valve lever.
25. REMOVE MANUAL VALVE LEVER SHAFT OIL SEAL
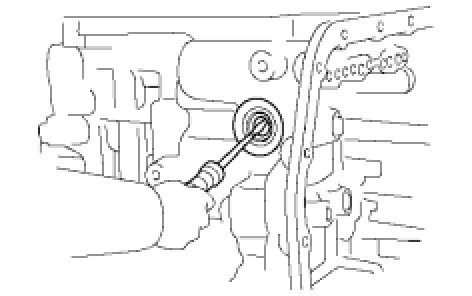
(a) Using a screwdriver, pry out the oil seal from the transaxle.
26. FIX AUTOMATIC TRANSAXLE ASSEMBLY
(a) Fix the transaxle case with the oil pump side facing up.
27. INSPECT INPUT SHAFT END PLAY Transaxle Unit
28. REMOVE NO. 1 TRANSAXLE CASE PLUG
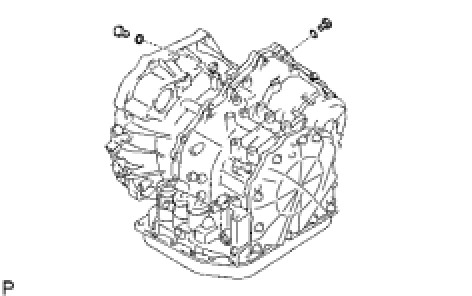
(a) Remove the 2 plugs.
(b) Remove the 2 O-rings from the 2 plugs.
29. REMOVE TRANSAXLE HOUSING
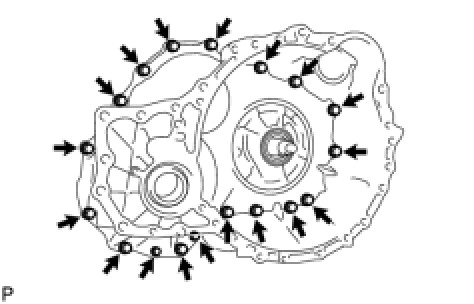
(a) Remove the 18 bolts.
(b) Tap on the circumference of the transaxle housing with a plastic-faced hammer to remove the transaxle housing from the transaxle case.
NOTICE:
The differential may be accidentally removed when the transaxle housing is removed.
30. REMOVE OIL PUMP ASSEMBLY
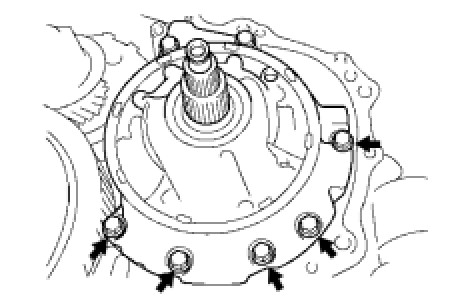
(a) Remove the 7 bolts and oil pump from the transaxle.
31. REMOVE THRUST NEEDLE ROLLER BEARING

(a) Remove thrust needle roller bearing from the underdrive planetary gear.
32. REMOVE NO. 2 THRUST BEARING UNDERDRIVE RACE

(a) Remove the thrust bearing underdrive race from the underdrive planetary gear.
33. REMOVE DIFFERENTIAL GEAR ASSEMBLY
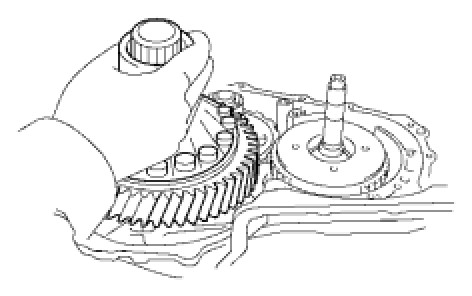
(a) Remove the differential gear form the transaxle.
34. REMOVE OVERDRIVE BRAKE GASKET

(a) Remove the 2 overdrive brake gaskets from the transaxle.
35. REMOVE FORWARD CLUTCH ASSEMBLY

(a) Remove the forward clutch from the transaxle.
(b) Remove the thrust bearing from the forward clutch.
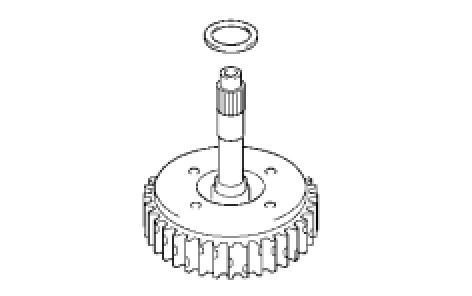
36. REMOVE MULTIPLE DISC CLUTCH HUB
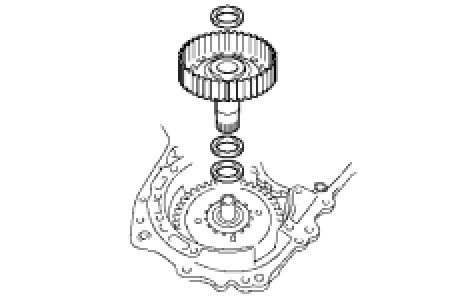
(a) Remove the thrust bearing, multiple clutch hub, needle roller bearing and bearing race from the transaxle.
37. INSPECT MULTIPLE DISC CLUTCH HUB Transaxle Unit
38. REMOVE UNDERDRIVE PLANETARY GEAR ASSEMBLY

(a) Remove the bolt and parking pawl shaft clamp.
(b) Remove the parking lock pawl shaft.
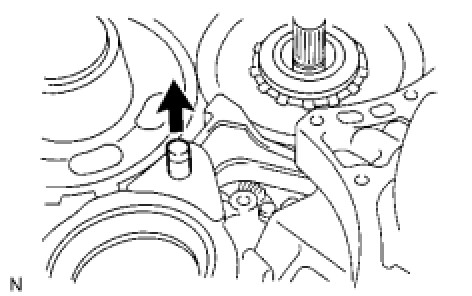
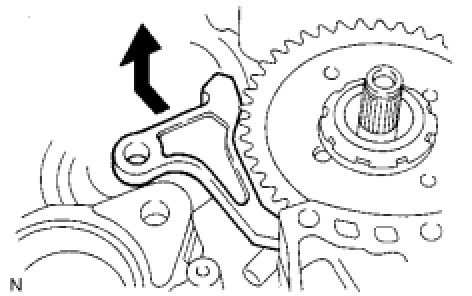
(c) Push the parking lock pawl.
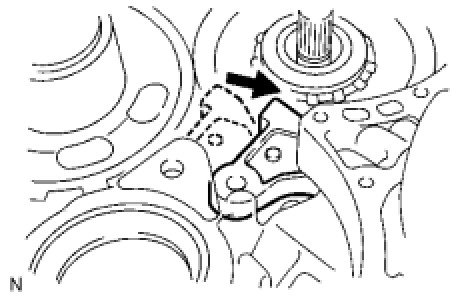
HINT
Failure to do so will cause interference when the underdrive planetary gear is removed.
(d) Remove the underdrive planetary gear from the transaxle.
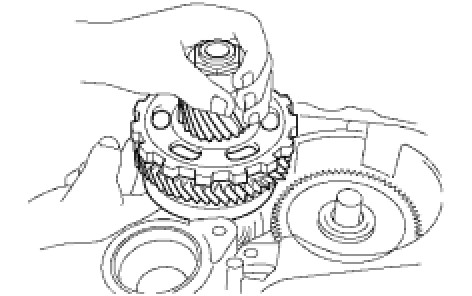
NOTICE:
Be careful so that the underdrive planetary gear assembly will not fall out.
(e) Remove the spring, pawl pin and parking lock pawl.
39. REMOVE UNDERDRIVE CLUTCH ASSEMBLY

(a) Remove the underdrive clutch, thrust bearing and bearing race from the transaxle.
40. REMOVE UNDERDRIVE 1-WAY CLUTCH ASSEMBLY

(a) Using a screwdriver, pry out the snap ring from the transaxle.
(b) Remove the 1-way clutch from the transaxle.
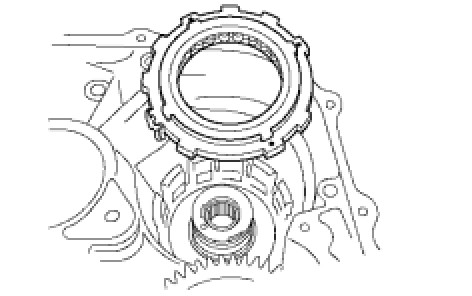
(c) Remove the outer race retainer from the 1-way clutch.
