Side Window With Intake Trim, Removing and Installing
Side Window With Intake Trim, Removing And Installing
Removing
- Remove seats and/or seat benches and remove loading floor, depending on equipment
- Remove headliner.
- Remove B-pillar upper trim, sliding door side.
- Remove C-pillar trim, sliding door side.
- Remove D-pillar trim, sliding door side.
- Remove rear side wall trim, sliding door side.
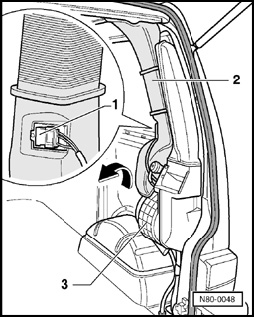
- Disconnect electrical plug connector - 1 -.
- Lift air duct - 2 - and swing out of the air intake - 3 - - arrow -.
- Pull air duct - 2 - down out of headliner.
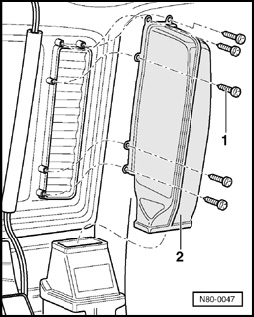
- Remove screws - 1 -.
- Remove intake duct - 2 -.
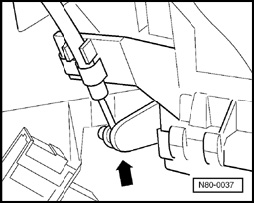
- Remove nuts - 1 -.
Torque: 2.2 Nm (19 in.lb)
NOTE: Tightening torque for nuts - 1 - must be followed to in order to ensure proper air duct seal.
- Pull side window off vehicle.
- Reassemble in reverse sequence.