Bonded Rubber Mounting For Subframe, Removing and Installing
Bonded rubber mounting for subframe, removing and installing
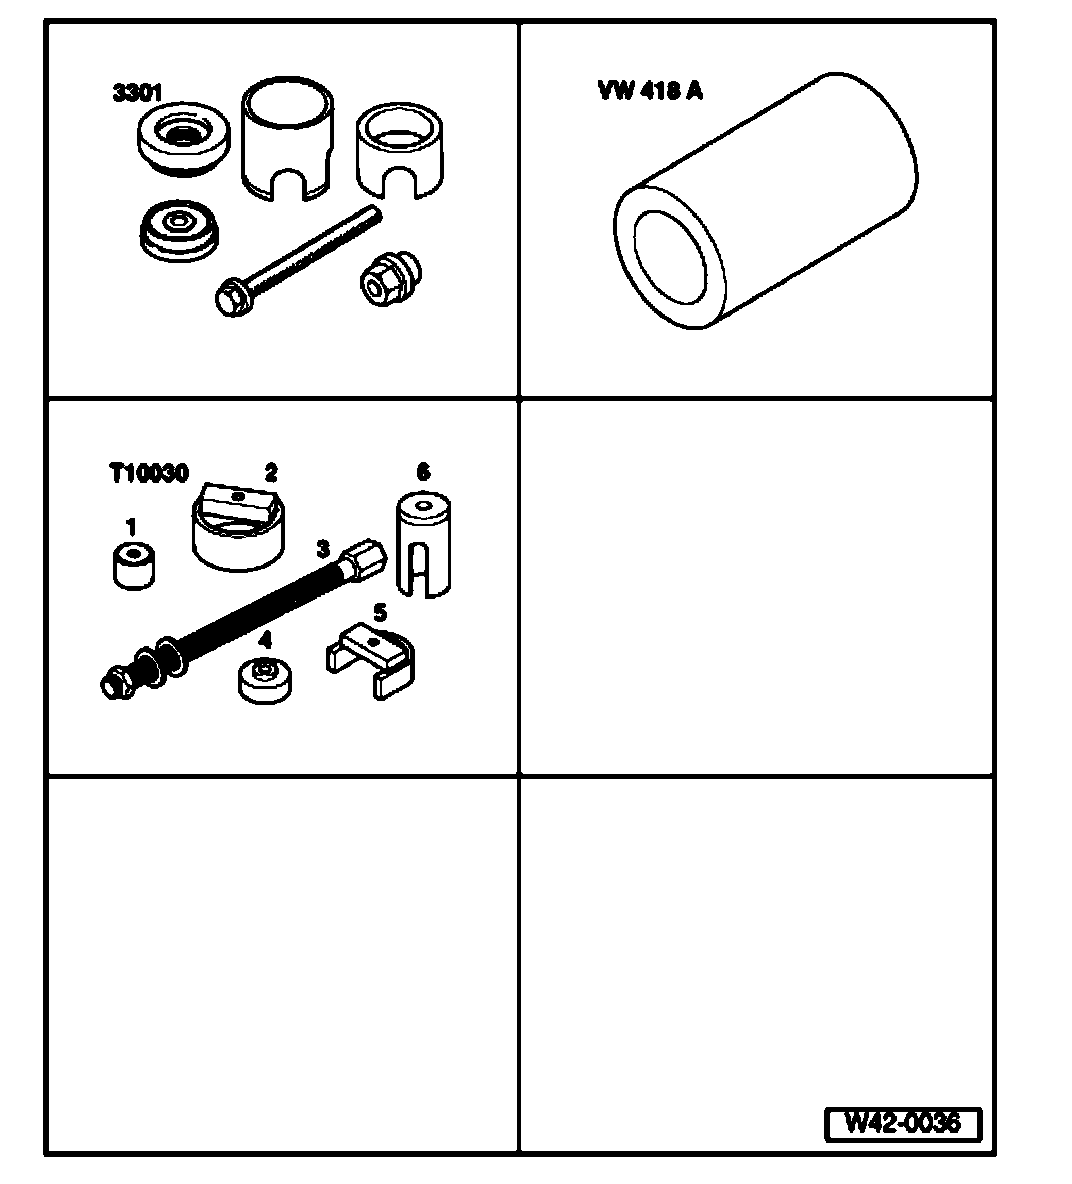
Special tools, testers and auxiliary items required
^ Assembly tool 3301
^ Sleeve VW41 8A
^ Spindle T10030/3
^ Thrust tube T10030/4
^ Tube T10030/6
Removing
- Remove wheels.
- First remove spring
- Remove subframe completely with final drive.
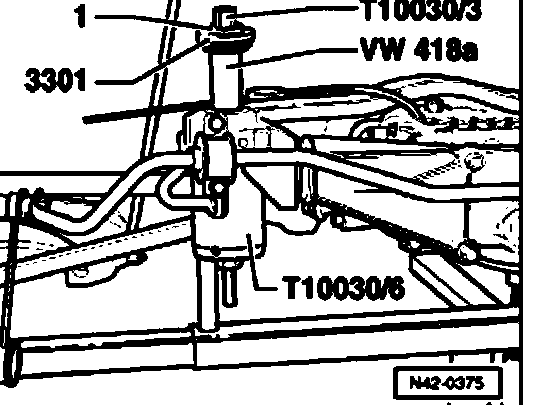
- Position special tool.
1 - Washer
- Pull out bonded rubber mounting by tightening the spindle.
Installing
The bonded rubber mounting is supplied as a spare part in a sealed plastic bag.
Do not use a bonded rubber mounting which has been stored unsealed!
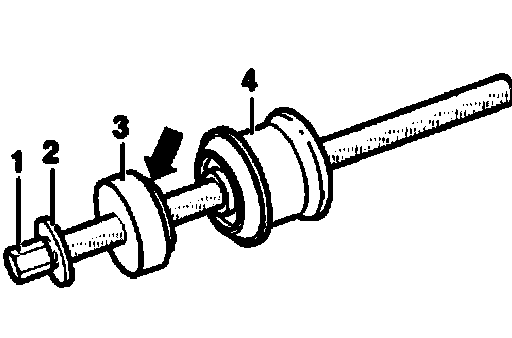
- Assemble special tool with bonded rubber mounting.
1 - Spindle T10030/3
2 - Washer with chamfer
3 - Thrust tube 10030/4
- Shoulder arrow faces toward bonded rubber mounting
4 - Bonded rubber bushing
- Coat bonded rubber mounting with, for example, liquid soap.
- Install bonded rubber bushing and special tools on subframe.
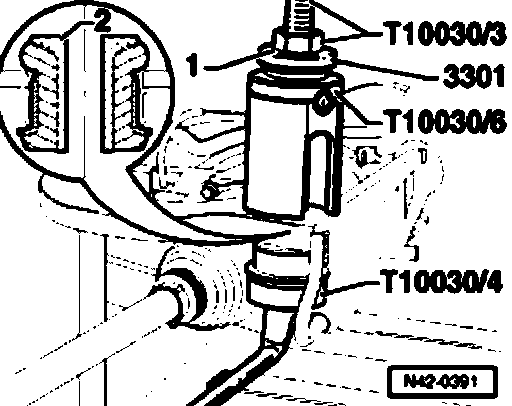
- Pull in bonded rubber mounting by turning spindle.
1 - Washer
2 - Installation position of bonded rubber mounting in subframe
Spindle must be inserted from below to remove and pull in subframe front bonded rubber mounting.
Further installation of subframe is performed in reverse order