Removal and Replacement
Thread on Subframe Mounting, Servicing
Observe safety precautions.
Special tools, testers and auxiliary items required
• Thread repair set M14x1.5 (VAS 6027)
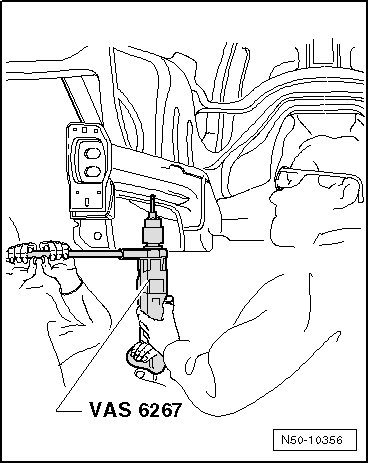
• Drill (VAS 6267)
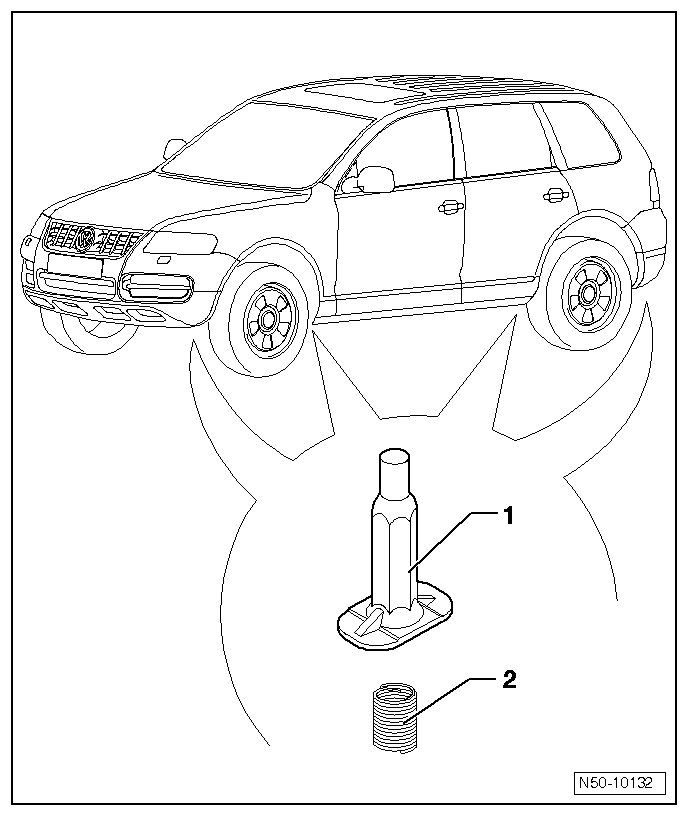
1 Threaded sleeve (in vehicle)
• The threaded sleeve is not a replacement part and can be serviced only one time if damaged.
• Replace the longitudinal member if it gets damaged again.
2 Helicoil thread insert
Contents of Thread Repair Set
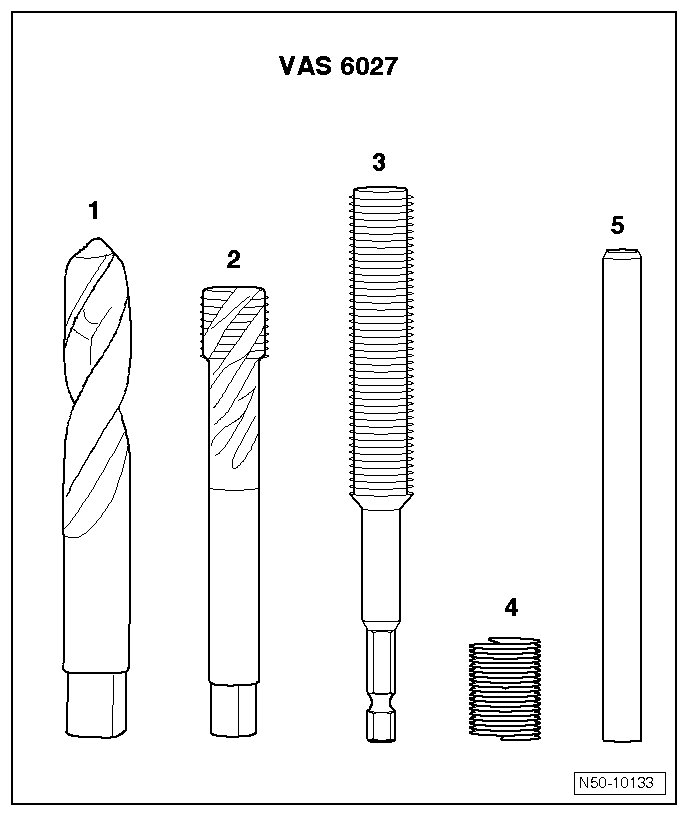
1 Spiral bore
2 Tap M14x1.5
3 Installing spindle
4 Thread insert M14x1.5x28
5 Peg breaker with magnetic tips
Thread, Servicing
Threads, Drilling
- Drill out thread path up to thread base using spiral bore.
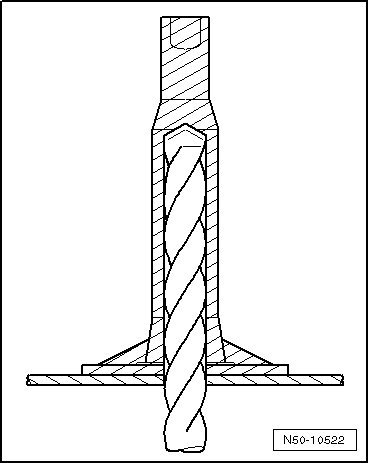
• Use drill (VAS 6267) for drilling and grinding.
• While drilling, drill must be held by a second person using an additional handle.
• Do not angle the drill.
Threads, Cutting
Wear protective eyewear when cutting the thread and when cleaning the threaded bushing with compressed air.
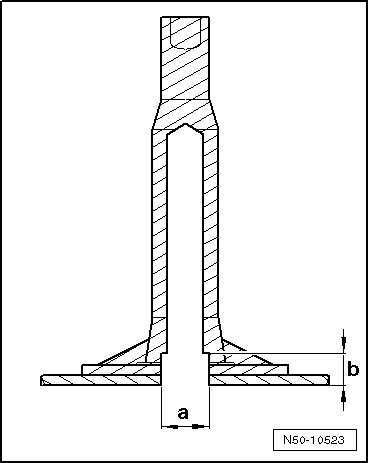
- If the required thread depth is not reached because the bore is placed crooked, a guide bore with a maximum 16 mm diameter dimension - a - and a maximum depth of 20 mm dimension - b - can be drilled.
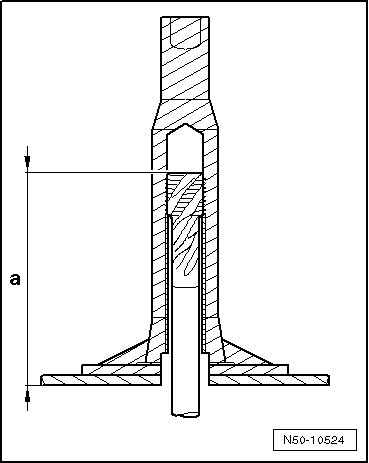
- Thread is cut using tap until dimension - a - = at least 63 mm.
- Clean threaded bushing (blow with pressurized air).
Thread Inserts, Inserting
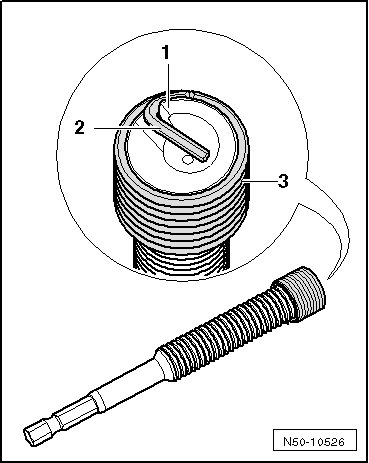
- Turn the threaded insert - 3 - onto the spindle until the drive peg - 2 - makes contact on drive tab - 1 - of installing spindle.
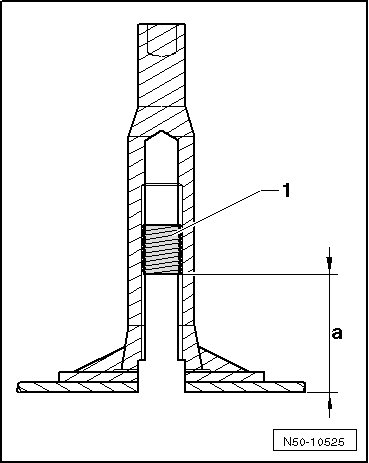
- Install threaded insert - 1 - up to dimension - a - 30 mm +1/-3 in threaded sleeve (turn lightly without force).
- Check the dimension with the depth gauge.
- Remove the spindle.
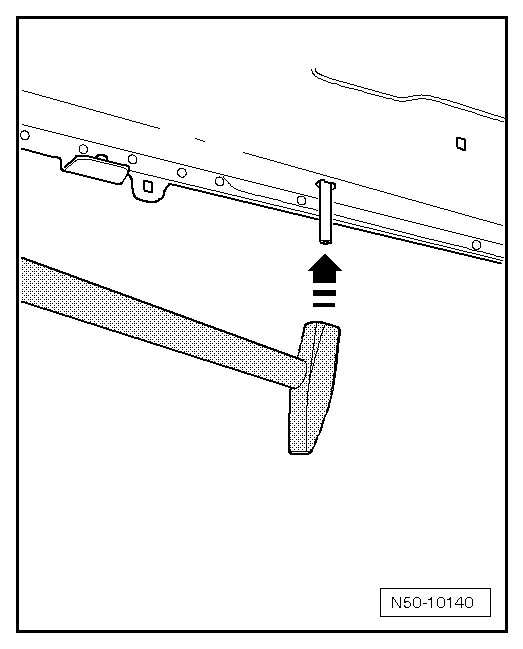
- Break off thread insert driver tang using tang breaker.
- Install the subframe (tightening specifications). Refer to.