Disassembling Overdrive
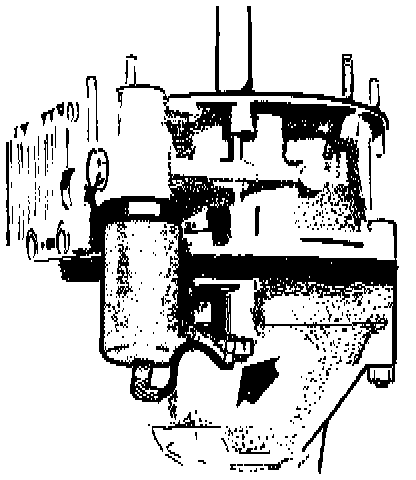
1. Clamp the overdrive in a vise with soft jaws. Remove the solenoid ground wire.
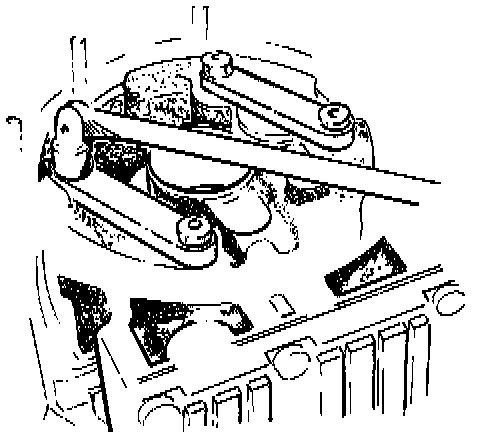
2. Remove the bridges.
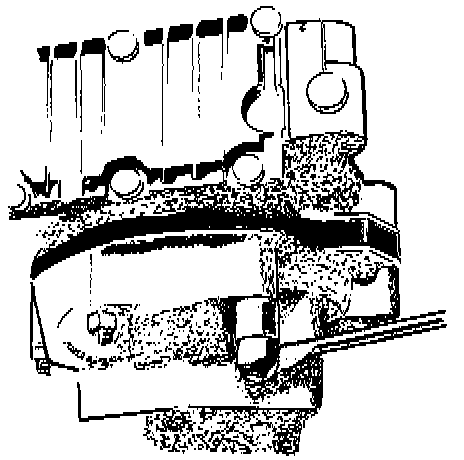
3. Remove the nuts holding front and rear housings together.
NOTE: Loosen crosswise to avoid tension.
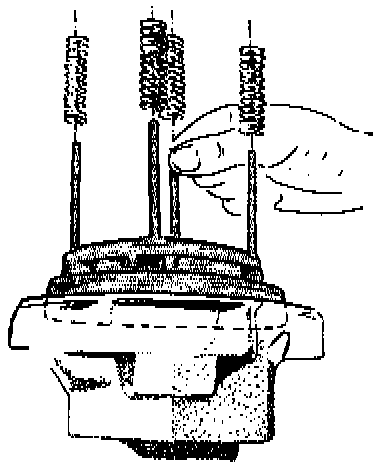
4. Remove front housing and brake drum.
5. Remove the springs. Lift out the clutch with thrust bearing and sun gear.
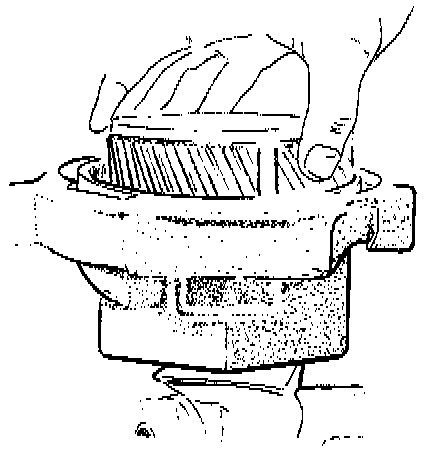
6. Remove the planetary gear carrier.
Front Housing
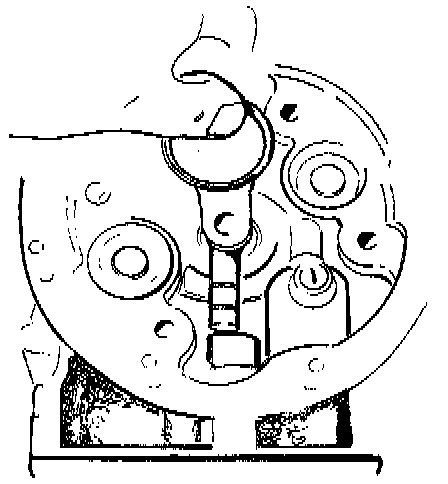
1. Remove pump link and pump piston.
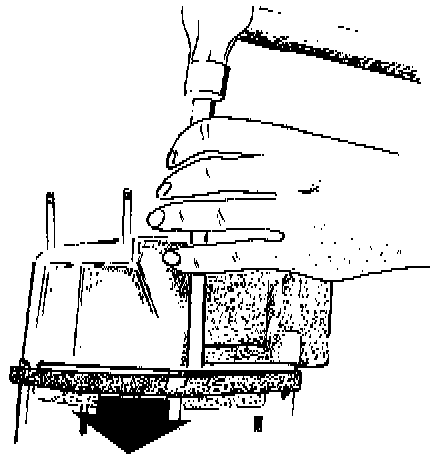
2. Use a copper drift to tap loose the brake drum.
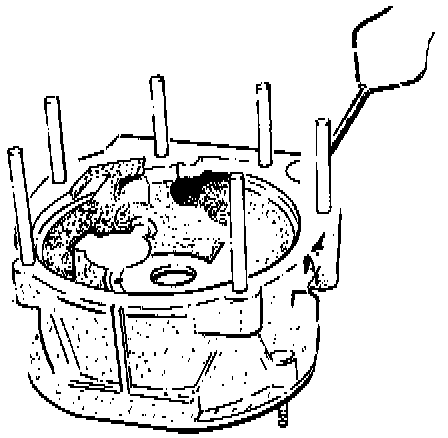
3. Position the front housing with the front end DOWN. Connect compressed air to the hole for the solenoid valve. Blow out the pistons.
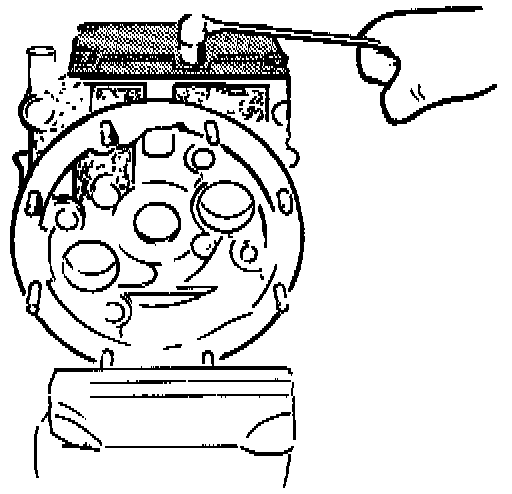
4. Clamp the front housing in a vise with soft jaws. Remove the oil pan.
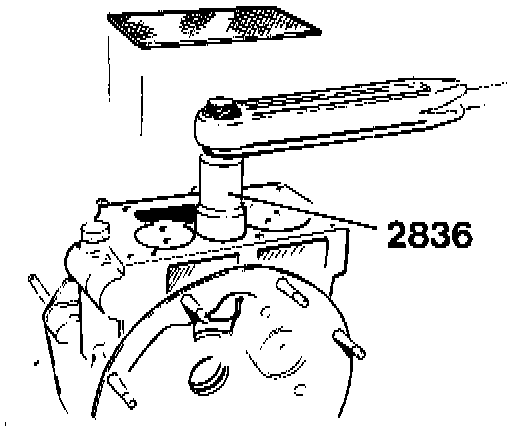
5. Remove the strainer. Use wrench P/N 2836 to remove the three plugs.
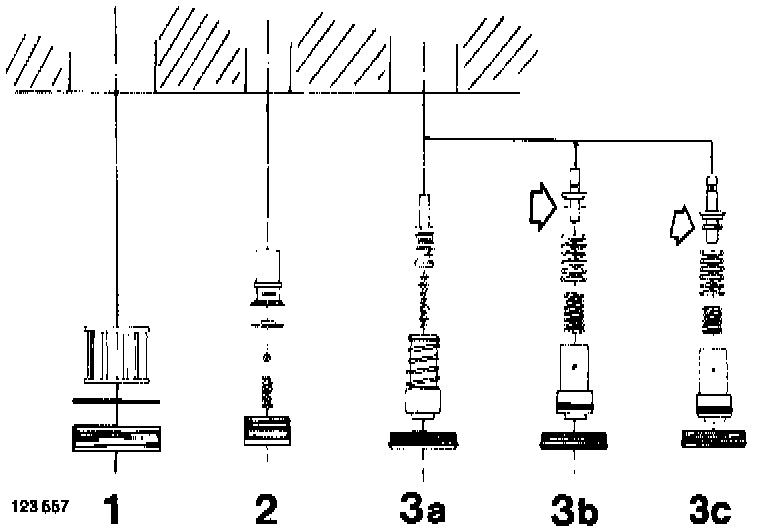
6. Remove in order:
1. Oil filter.
2. Check valve with spring, ball and seat. Remove pump cylinder.
3. Remove relief valve.
a. Early production (-75).
b. Mid-production (76 - 5/83)
c. Late production (5/83-)
Note shim (at arrow) for pressure adjustment.
5183 Extractor:
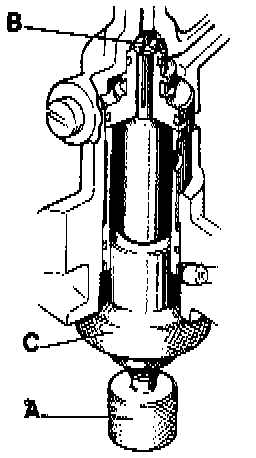
6. Use extractor P/N 5183 to pull cylinder and seat.
- Screw out the center screw A until the slotted part B can be inserted in the seat.
- Screw in the center screw until tight.
- Screw in nut C until seat and cylinder come loose.
Clutch Sliding Member Assembly
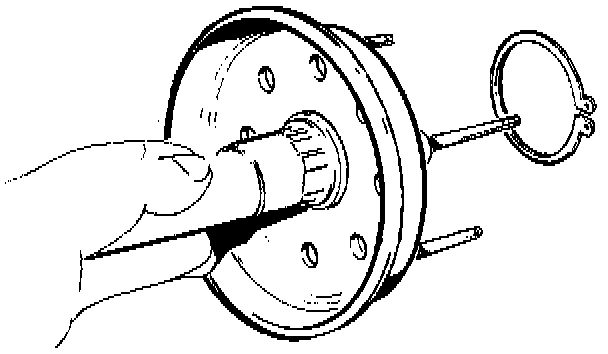
1. Remove the snap ring. Pull out the sun gear.
2851 Drift:
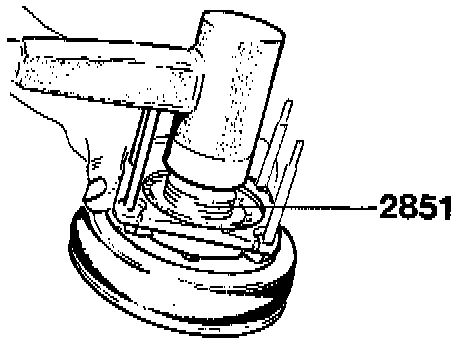
2. Remove the snap ring. Use drift P/N 2851 and a plastic mallet to tap out the clutch disc.
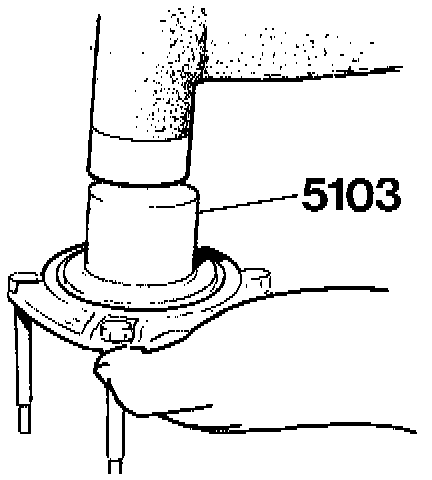
3. Remove the large snap ring. Use drift P/N 5103 and a plastic mallet to tap out the bearing.
Planetary Gear Assembly
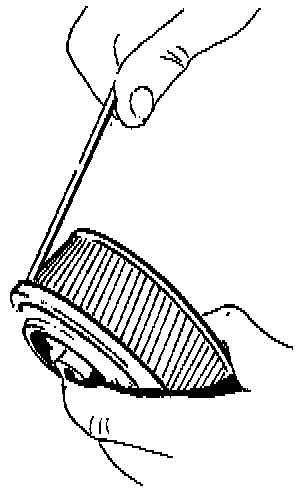
1. Use a screwdriver to pry loose the oil slinger.
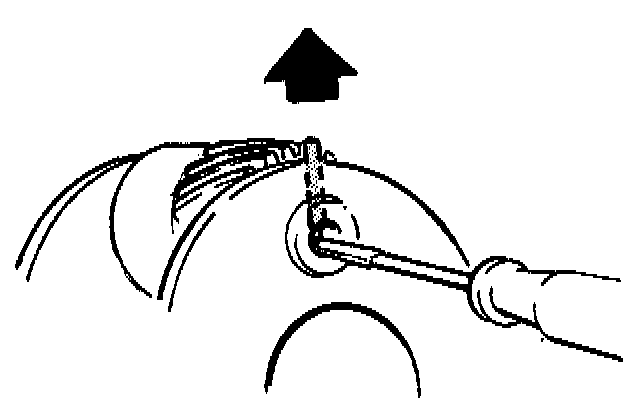
2. Use a screwdriver to pry loose the lock pins.
NOTE: The pins may have to be drilled out.
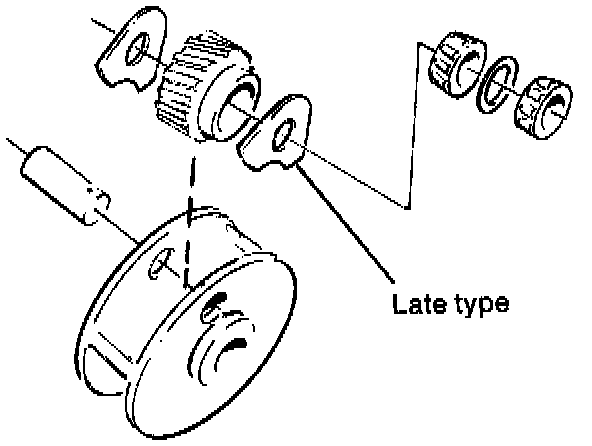
3. Remove the gear shafts. Remove planetary gears and thrust washers.
4. Remove needle bearings and spacers from the planetary gears.
Rear Housing
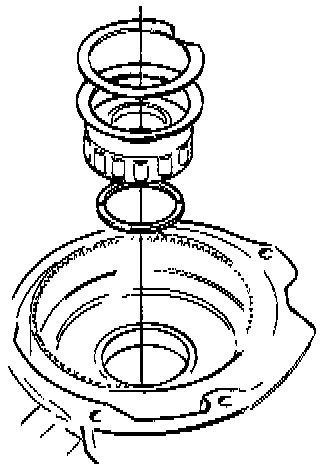
1. Remove snap ring, oil slinger, one-way clutch assembly and thrust washer.
NOTE: Also refer to procedures using ring tool P/N 5210 when removing one-way clutch assembly, see "Replacing One-Way Clutch".
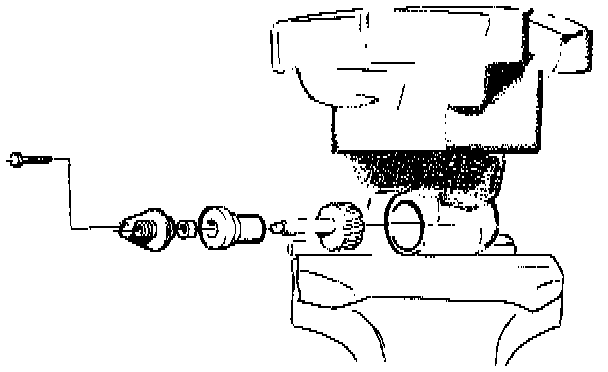
2. Remove the speedometer gear assembly.
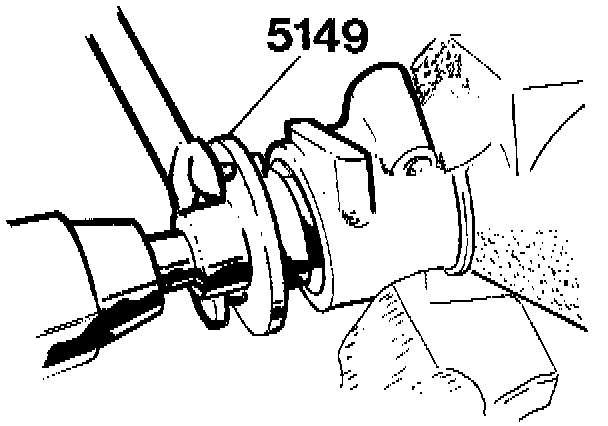
3. Attach wrench P/N 5149 and remove the drive flange nut.
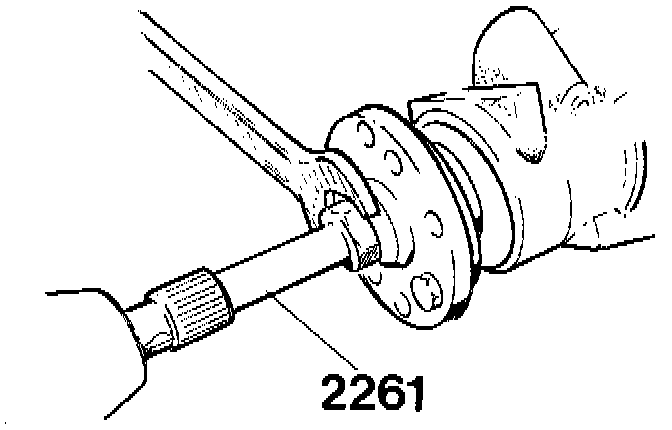
4. Use puller P/N 2261 to pull the drive flange.
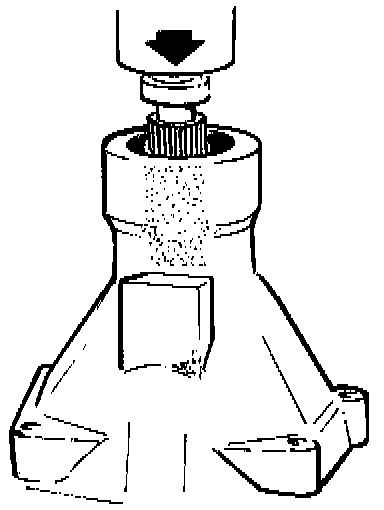
5. Press out the output shaft.
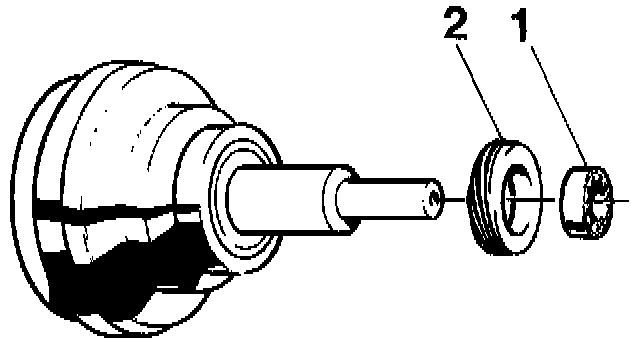
6. Remove spacer sleeve (1) and speedometer drive gear (2).
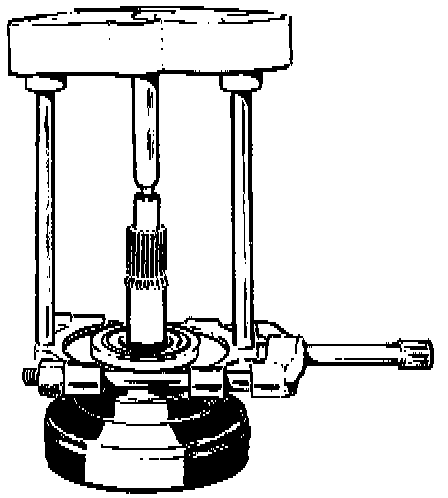
7. Pull off the bearing on the output shaft.
1801 Standard Handle:
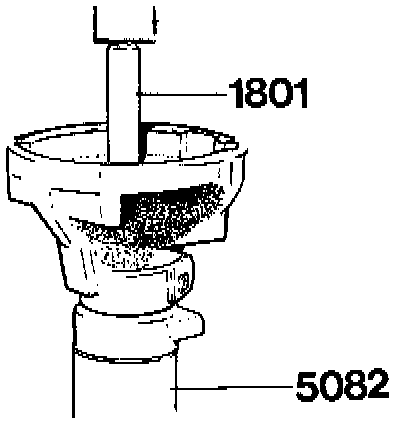
8. Use drift P/N 1797 and standard handle P/N 1801 when pressing out the bearing in the rear housing. Use sleeve P/N 5082 to support the housing.