Thermostat: Service and Repair
Thermostat - 3.5L
Removal and Installation
1. Drain the cooling system. For additional information, refer to Cooling System Draining, Filling and Bleeding Service and Repair.
2. Remove the air cleaner and outlet pipe. For additional information, refer to Intake Air Distribution and Filtering - 3.5L Air Cleaner and Air Cleaner Outlet Pipe.
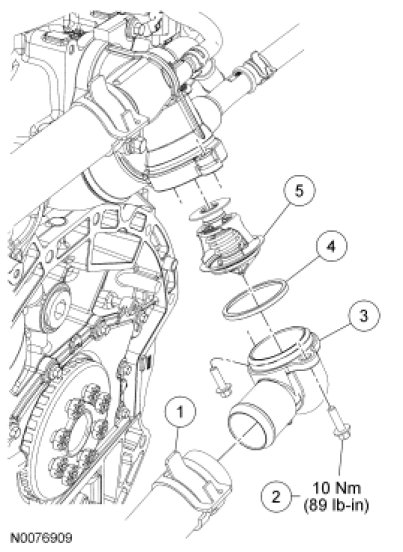
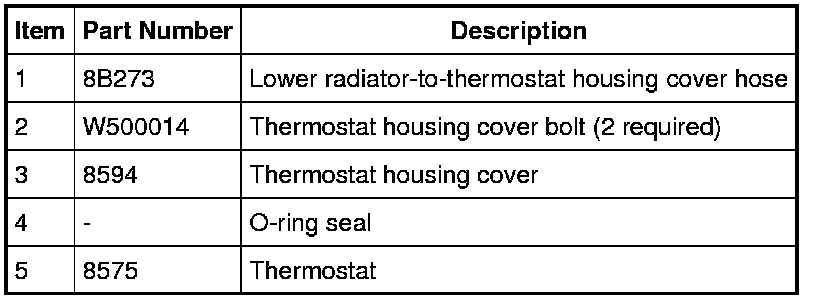
3. Disconnect the lower radiator hose from the thermostat housing cover and position it aside.
4. Remove the 2 bolts, thermostat housing cover, O-ring seal and thermostat.
- Clean and inspect the O-ring seal. Install a new seal if necessary.
- To install, tighten to 10 Nm (89 lb-in).
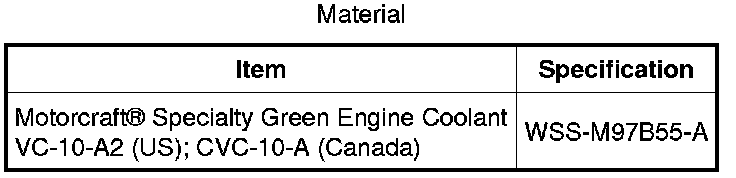
5. NOTICE: Genuine Mazda(R) Extended Life Coolant and Motorcraft(R) Specialty Green Engine Coolant are very sensitive to light. Do NOT allow these products to be exposed to ANY LIGHT for more than a day or two. Extended light exposure causes these products to degrade.
NOTE: Lubricate the thermostat O-ring seal with clean engine coolant.
To install, reverse the removal procedure.
6. Fill and bleed the cooling system. For additional information, refer to Cooling System Draining, Filling and Bleeding Service and Repair.