License Plate Frame: Service and Repair
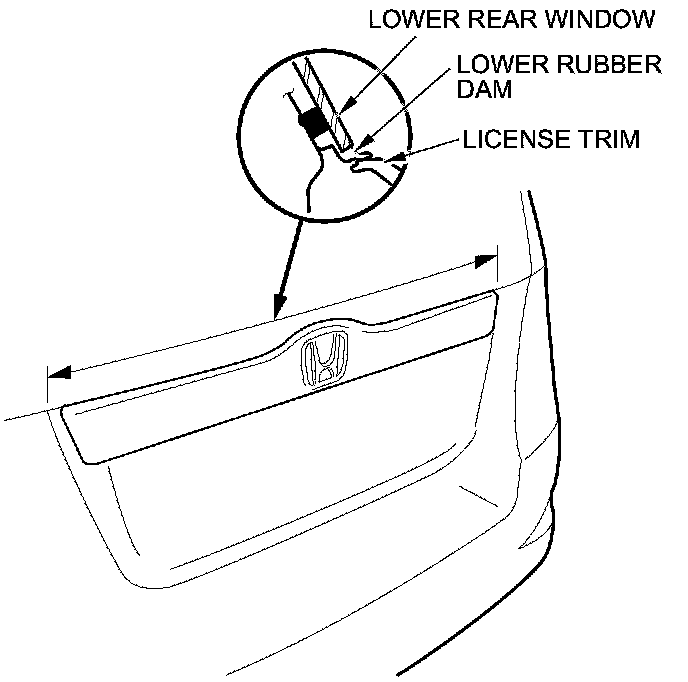
Rear License Trim Replacement
NOTE:
- Put on gloves to protect your hands.
- Take care not to scratch the body.
1. Remove the hatch lower trim panel Interior Trim Removal/Installation - Hatch Areas.
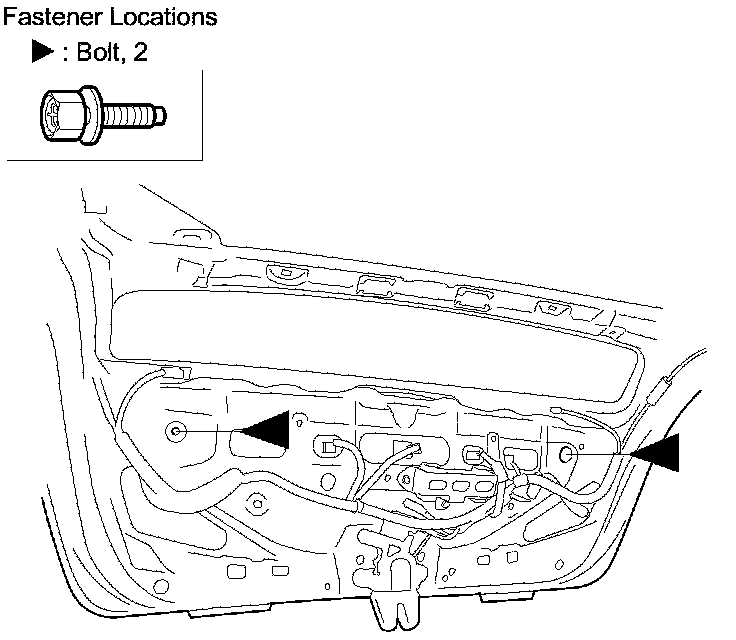
2. From inside the hatch, remove the bolts securing the rear license trim.
3. Pull out the rear license trim (A) to detach the pins (B) of the clips (C) from the grommets (D), detach the clips (E), then remove the trim from the hatch.
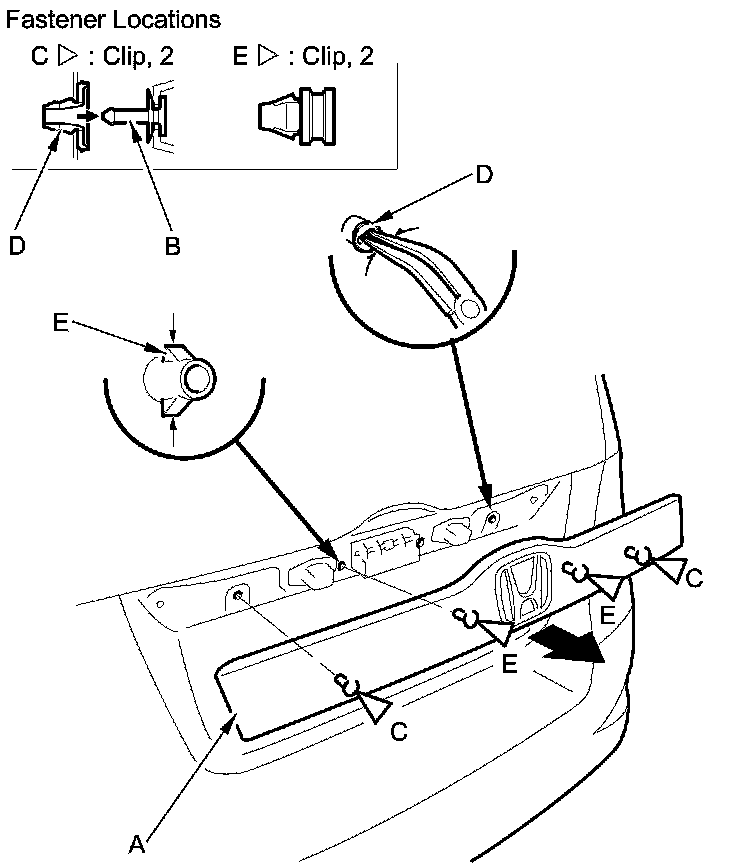
4. Remove the grommets with snap ring pliers from the hatch.
5. If the grommets and pins are damaged or stress-whitened, replace them as assemblies with new ones.
6. Install the grommets on the pins by pushing them into place.
7. Install the trim in the reverse order of removal, and note these items:
- If the clips are damaged or stress-whitened, replace them with new ones.
- Push the clips into place securely.