Windshield Wiper Motor Removal/Installation
WINDSHIELD WIPER MOTOR REMOVAL/INSTALLATION
1. Disconnect the negative battery cable.
2. Remove the following parts:
a. Windshield wiper arm and blade Windshield Wiper Arm And Blade Removal/Installation
b. Front fender molding Cowl Grille Removal/Installation
c. Cowl grille Cowl Grille Removal/Installation
d. Center cowl grille No1, No2
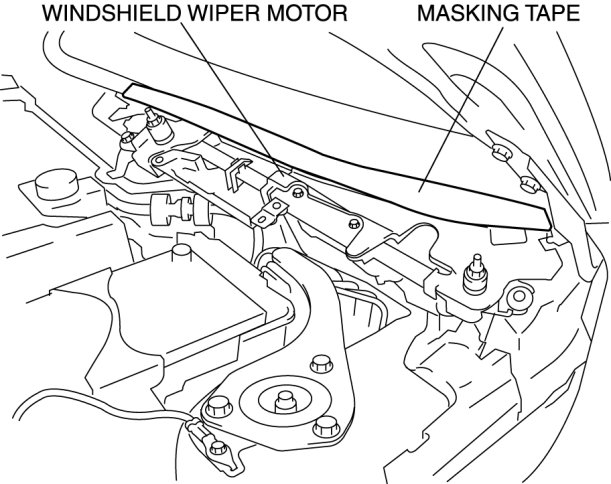
3. Stick masking tape on the figure.
CAUTION:
- If the front wiper motor is removed without affixing protective tape to the windshield, the motor may contact the windshield and damage it. Always affix protective tape along the edge of the windshield when removing the front wiper motor.
- Stick masking tape on the position to show in the figure of the windshield.
4. Remove the bolts.
5. Disconnect the windshield wiper motor connector.
6. Remove the windshield wiper motor.
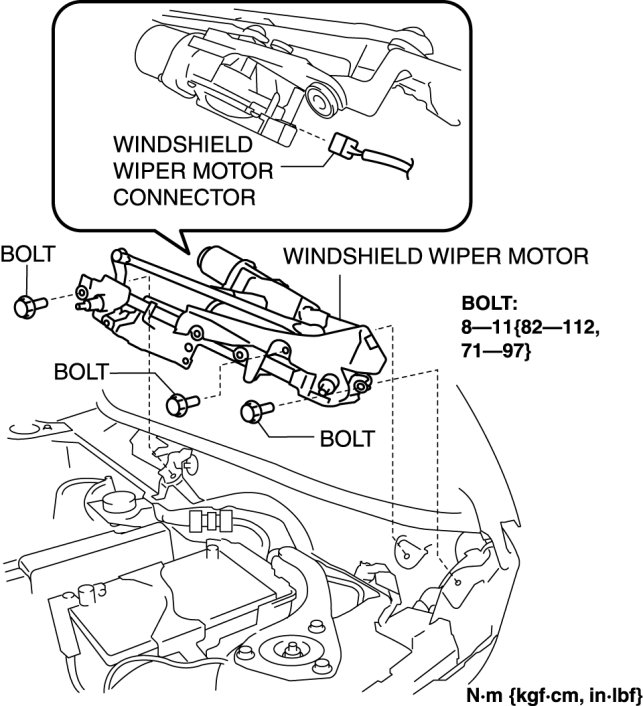
7. Install in the reverse order of removal.
Windshield Wiper Motor Remove Note
1. Slide the windshield wiper motor in the direction of the left front fender and pull it out from between the windshield and the cowl panel.
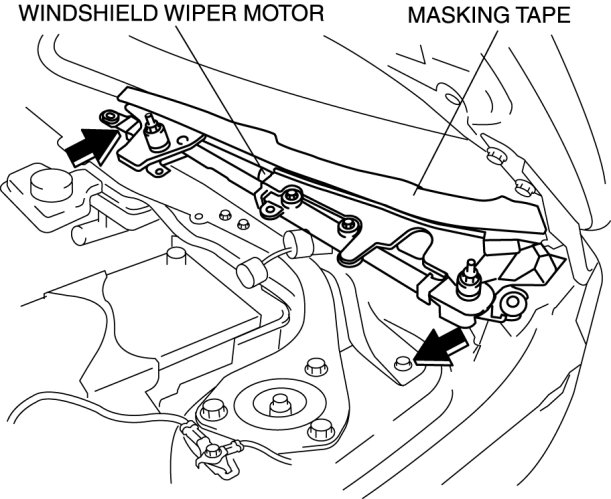
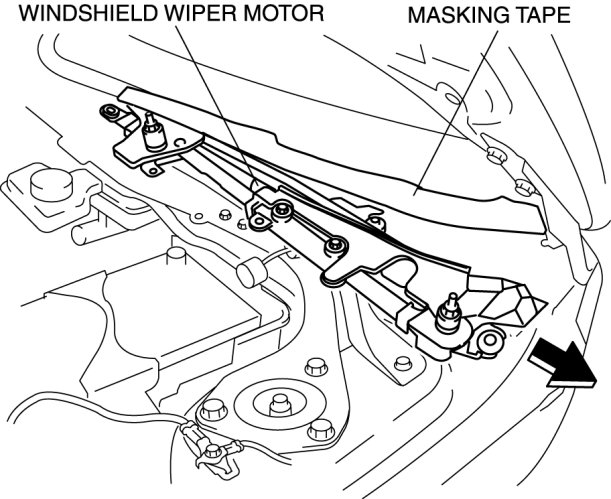
2. Be careful when removing the windshield wiper motor so that it does not strike the windshield. If the windshield wiper motor hits the windshield, it could cause damage to the windshield.