Service Specifications
Piston and connecting rod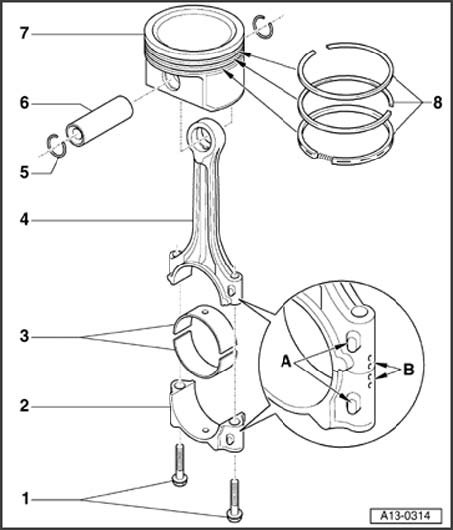
connecting rod Bearing shells
Axial play
new 0.10 to 0.35 mm
Wear limit 0.40 mm
Measure radial clearance with Plastigage
New 0.01 to 0.05 mm
Wear limit 0.12 mm
Do not turn crankshaft when checking radial clearance
Piston rings
Offset gaps by 120°
Use piston ring pliers for removal and installation
Mark TOP must face toward piston head
Checking ring gap
Check piston ring groove clearance
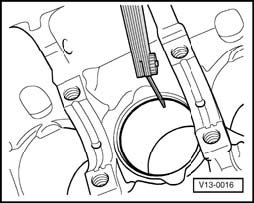
Checking piston ring gap
Push ring squarely from above down to approximately 15 mm from bottom end of cylinder. To do this use a piston without rings.

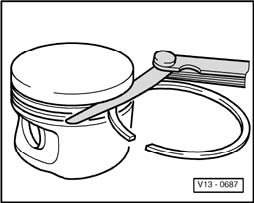
Checking ring to groove clearance
Clean ring groove of piston before checking.

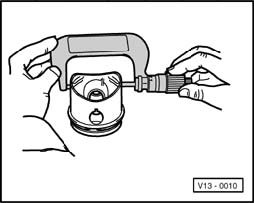
Checking piston
Measure pistons approximately 10 mm from bottom edge and at points offset 90° to piston pin axis.
Deviation from nominal dimension: max 0.04 mm
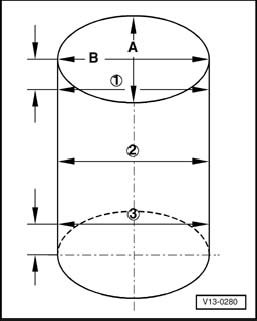
Checking cylinder bores
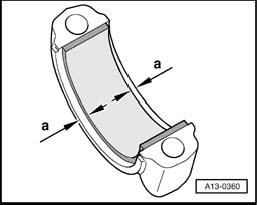
Installed position of bearing shell
- Insert bearing shells centrally into connecting rod and into connecting rod cap.
^ Dimension a = 3.0 mm
Crankshaft dimensions
(Dimensions in mm)
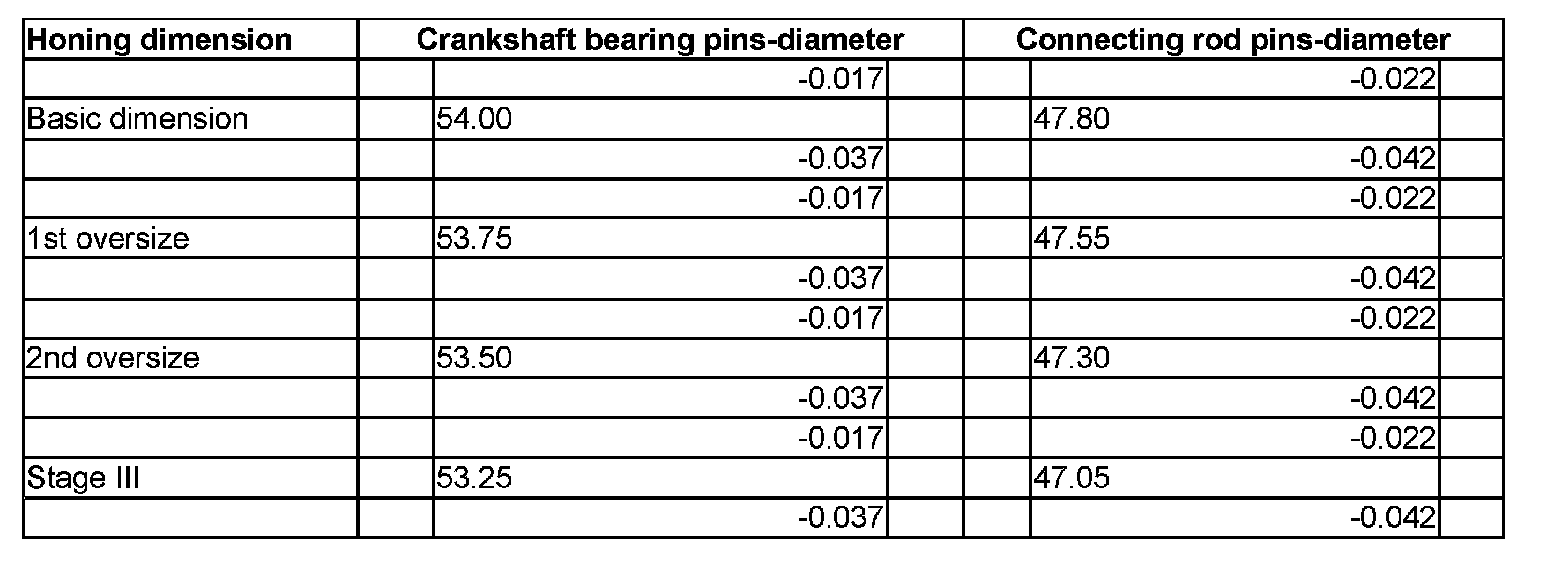
Crankshaft
Axial play
new 0.07 to 0.23 mm
Wear limit 0.30 mm
Check radial clearance with Plastigage 0.02 to 0.04 mm
Wear limit 0.15 mm
Do not turn crankshaft when measuring radial play
Crankshaft Pulley
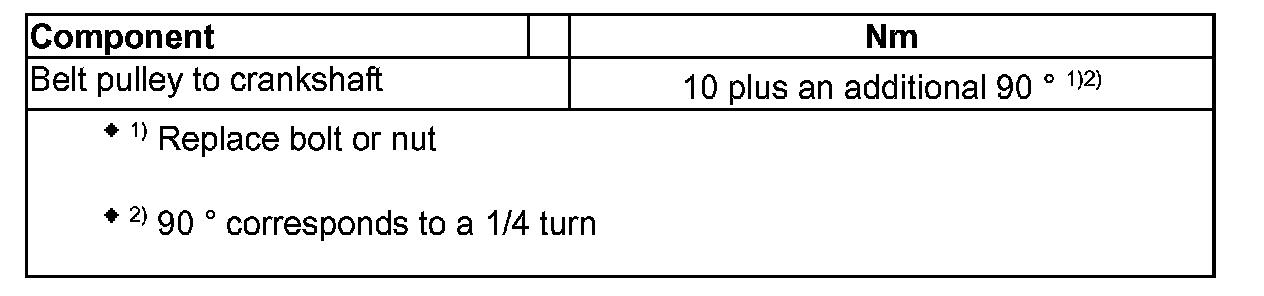
Main Bearing Cap
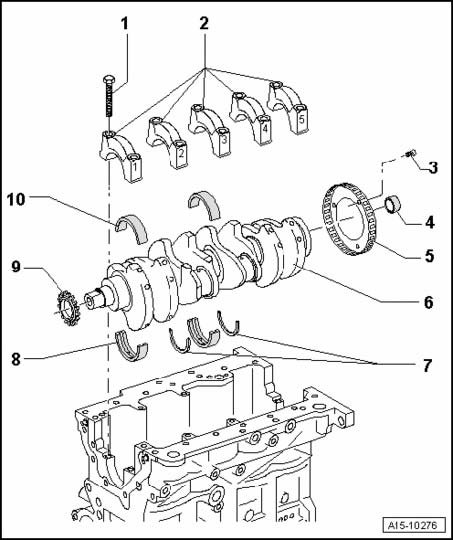
1. 65 Nm plus an additional 1/4 turn (90°)
2. Bearing cap
^ Bearing cap 1: Belt pulley side
^ Bearing cap 3: With notches for thrust washers
^ Retaining tabs of bearing shells and cylinder block/bearing caps must lie above one another